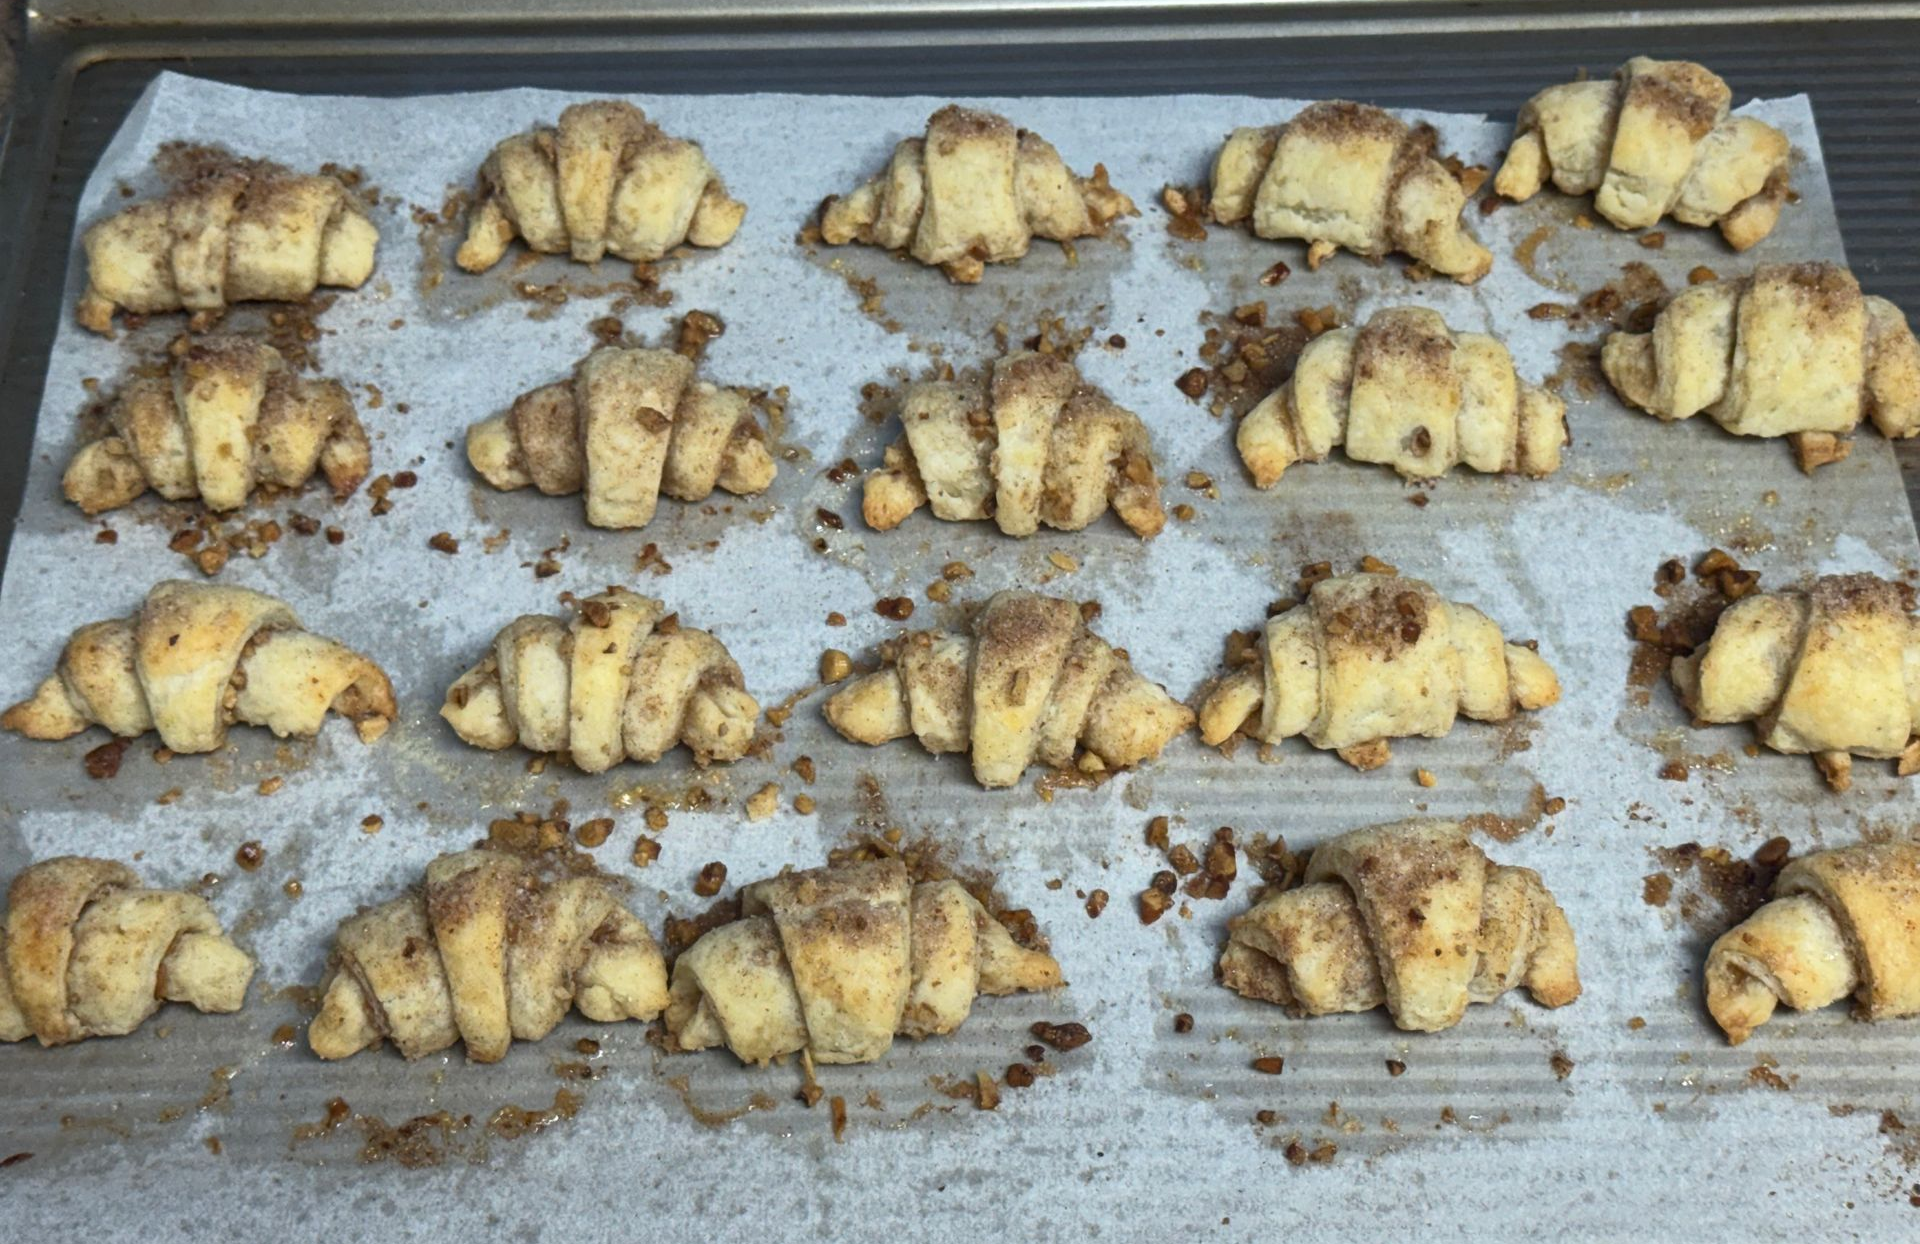
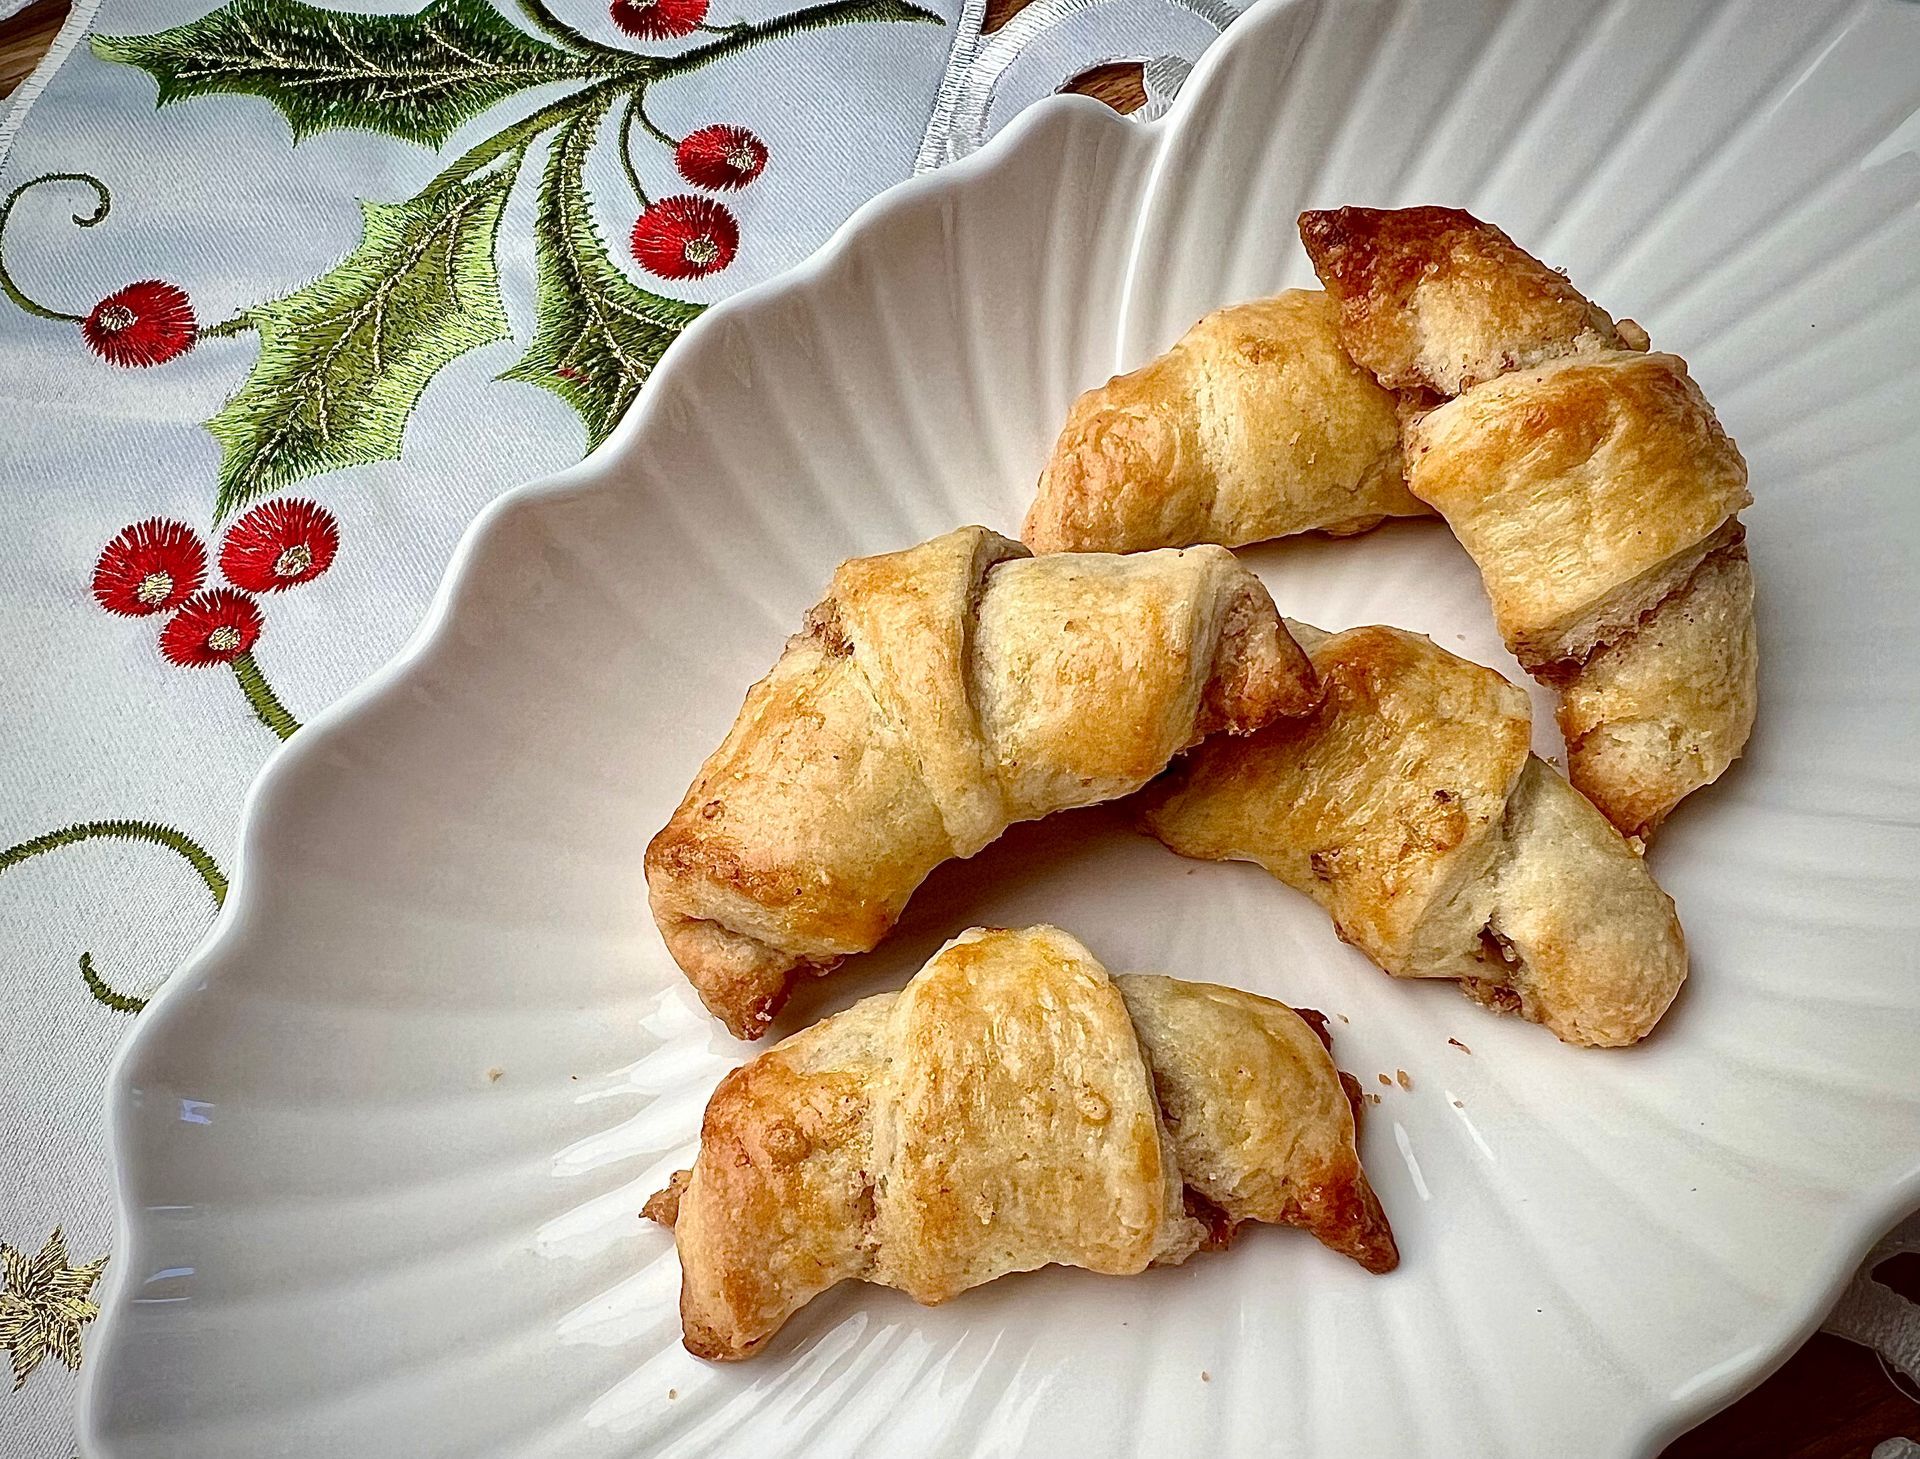
A white plate with three butterhorn cookies on it
I remember my mother would begin to bake Christmas cookies the day after Thanksgiving. She would fill shoeboxes with tissue paper, then fill the shoeboxes with her assortment of Italian cookies (to fiercely compete with her sisters!). I loved to sneak frozen butterhorns for a snack and she always made plenty!

   Butterhorn Cookies

Butterhorn cookies are a timeless holiday classic, rooted in European baking traditions and beloved for their delicate, crescent shape, tender texture and fillings or fruit jam or toasted nuts with sugar. 

My family recipe is made with butter, sour cream and egg yolks-lots of yummy fat-so these cookies are tender.


Often finished with a light coating of powdered sugar, butterhorns are understated yet elegant and a staple on any holiday cookie tray.


Making Butterhorn Cookies

Prep Time: 60 min

Cooking Time: 20 min

Yield: 4 portions


Ingredients                                          

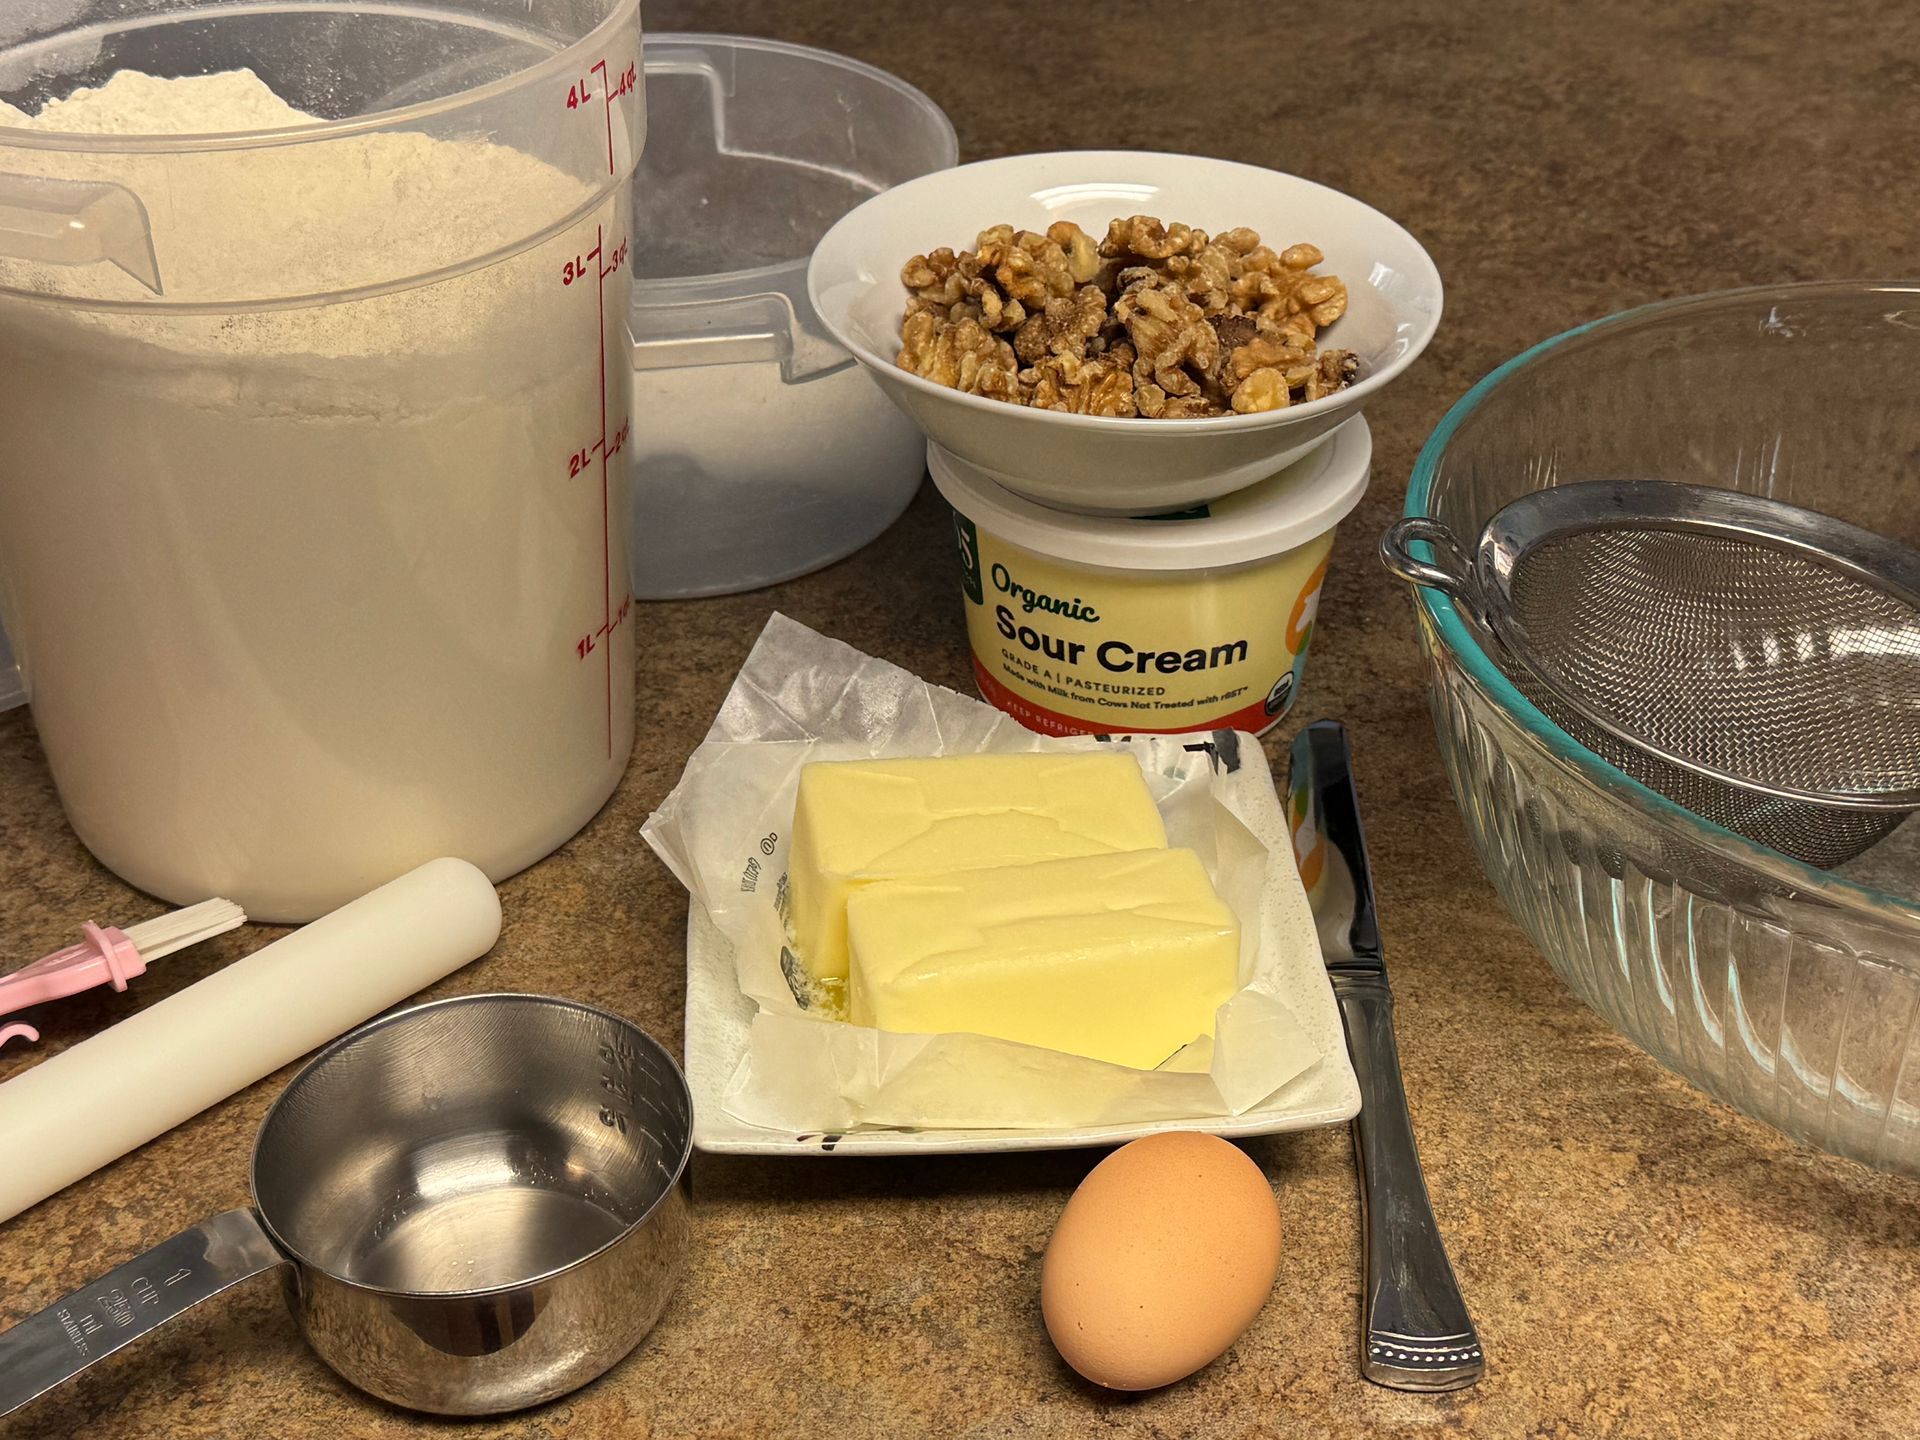
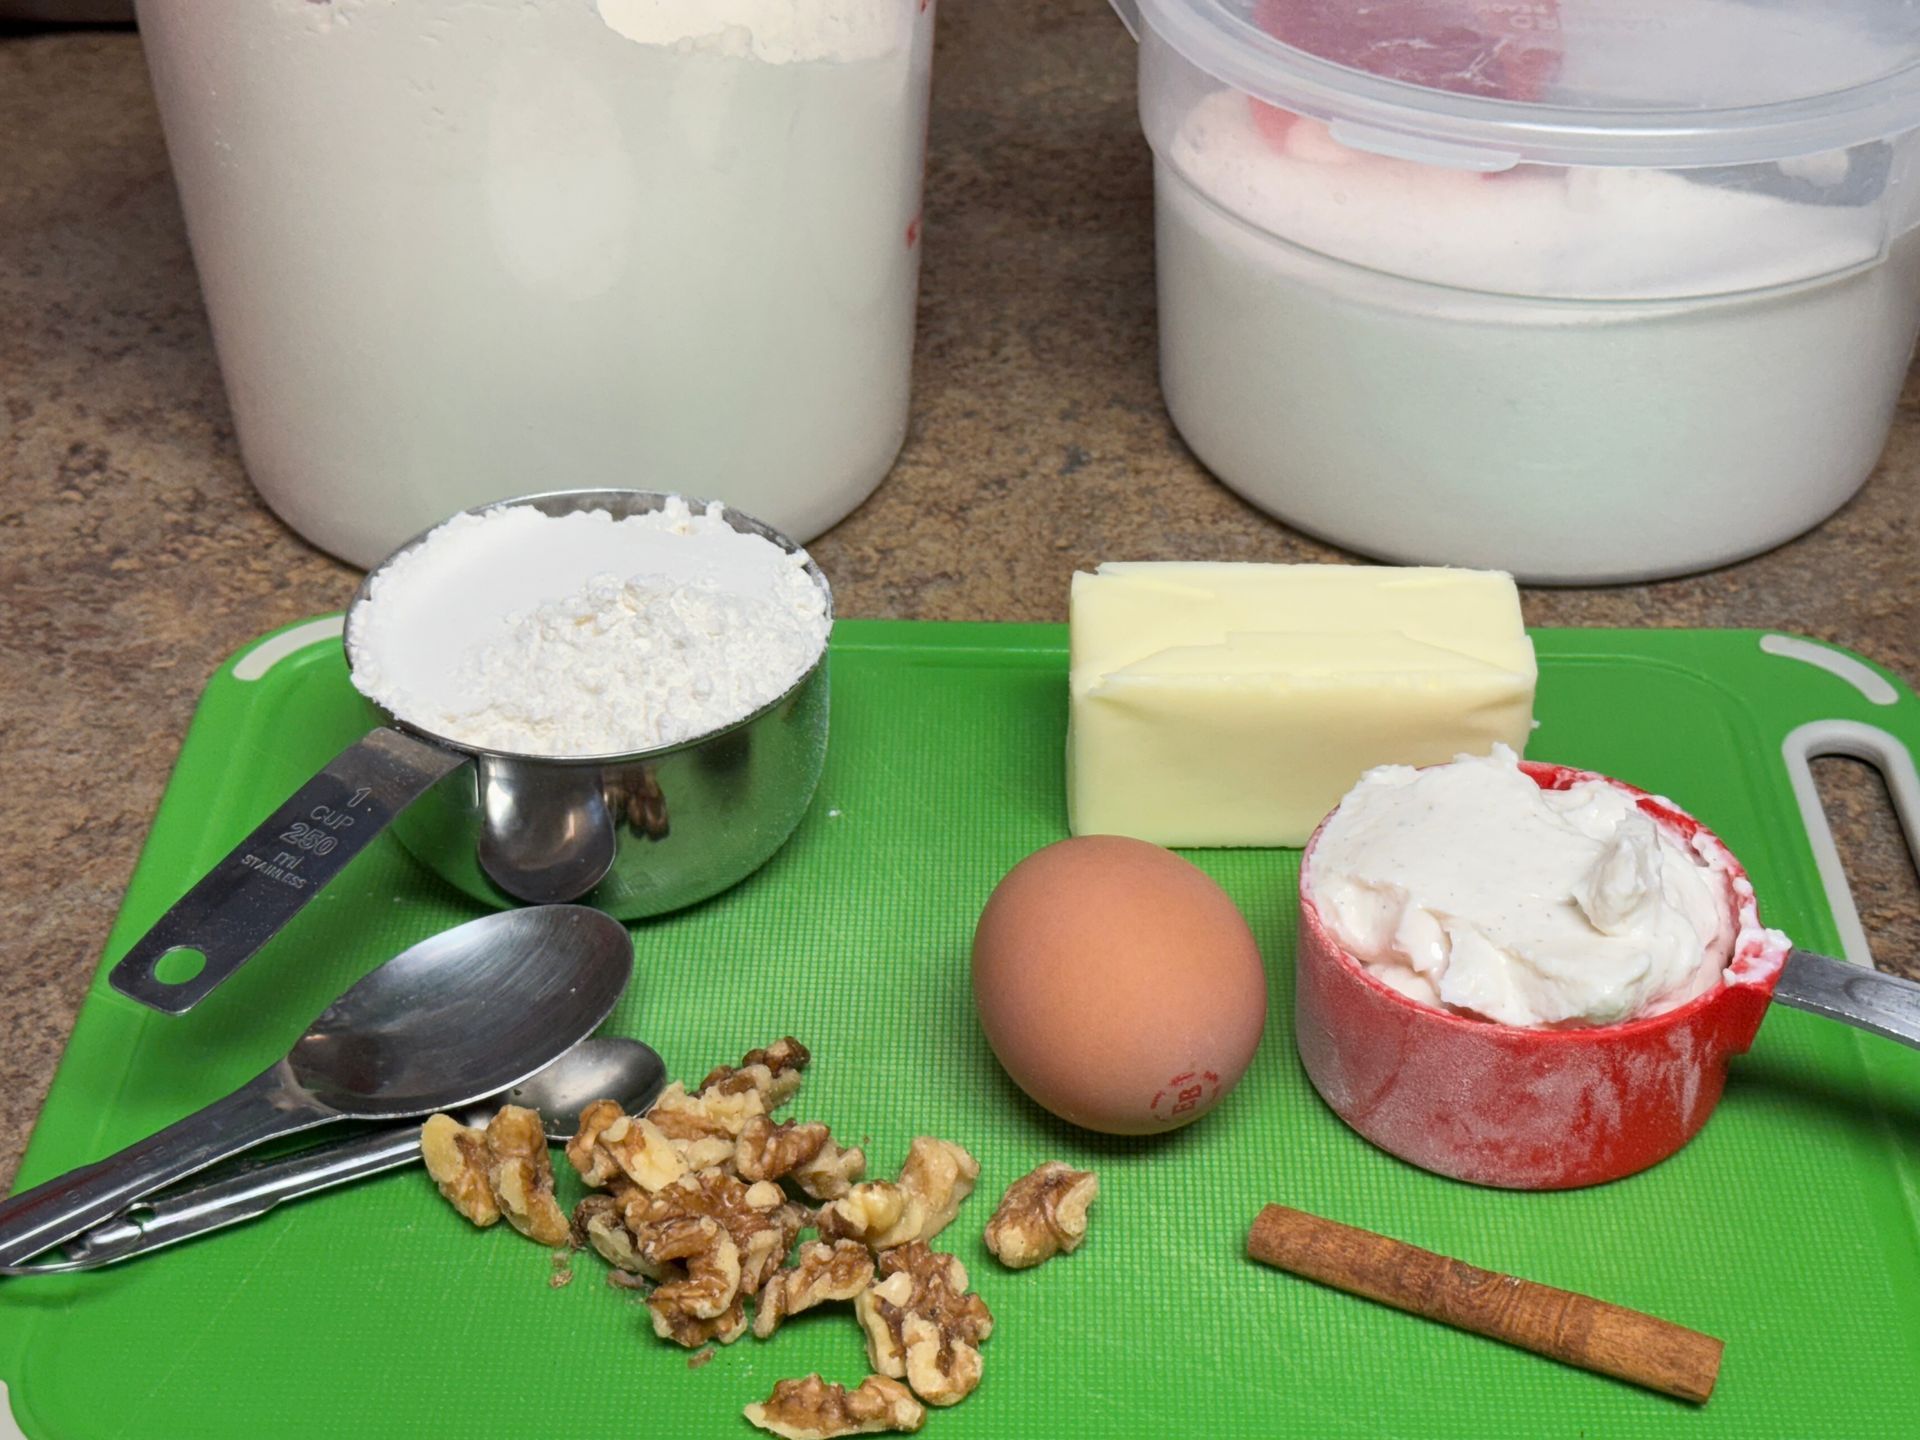
1  Cup             Butter, room temperature   

2 Cups           AP Flour, sifted     

1 Cup             Sour cream                     

1 ea.               Egg yolk       


Filling

2 Tbsp.        Cinnamon

1 Cup           Walnuts, toasted and peeled (in a clean side towel); chopped

1 Cup           Sugar                                 


How to Prepare Butterhorn cookies
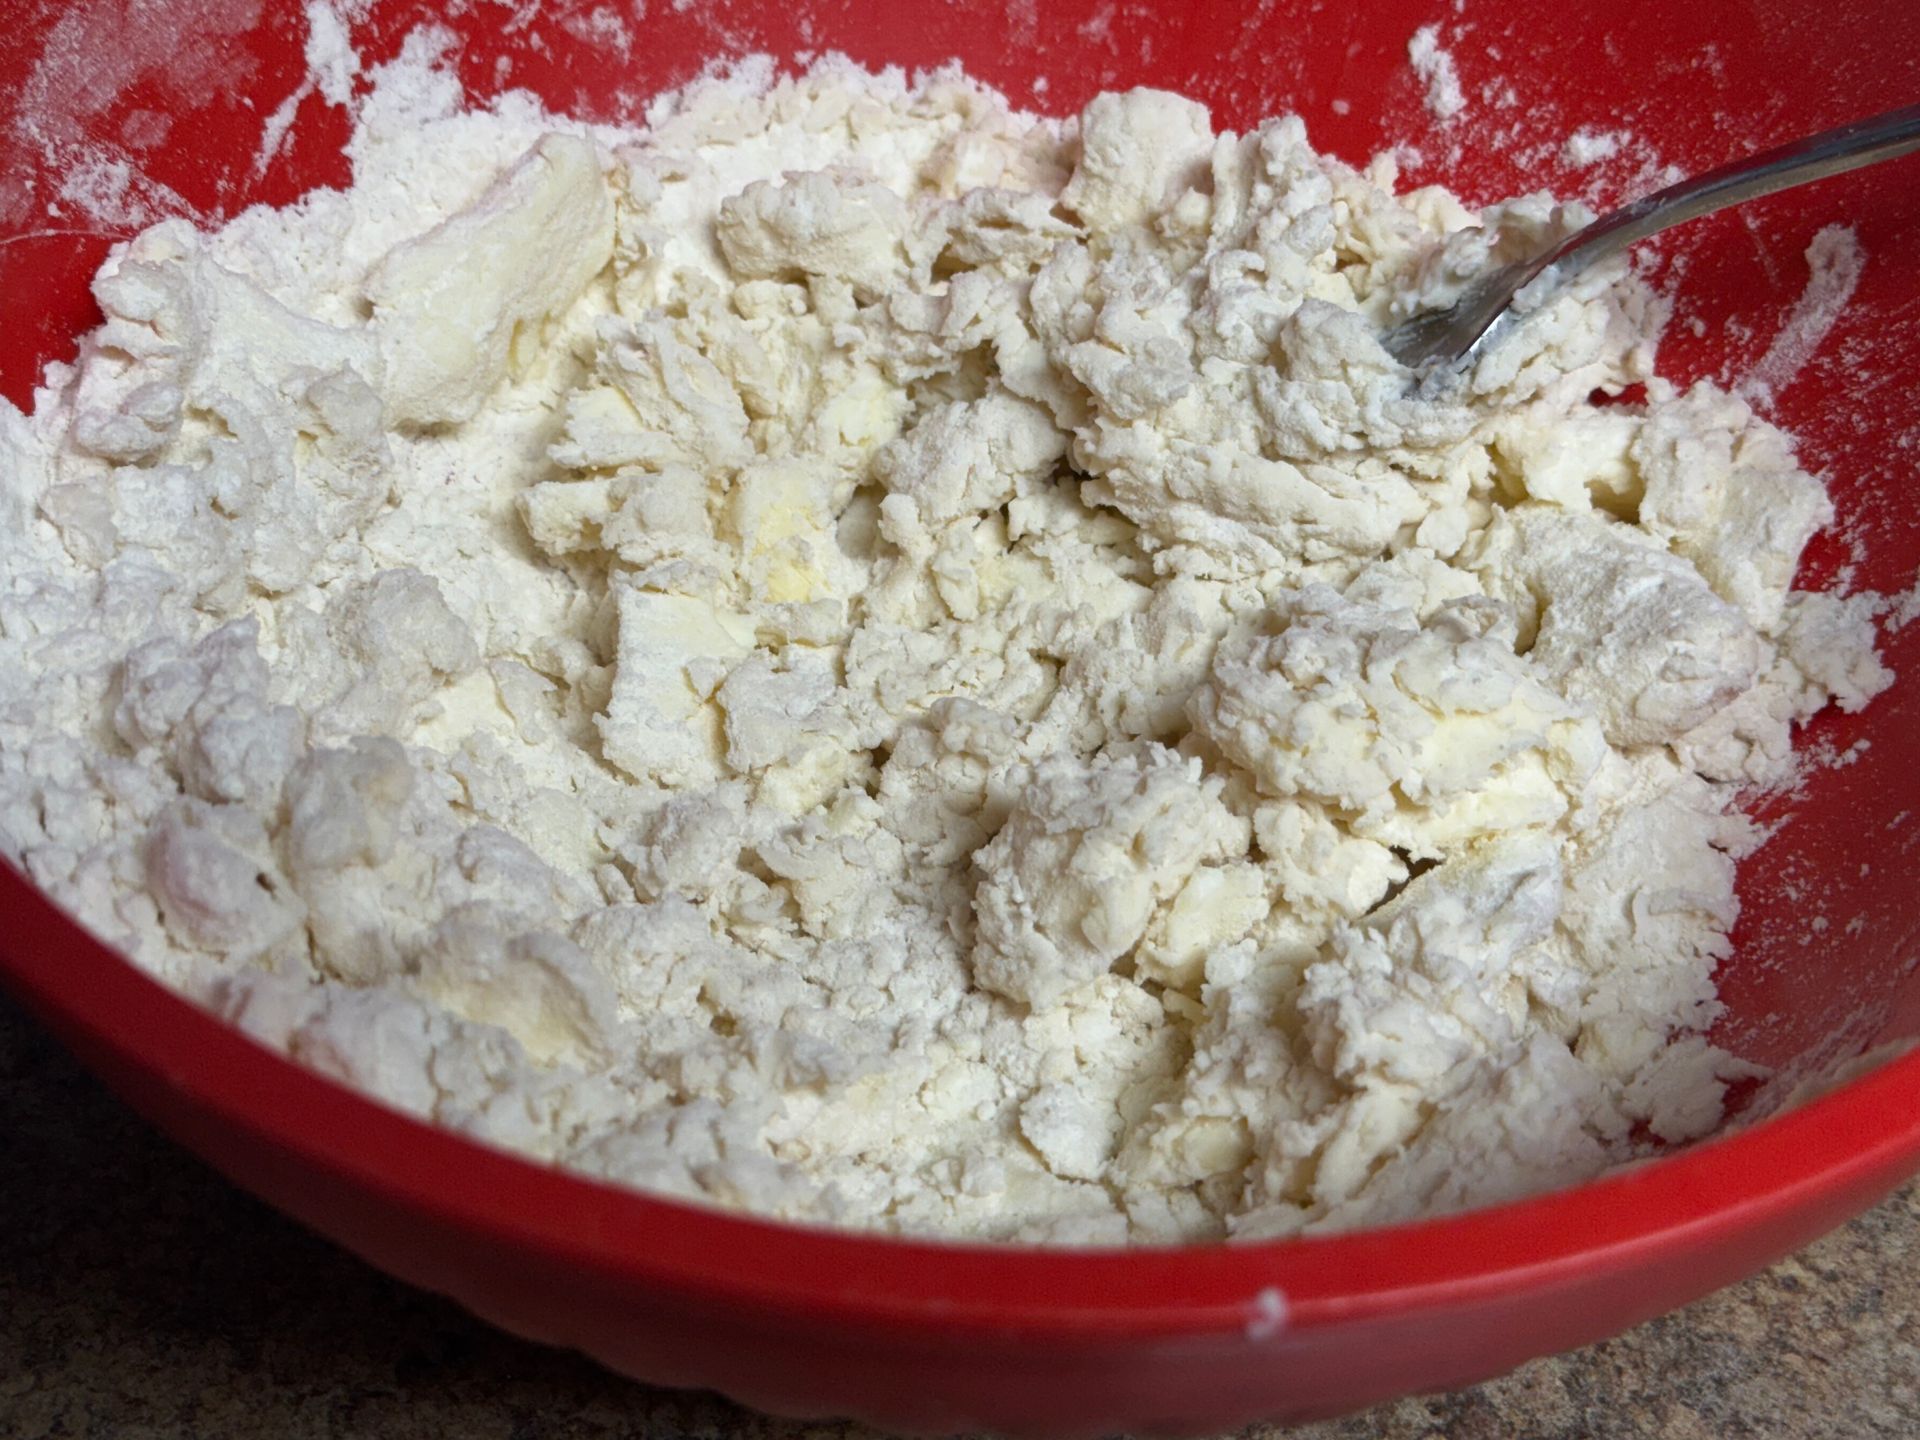
mixing bowl making butterhorn cookies
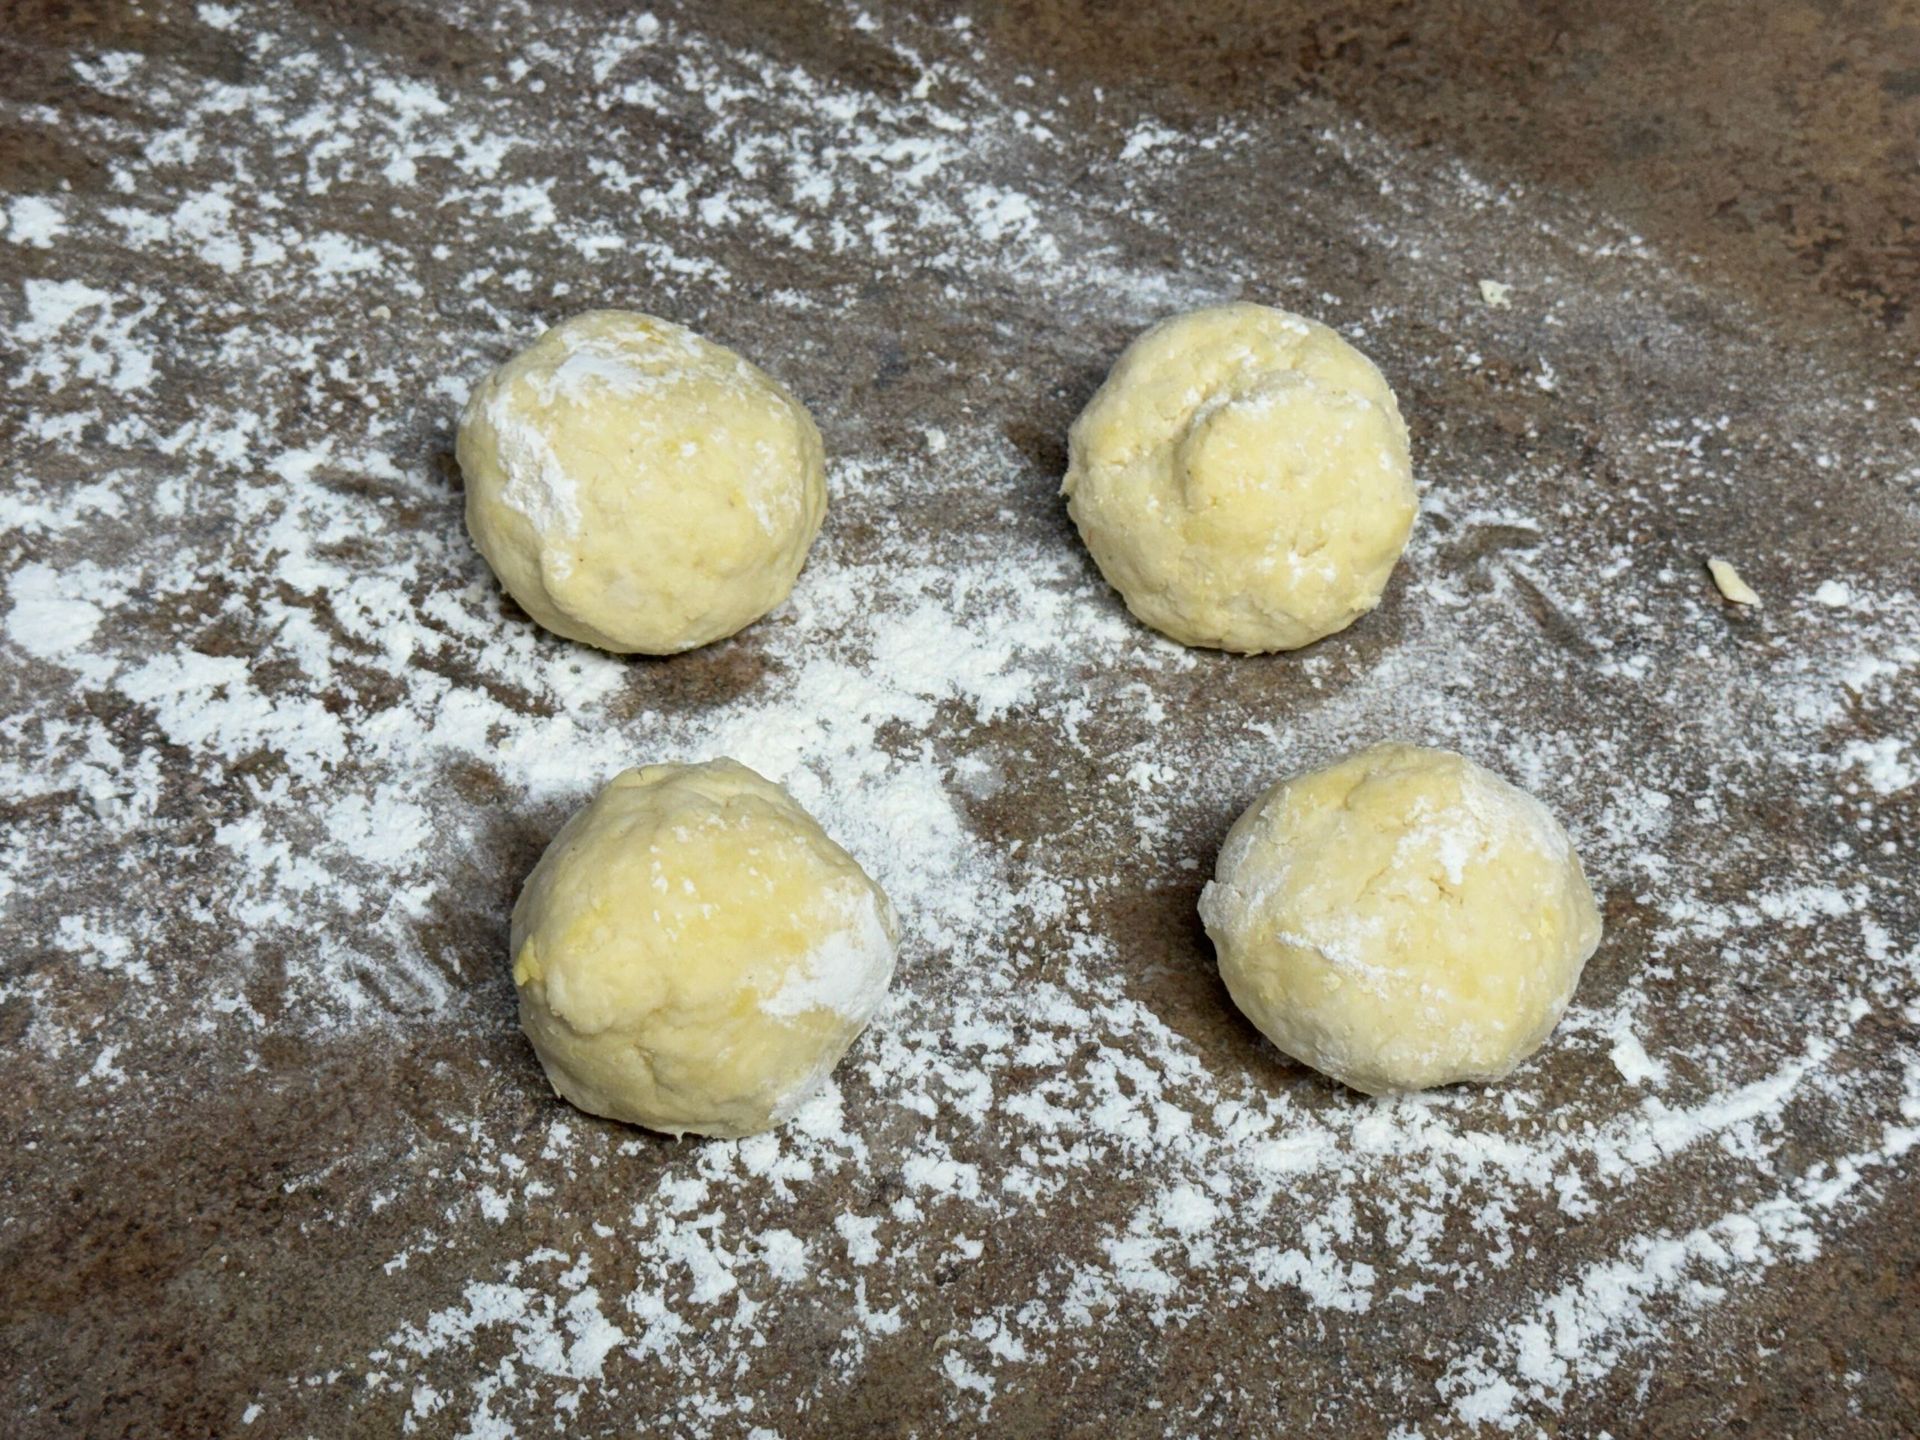
dough balls making butterhorn cookies
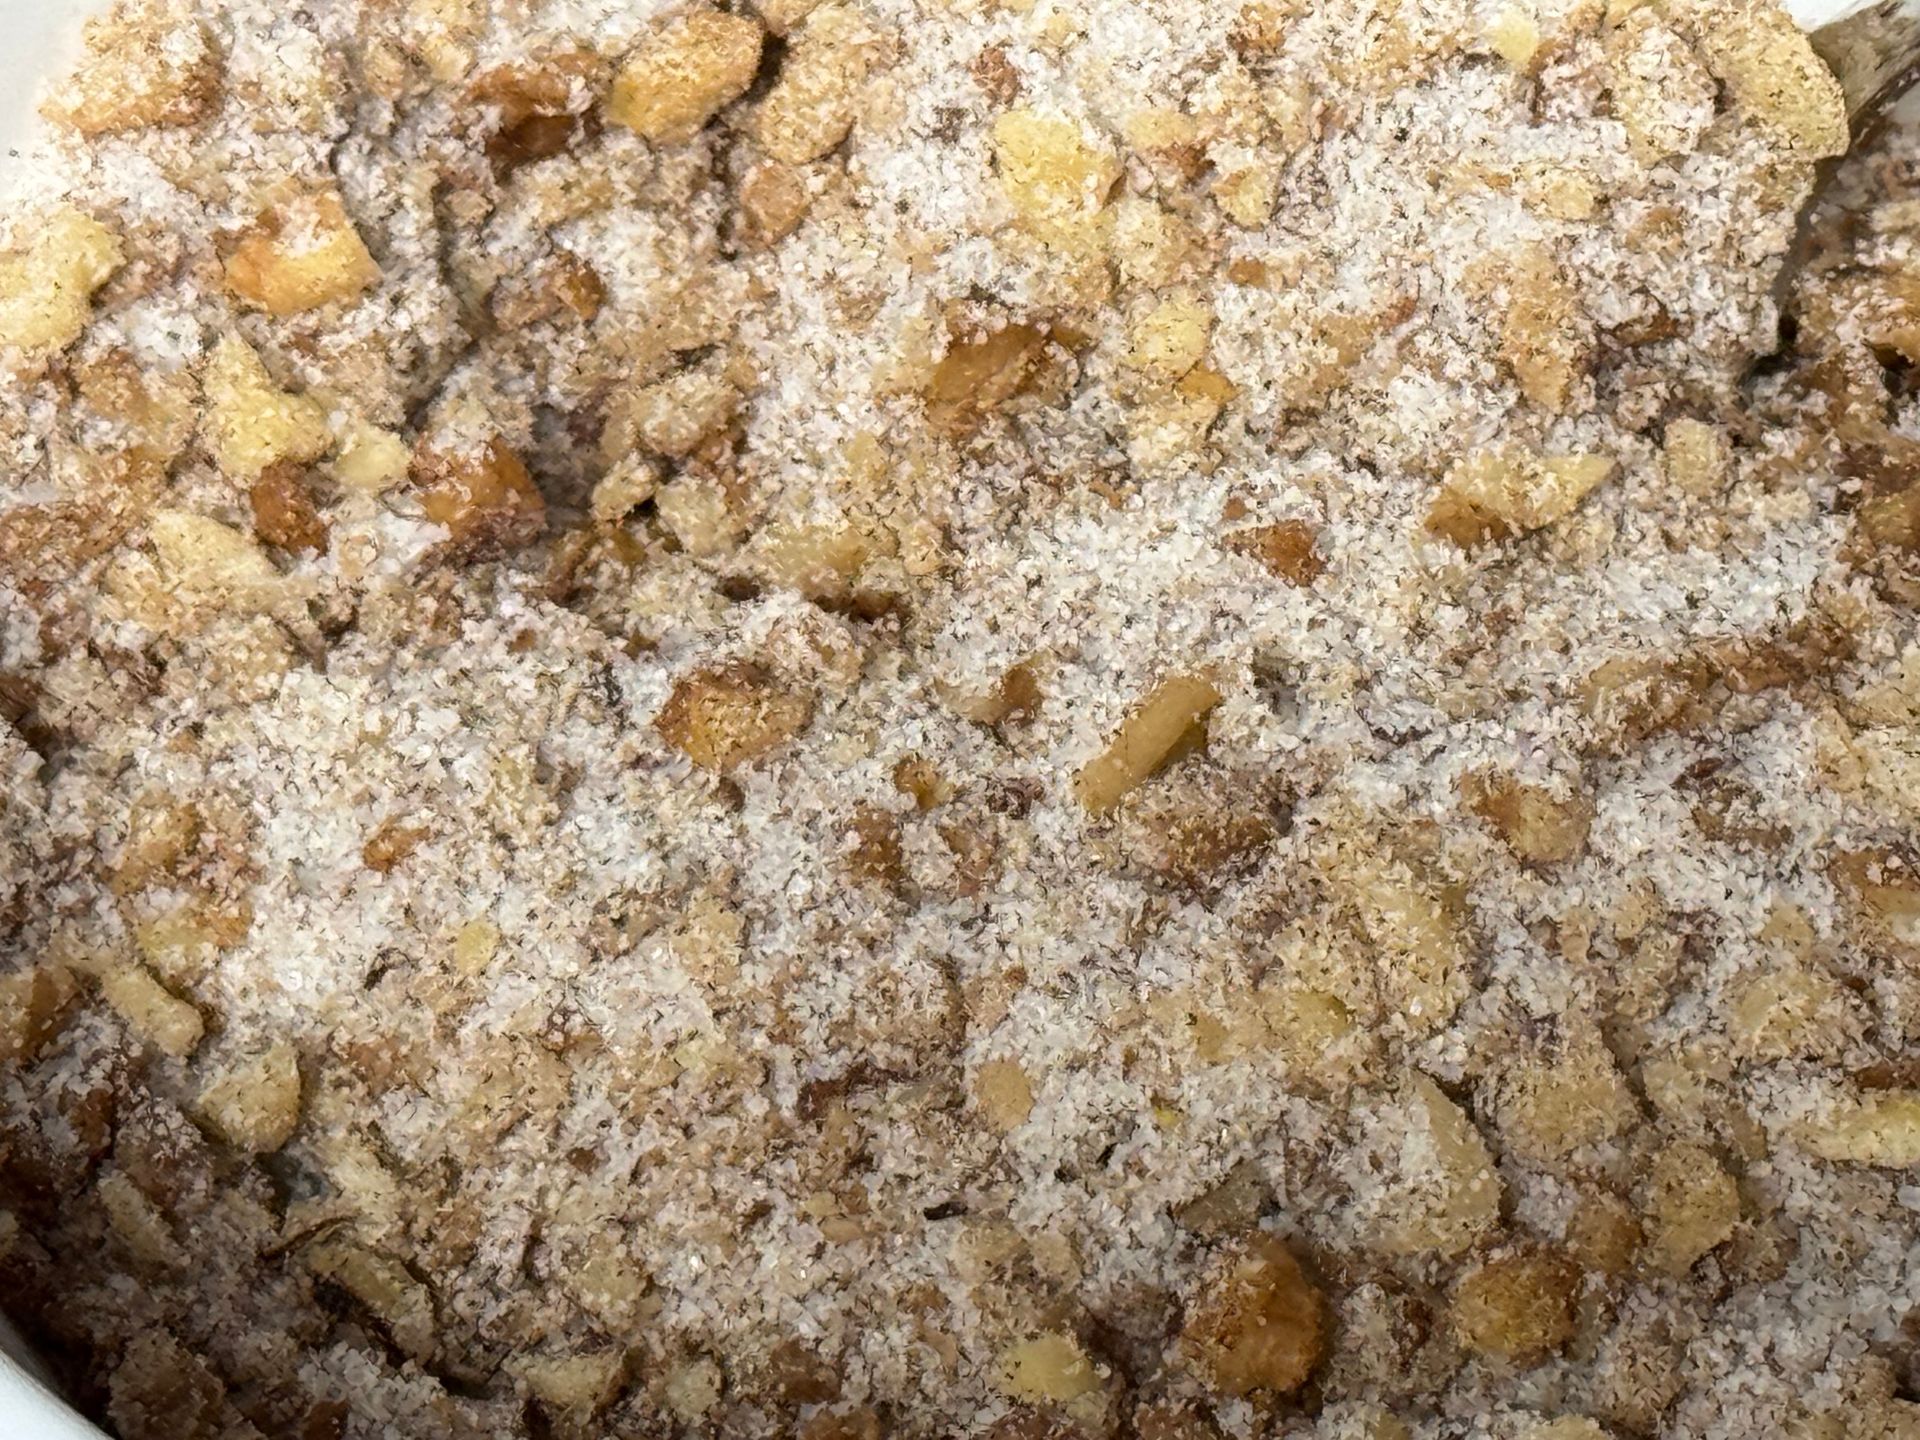
A close up of a bowl of food with nuts and coconut.
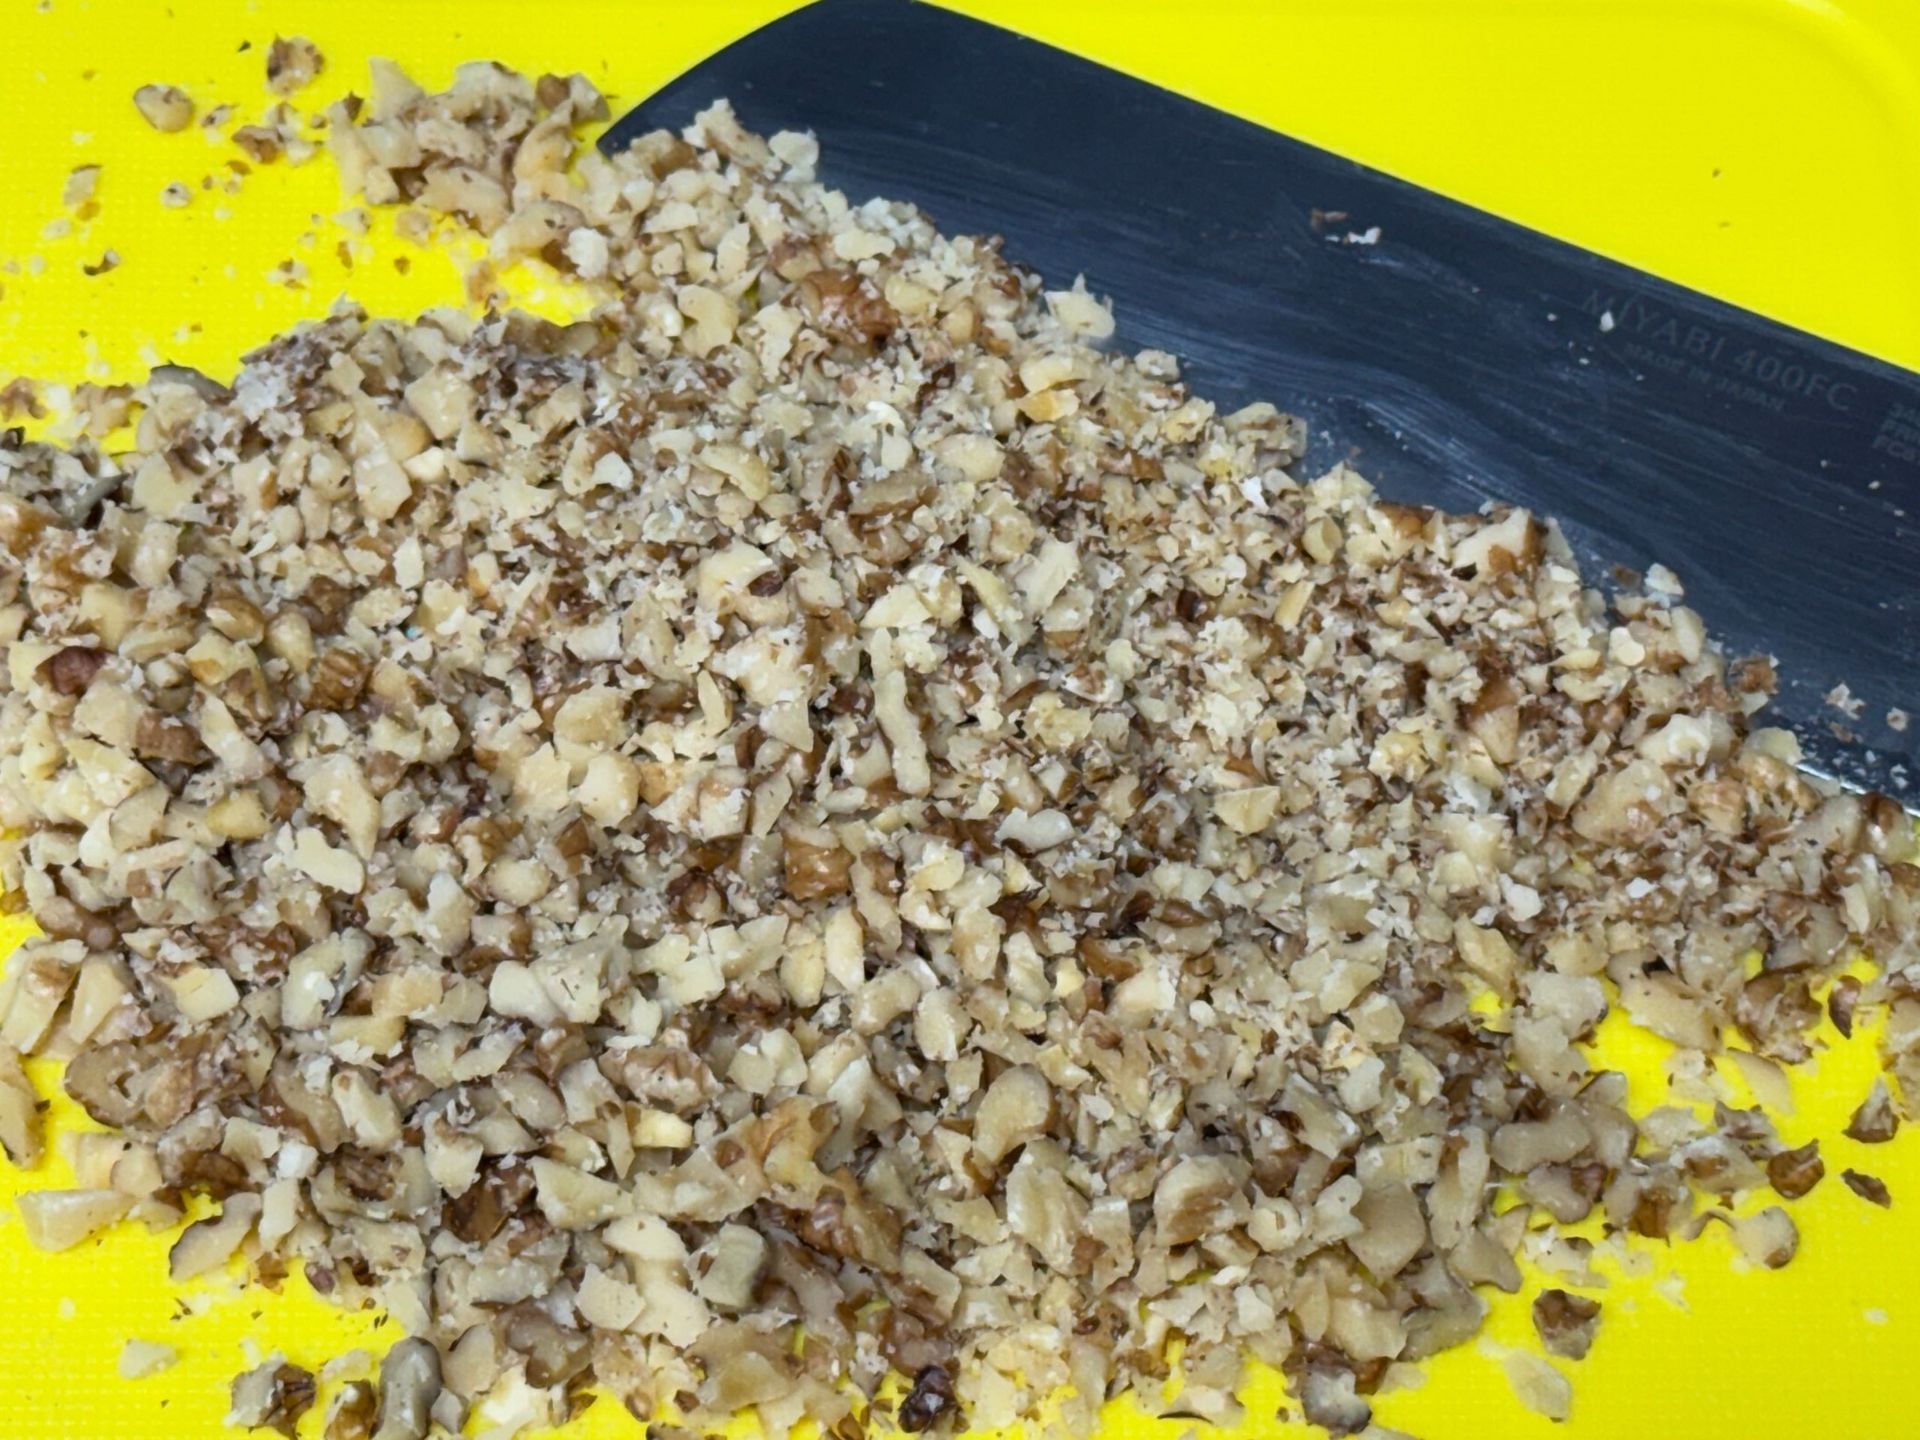
A pile of chopped nuts is on a yellow cutting board next to a spatula.
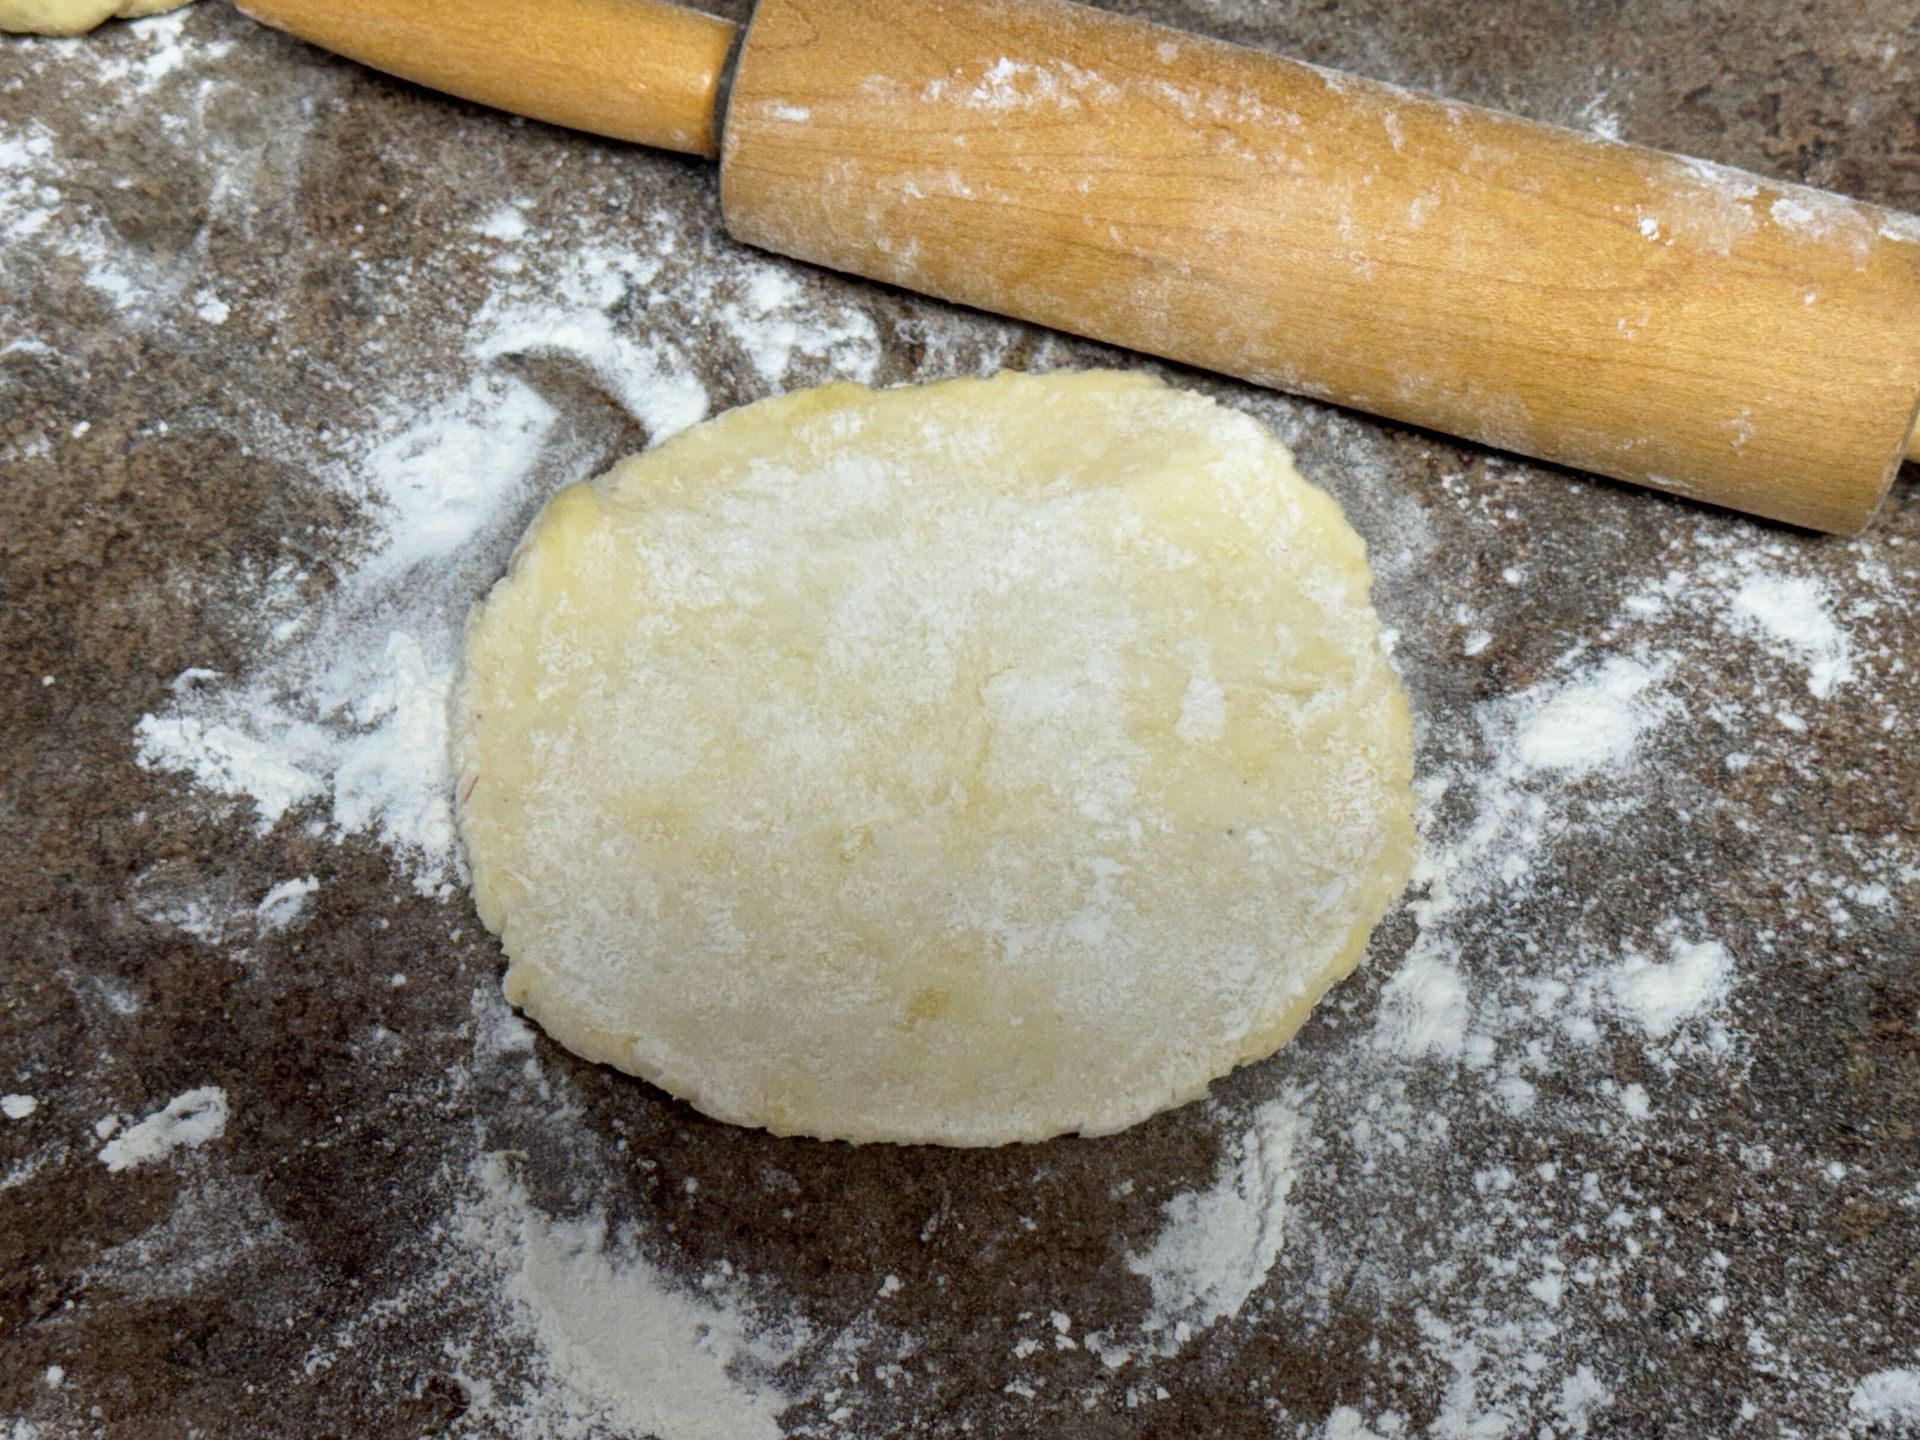
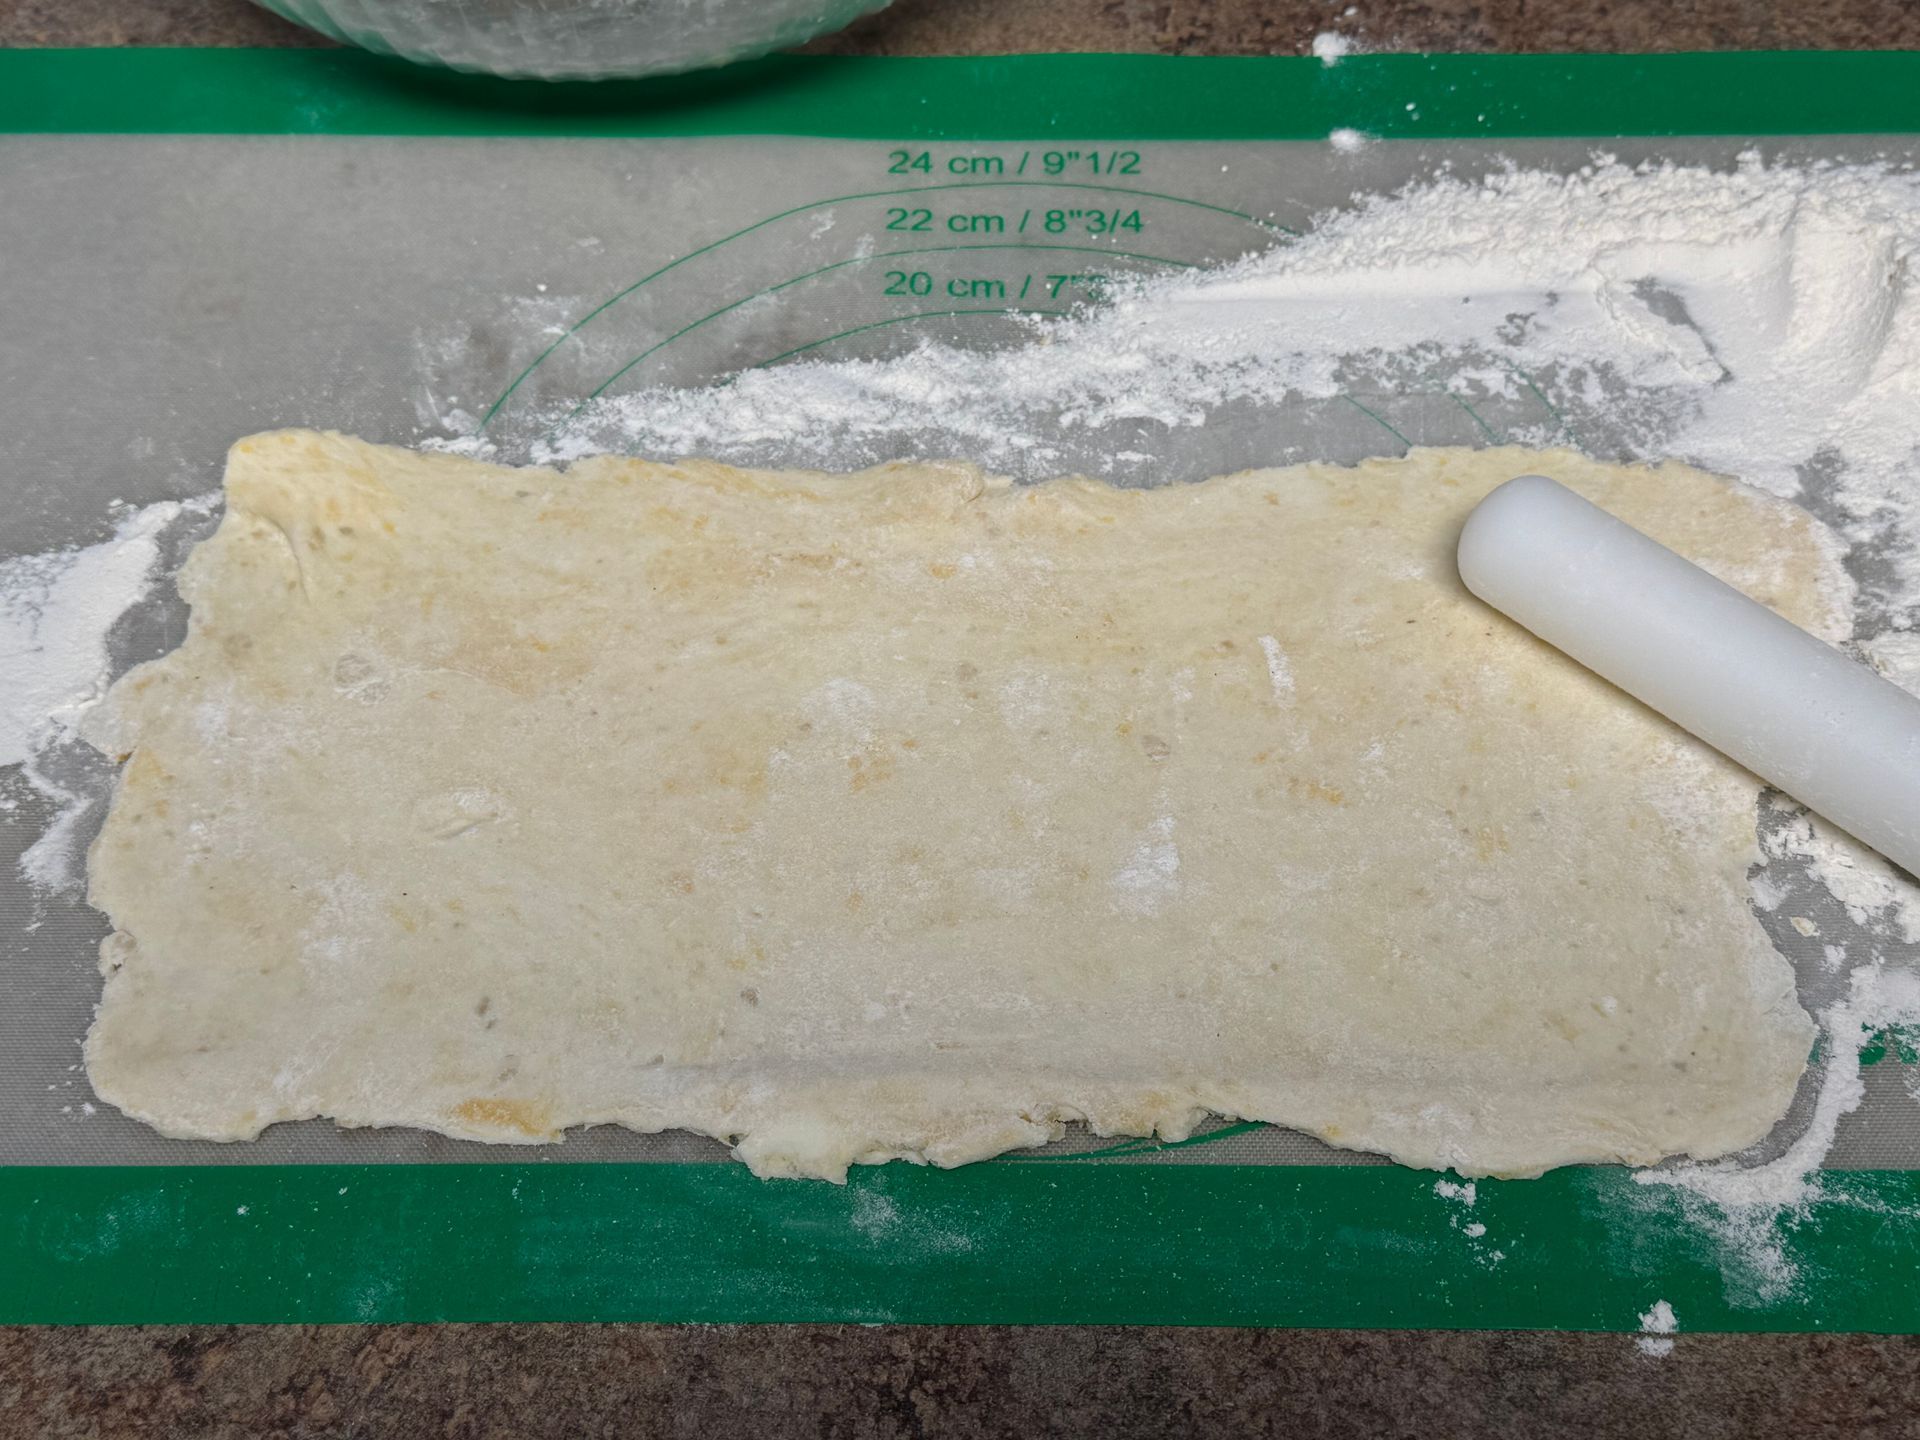
A piece of dough is sitting on a table next to a rolling pin.
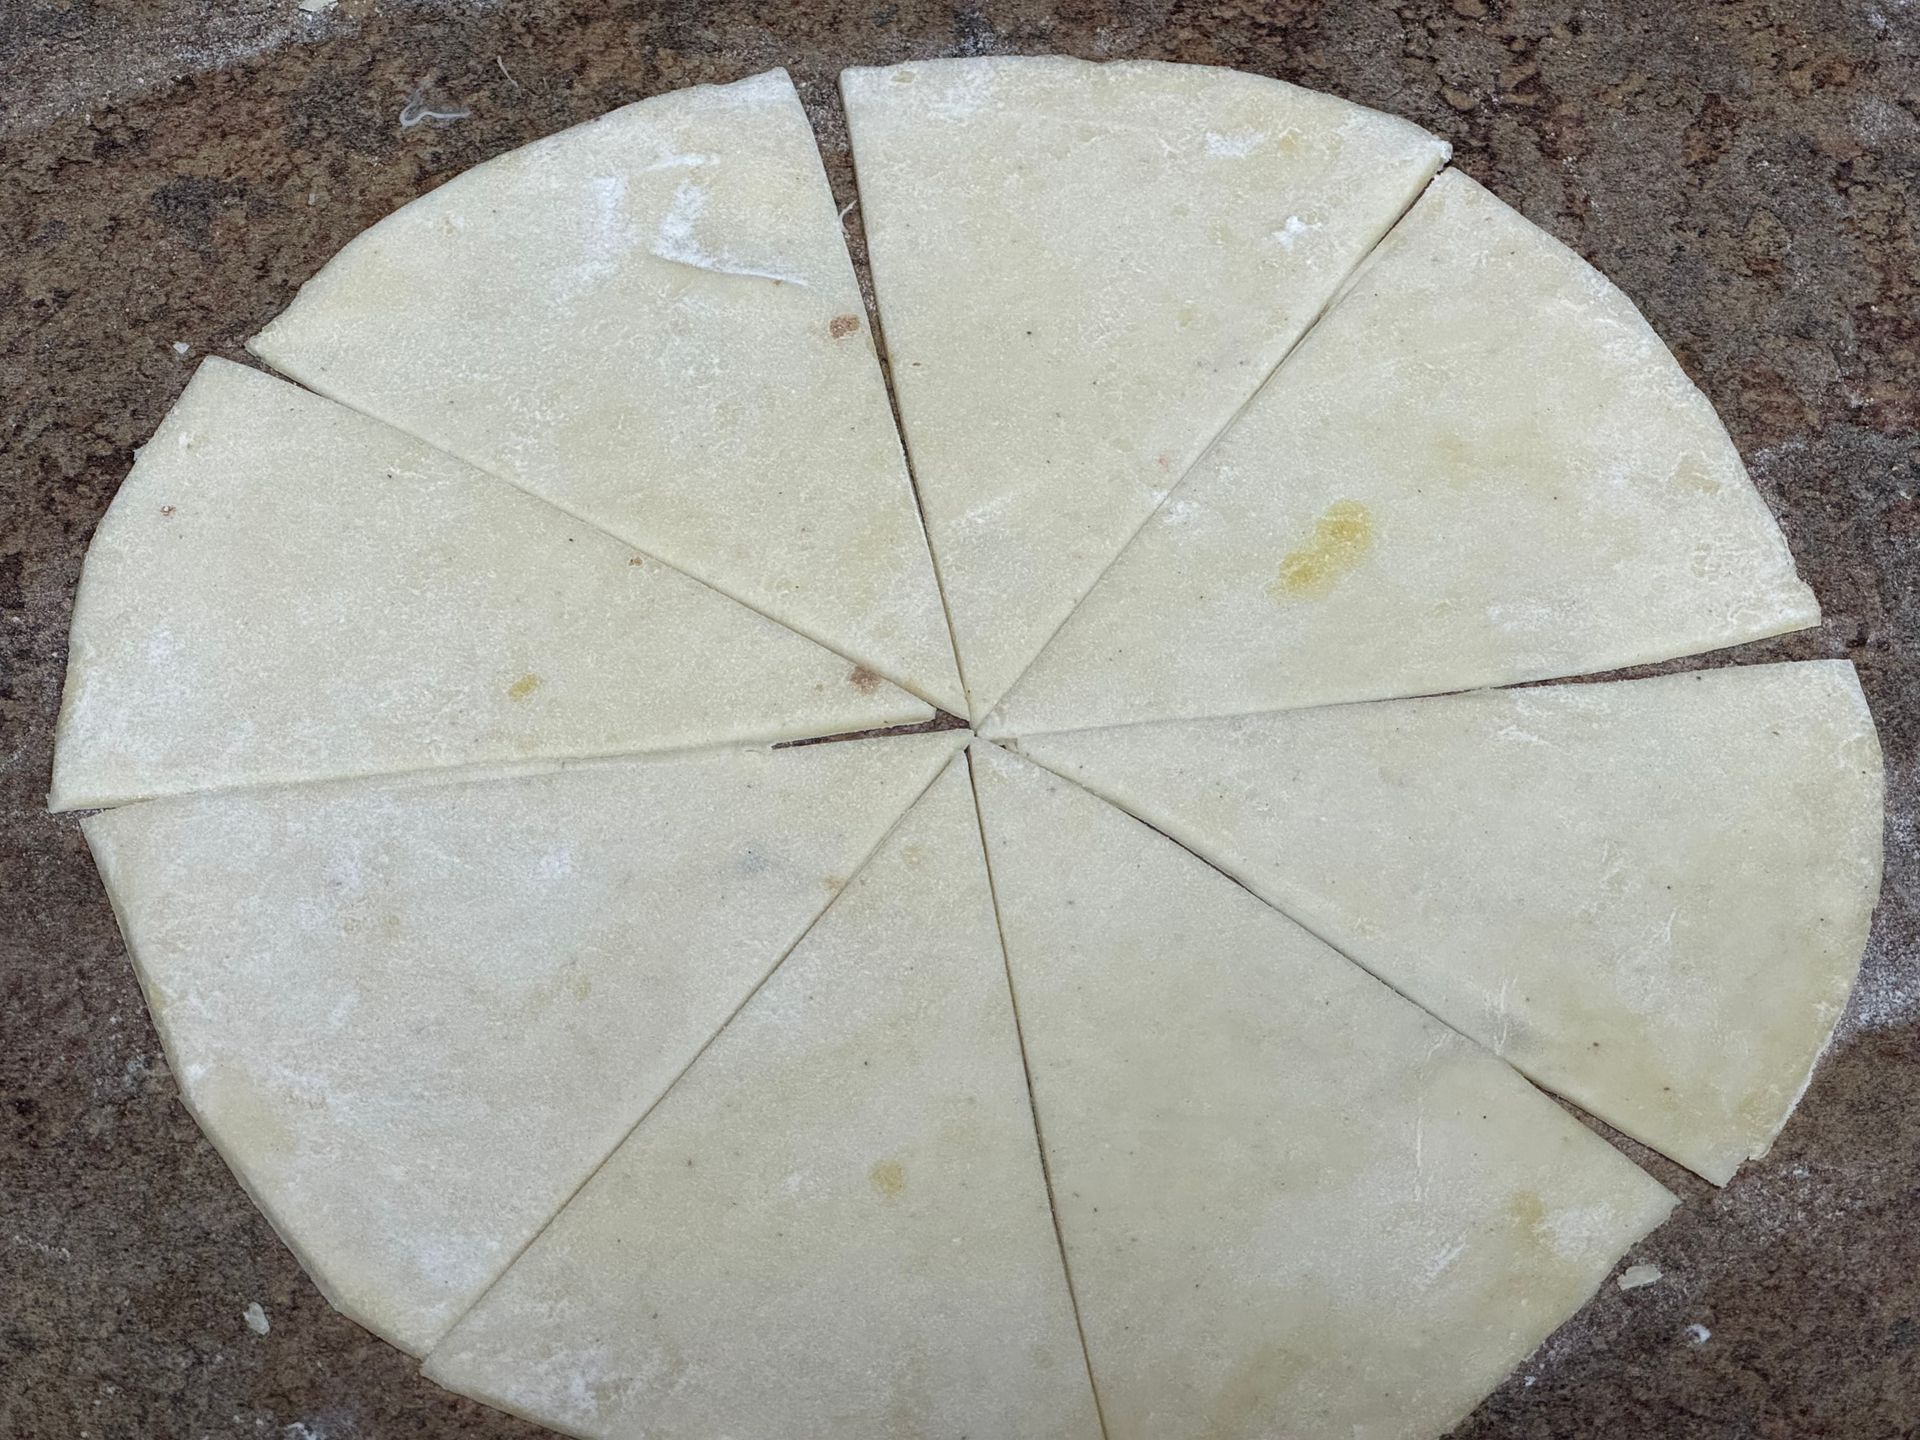
A circle of dough that has been cut into triangles
A green cutting board with a bunch of ingredients on it


Step 1  Making the butterhorn dough

Place the butter, flour and sour cream into the mixing bowl. Using the paddle, blend to a coarse mixture. It will resemble a pie dough, it's important to keep the dough cold but the butter should be very small.


Add the egg yolk, incorporate gently to avoid developing gluten  (a chewy dough). Let the dough rest, covered for 30 minutes.


Step 2  Rolling out and cutting

Roll the dough into 4 even balls. Flatten with a rolling pin into a disk and let rest for 10 minutes. If the kitchen is warm, place in the refrigerator for 10 minutes.


To toast walnuts, place onto a sheet pan, toast and then place into a clean towel. Rub vigorously to loosen the skins. Separate the nuts away from the skin; discard the skin.


While the dough is resting, mix the chopped, toasted walnuts, cinnamon and sugar together in a bowl, reserve.


There are several ways to roll and cut the triangles:
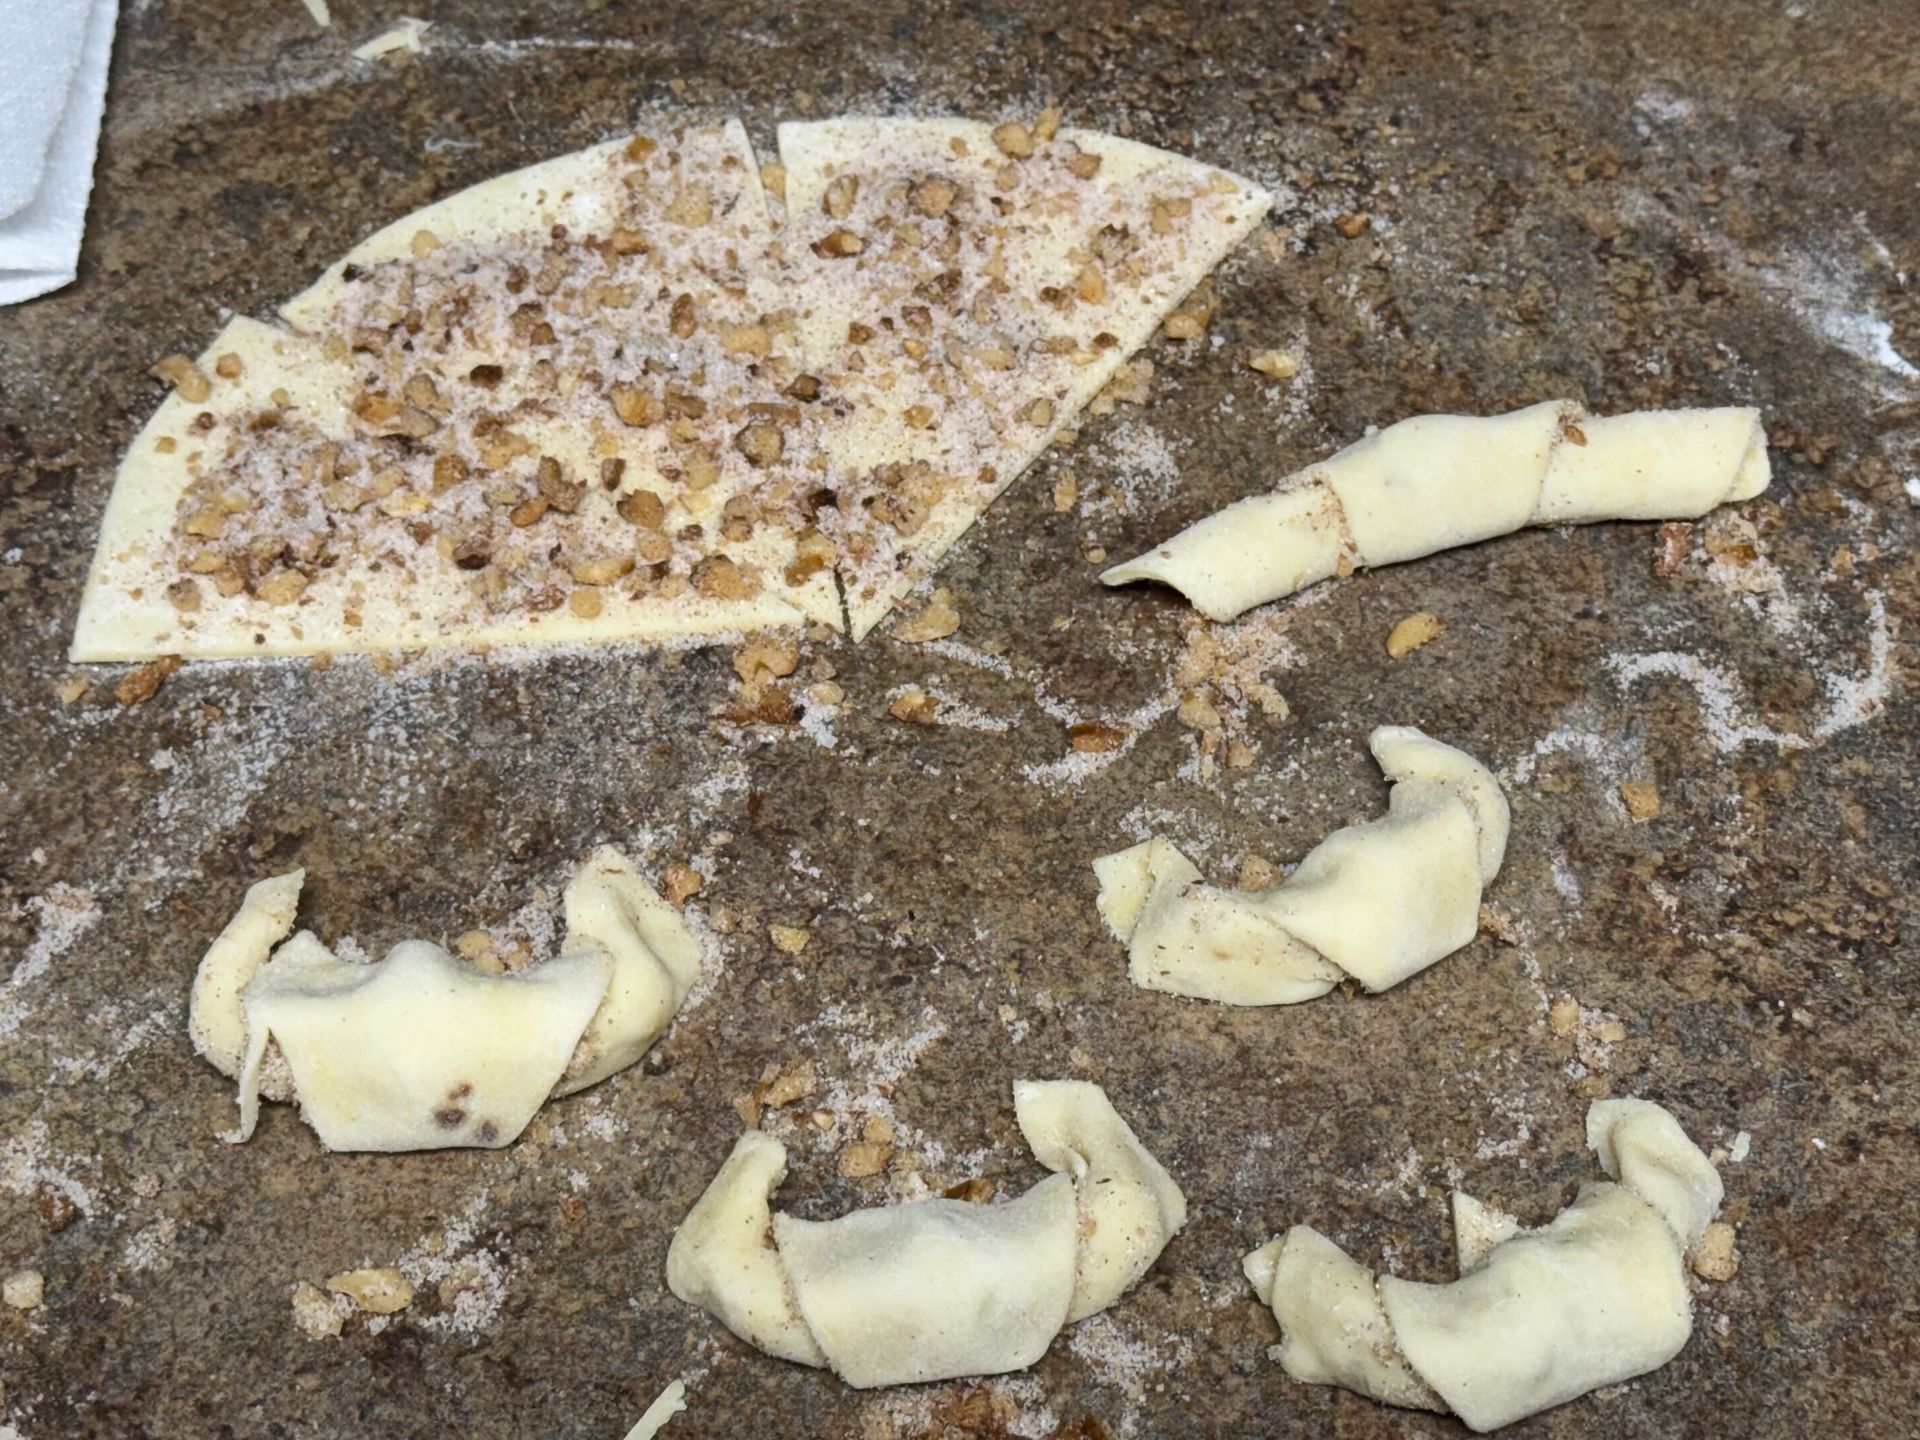
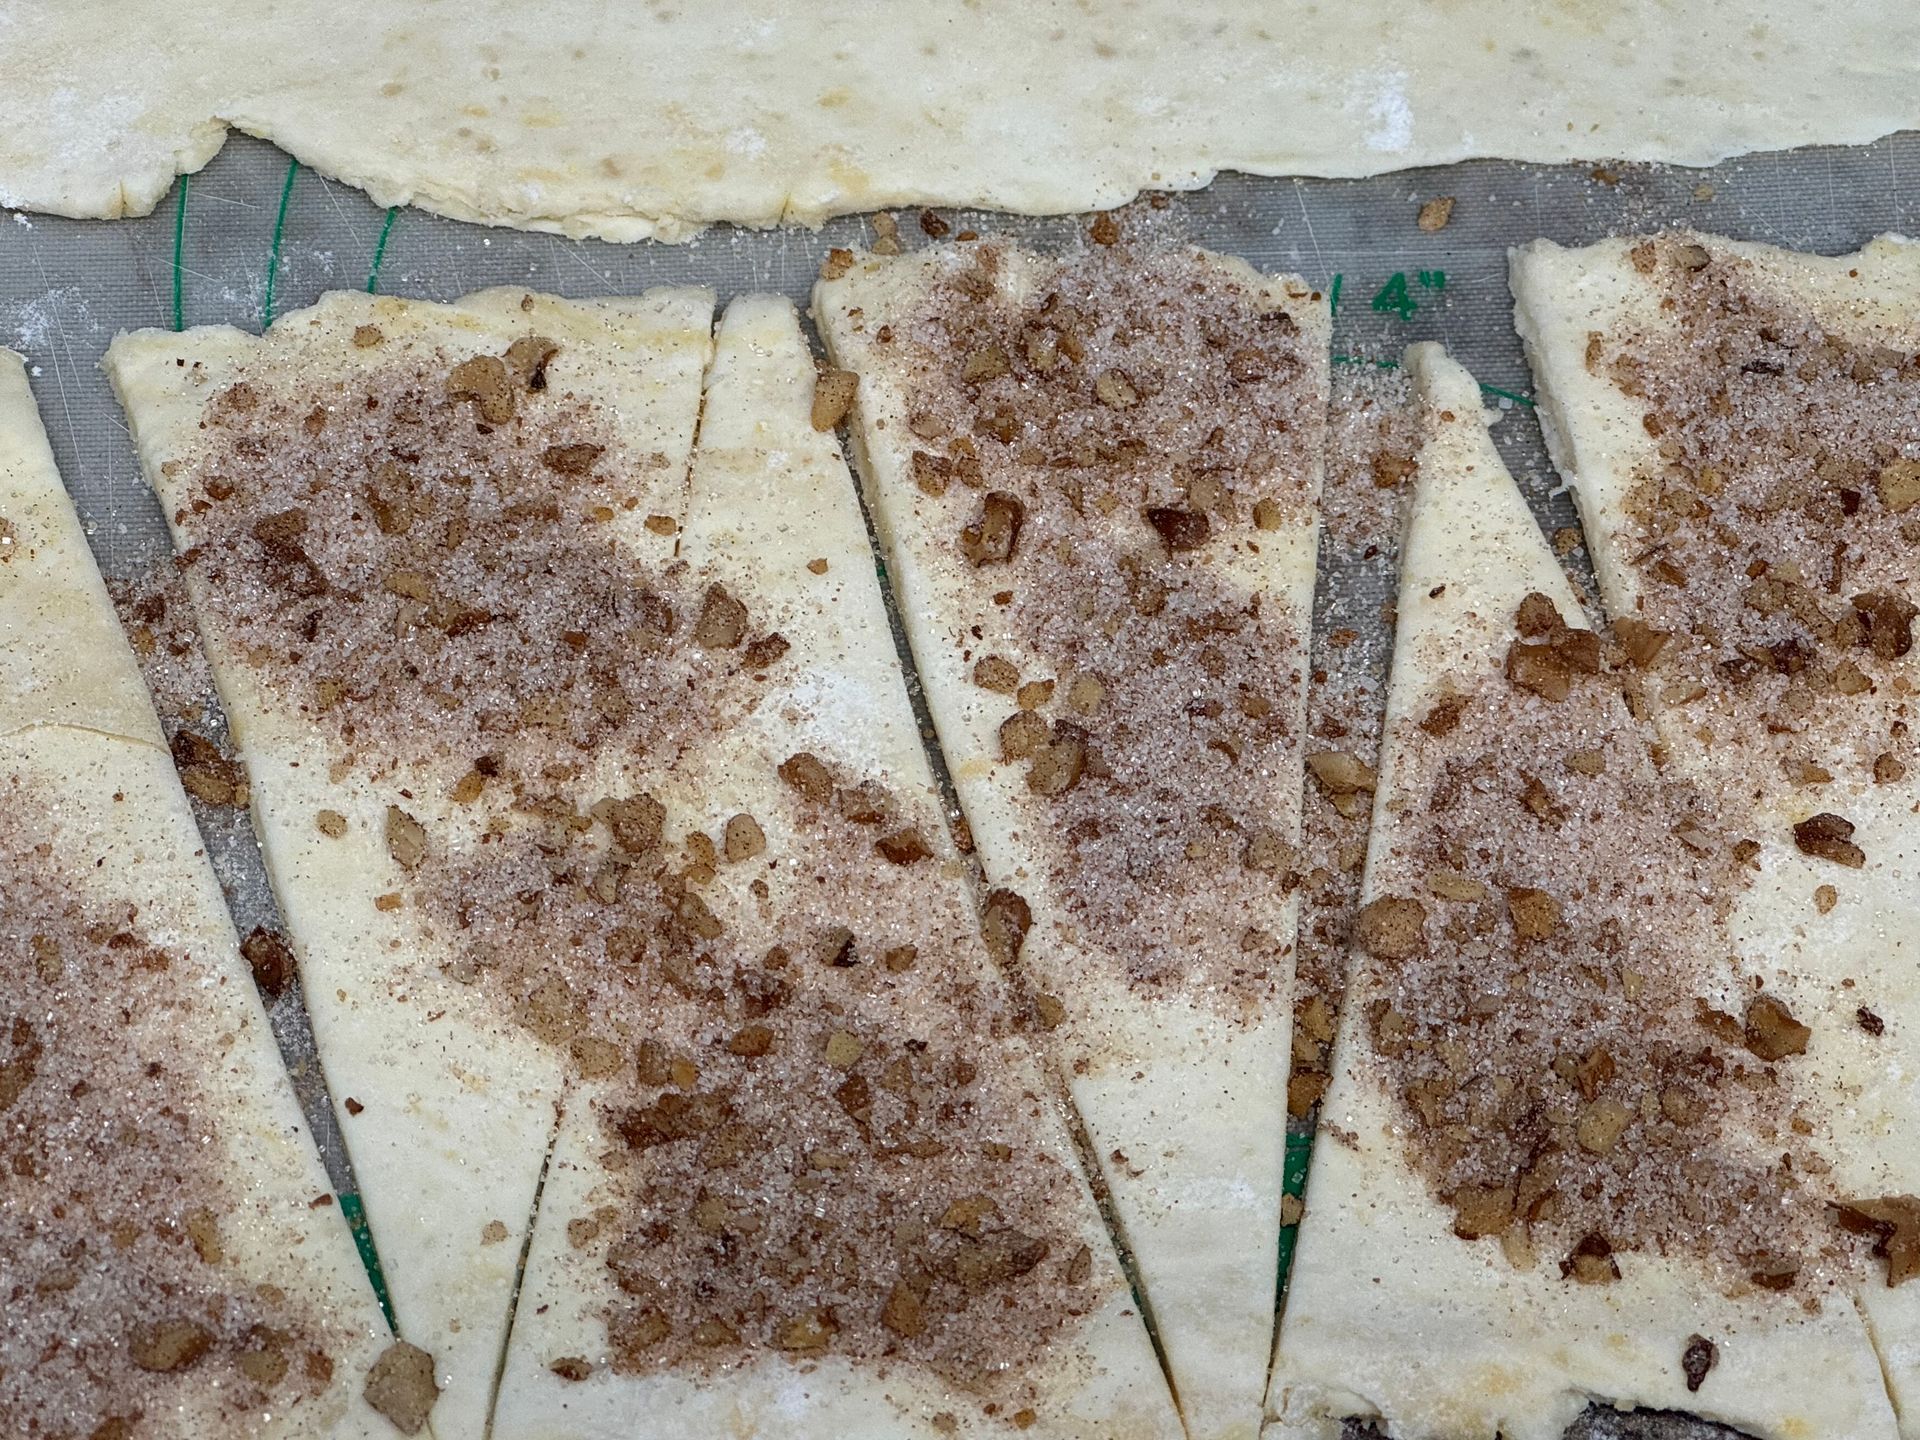
Roll the disk to a 1/8th inch thick circle or 3 inch by 8 inch rectangle; cut into 8 wedges like cutting a pizza pie. You'll need to keep the surface lightly floured to avoid sticking and be sure the dough is cool.


It's not a problem if the edges are a little uneven, when you roll inwards the edges are no longer seen.

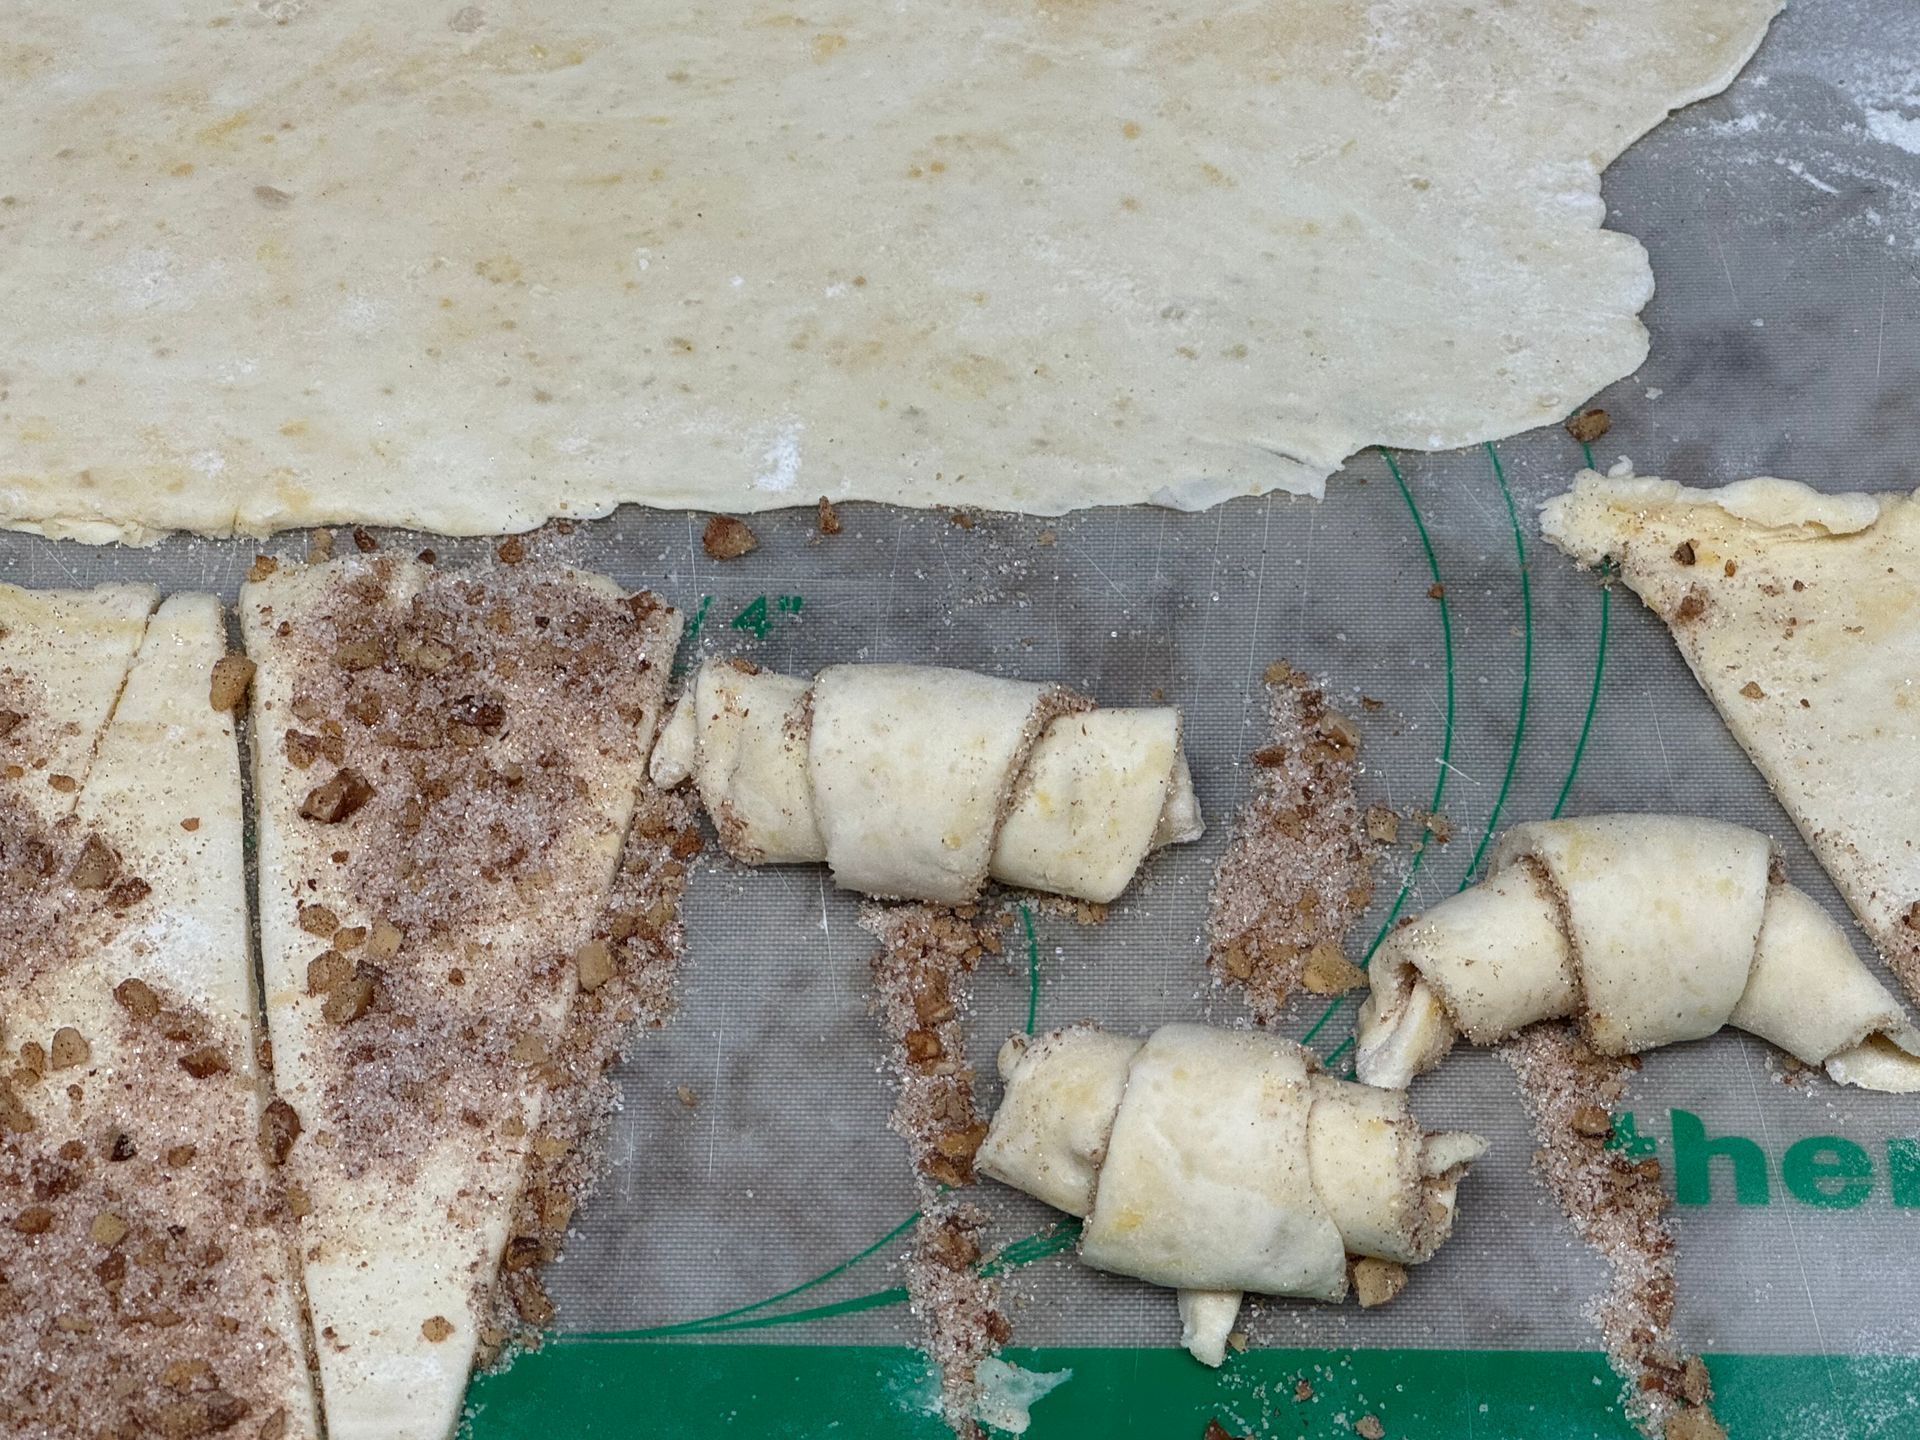
When the disks are cut, sprinkle with the sugar-walnut blend.

Roll the disks firmly from the wider, outside of the circle,  into the center, making a croissant shape.
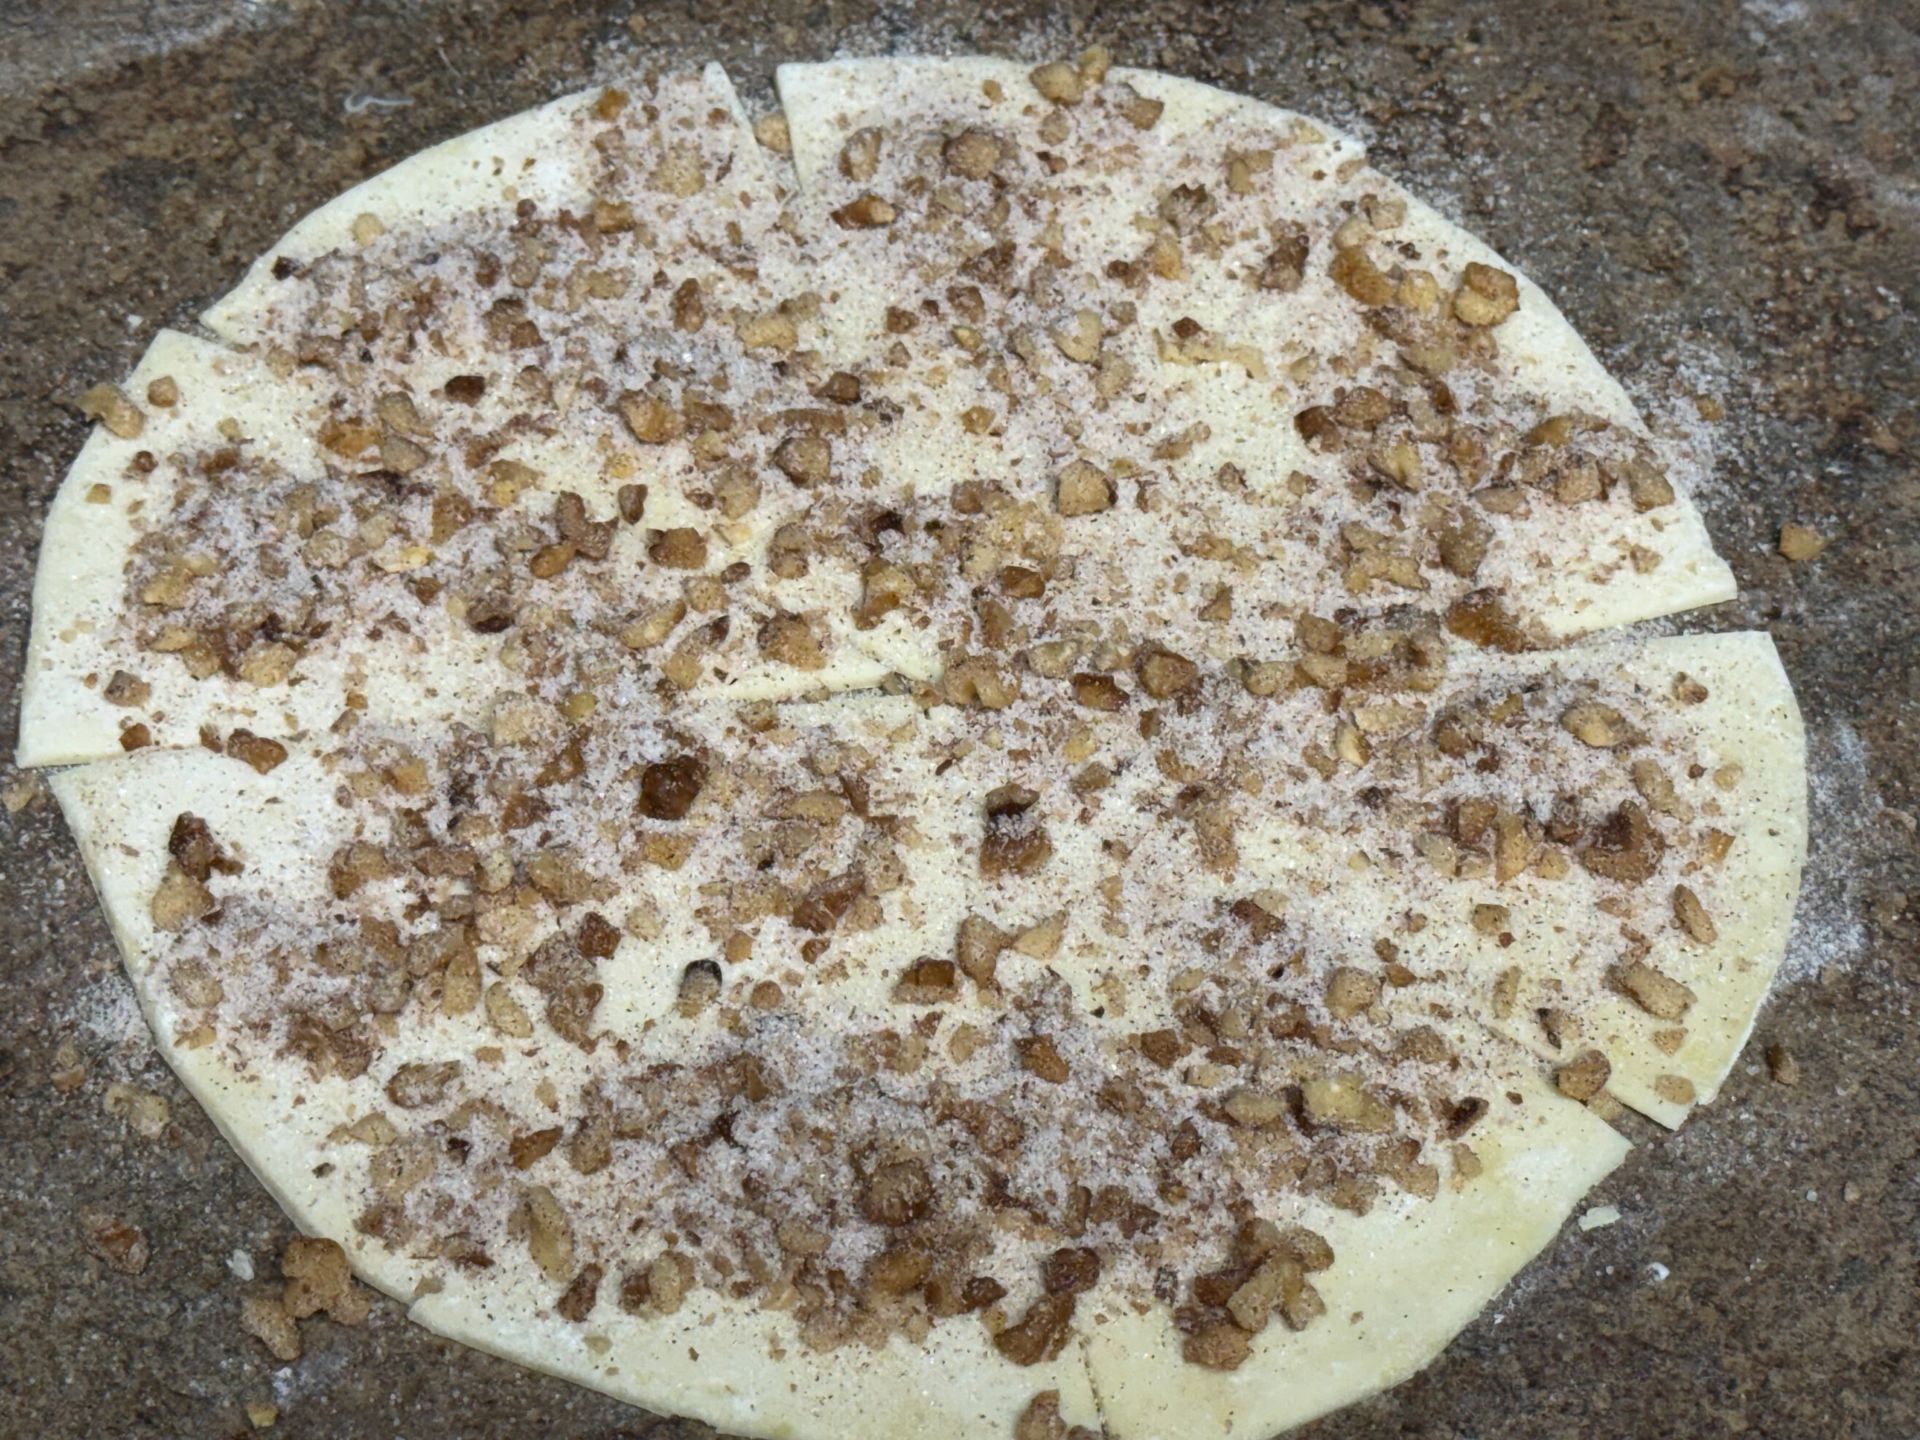
A dough circle cut into pies with nuts and cinnamon on it is sitting on a table.
rolling the butternut cookies into shape
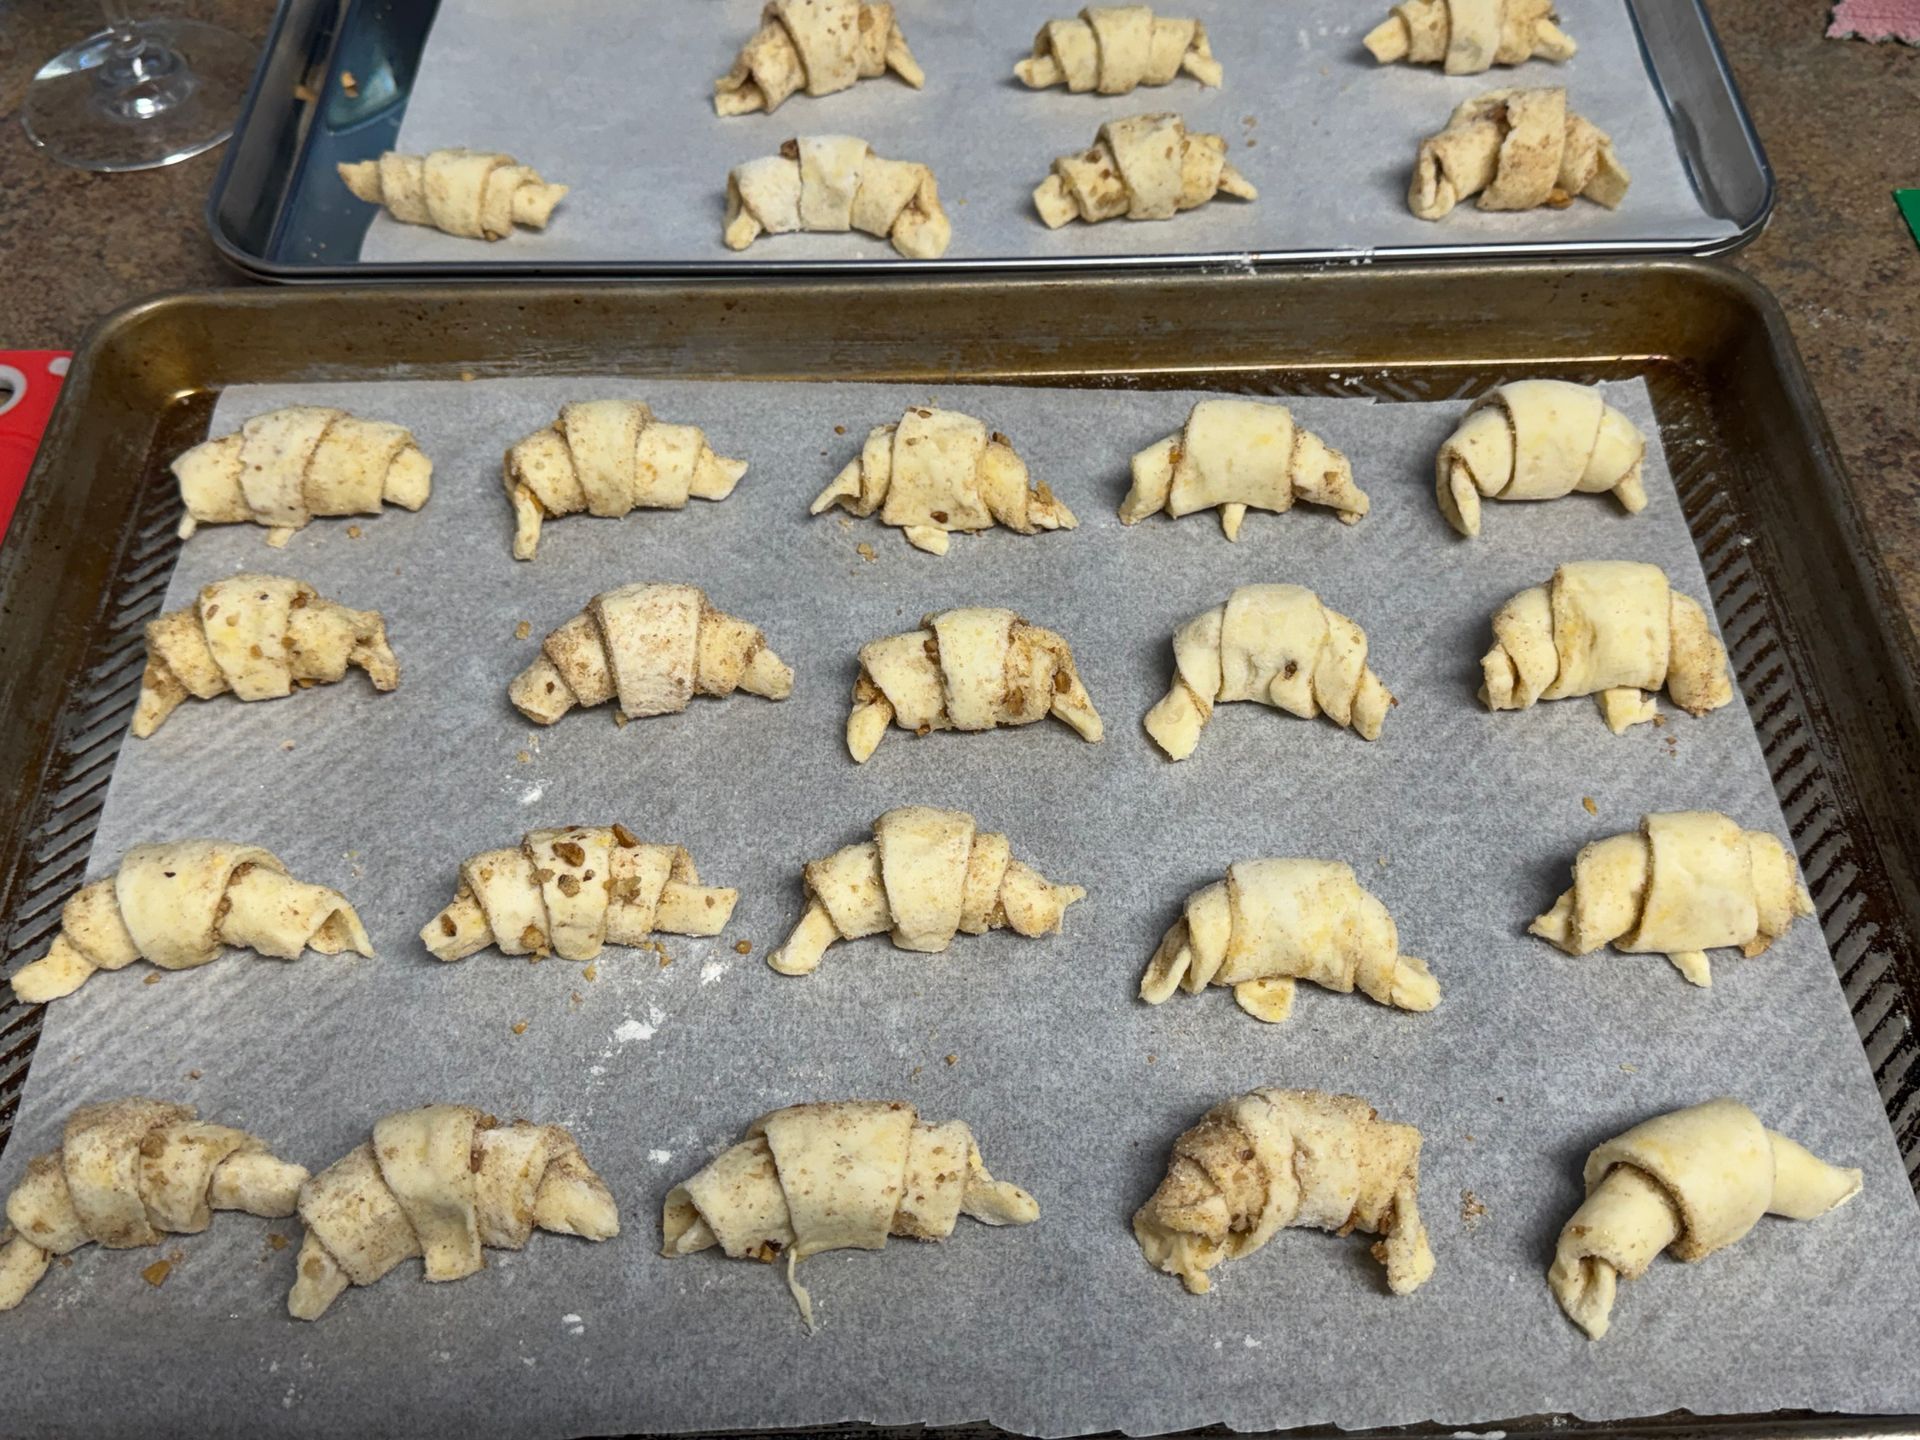
Ready to put the butterhorn cookies into the oven

Step 3 Baking
Curl slightly and place on a sheet pan with parchment. Sprinkle with remaining cinnamon, walnut sugar.

note: I like to double the sheet trays to help avoid the bottom of the butterhorn cookies from getting too brown.


Bake at 350° F for about 20 minutes until nicely browned and tender.

Enjoy
By Tom Griffiths • October 1, 2026
Chef Tom’s Cooking Class Minute — Week 10 Roasting Fish Let the Fish Taste Like Fish
By Tom Griffiths • October 1, 2026
Chef Tom's Cooking Class Minute: Week 9 Late Summer Grilling: Great Steak Doesn’t Have to be a Ribeye
By Tom Griffiths • October 1, 2026
Chef Tom's Cooking Class Minute: Week 8 Soft Shell Crabs-What’s Your Favorite Way to Eat Them?
By Tom Griffiths • October 1, 2026
Chef Tom's Cooking Class Minute: Week 7 Fava Beans
By Tom Griffiths • September 4, 2026
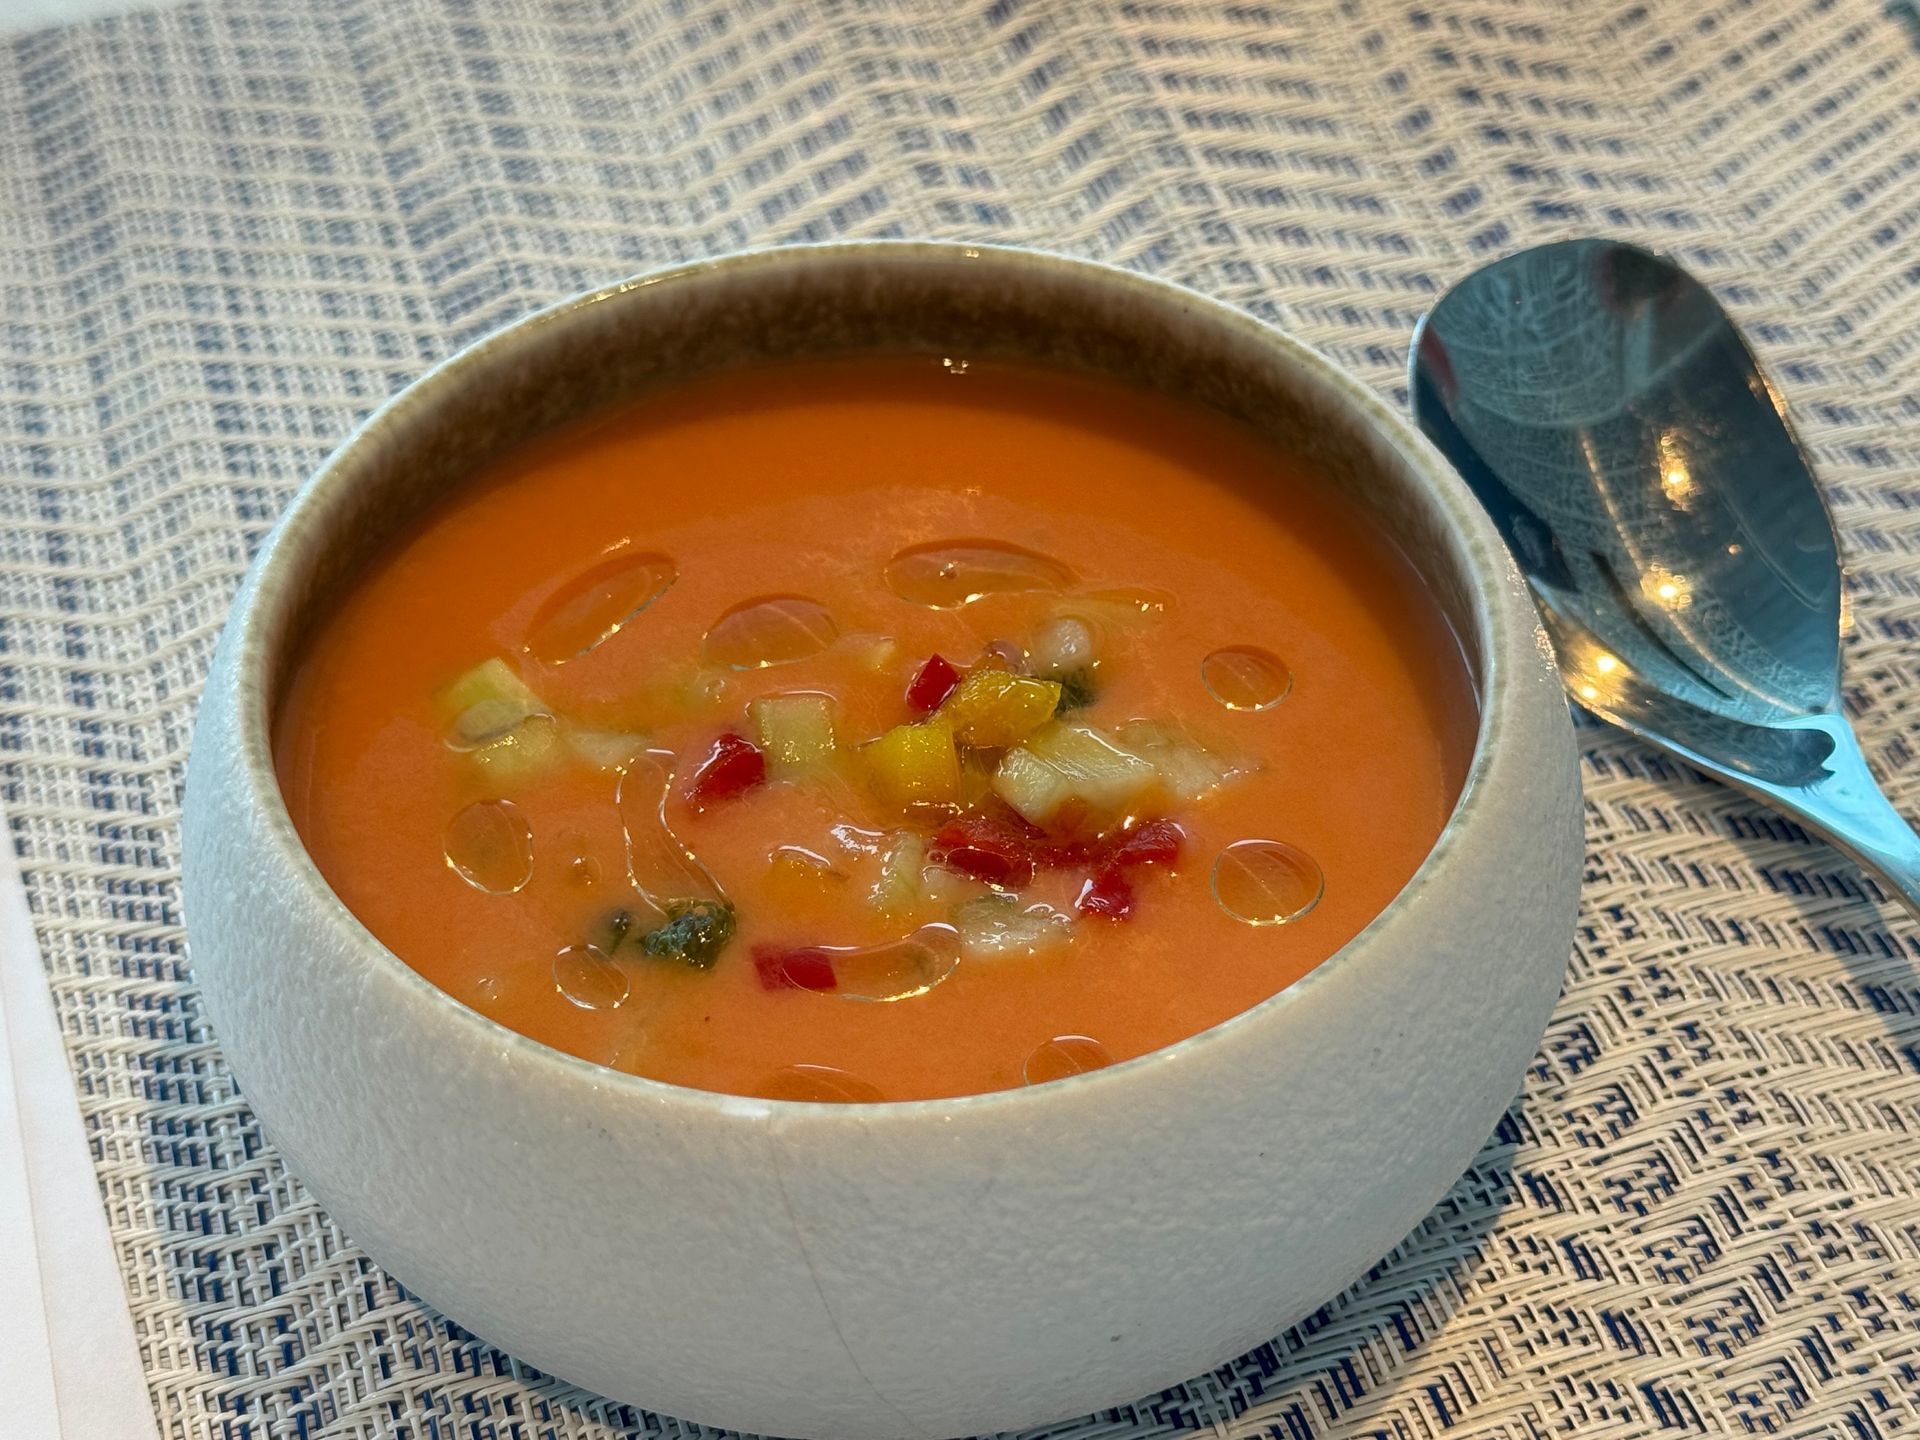
Chef Tom's Cooking Class Minute: Week 6 Gazpacho & Summer Tomatoes
By Tom Griffiths • September 4, 2026
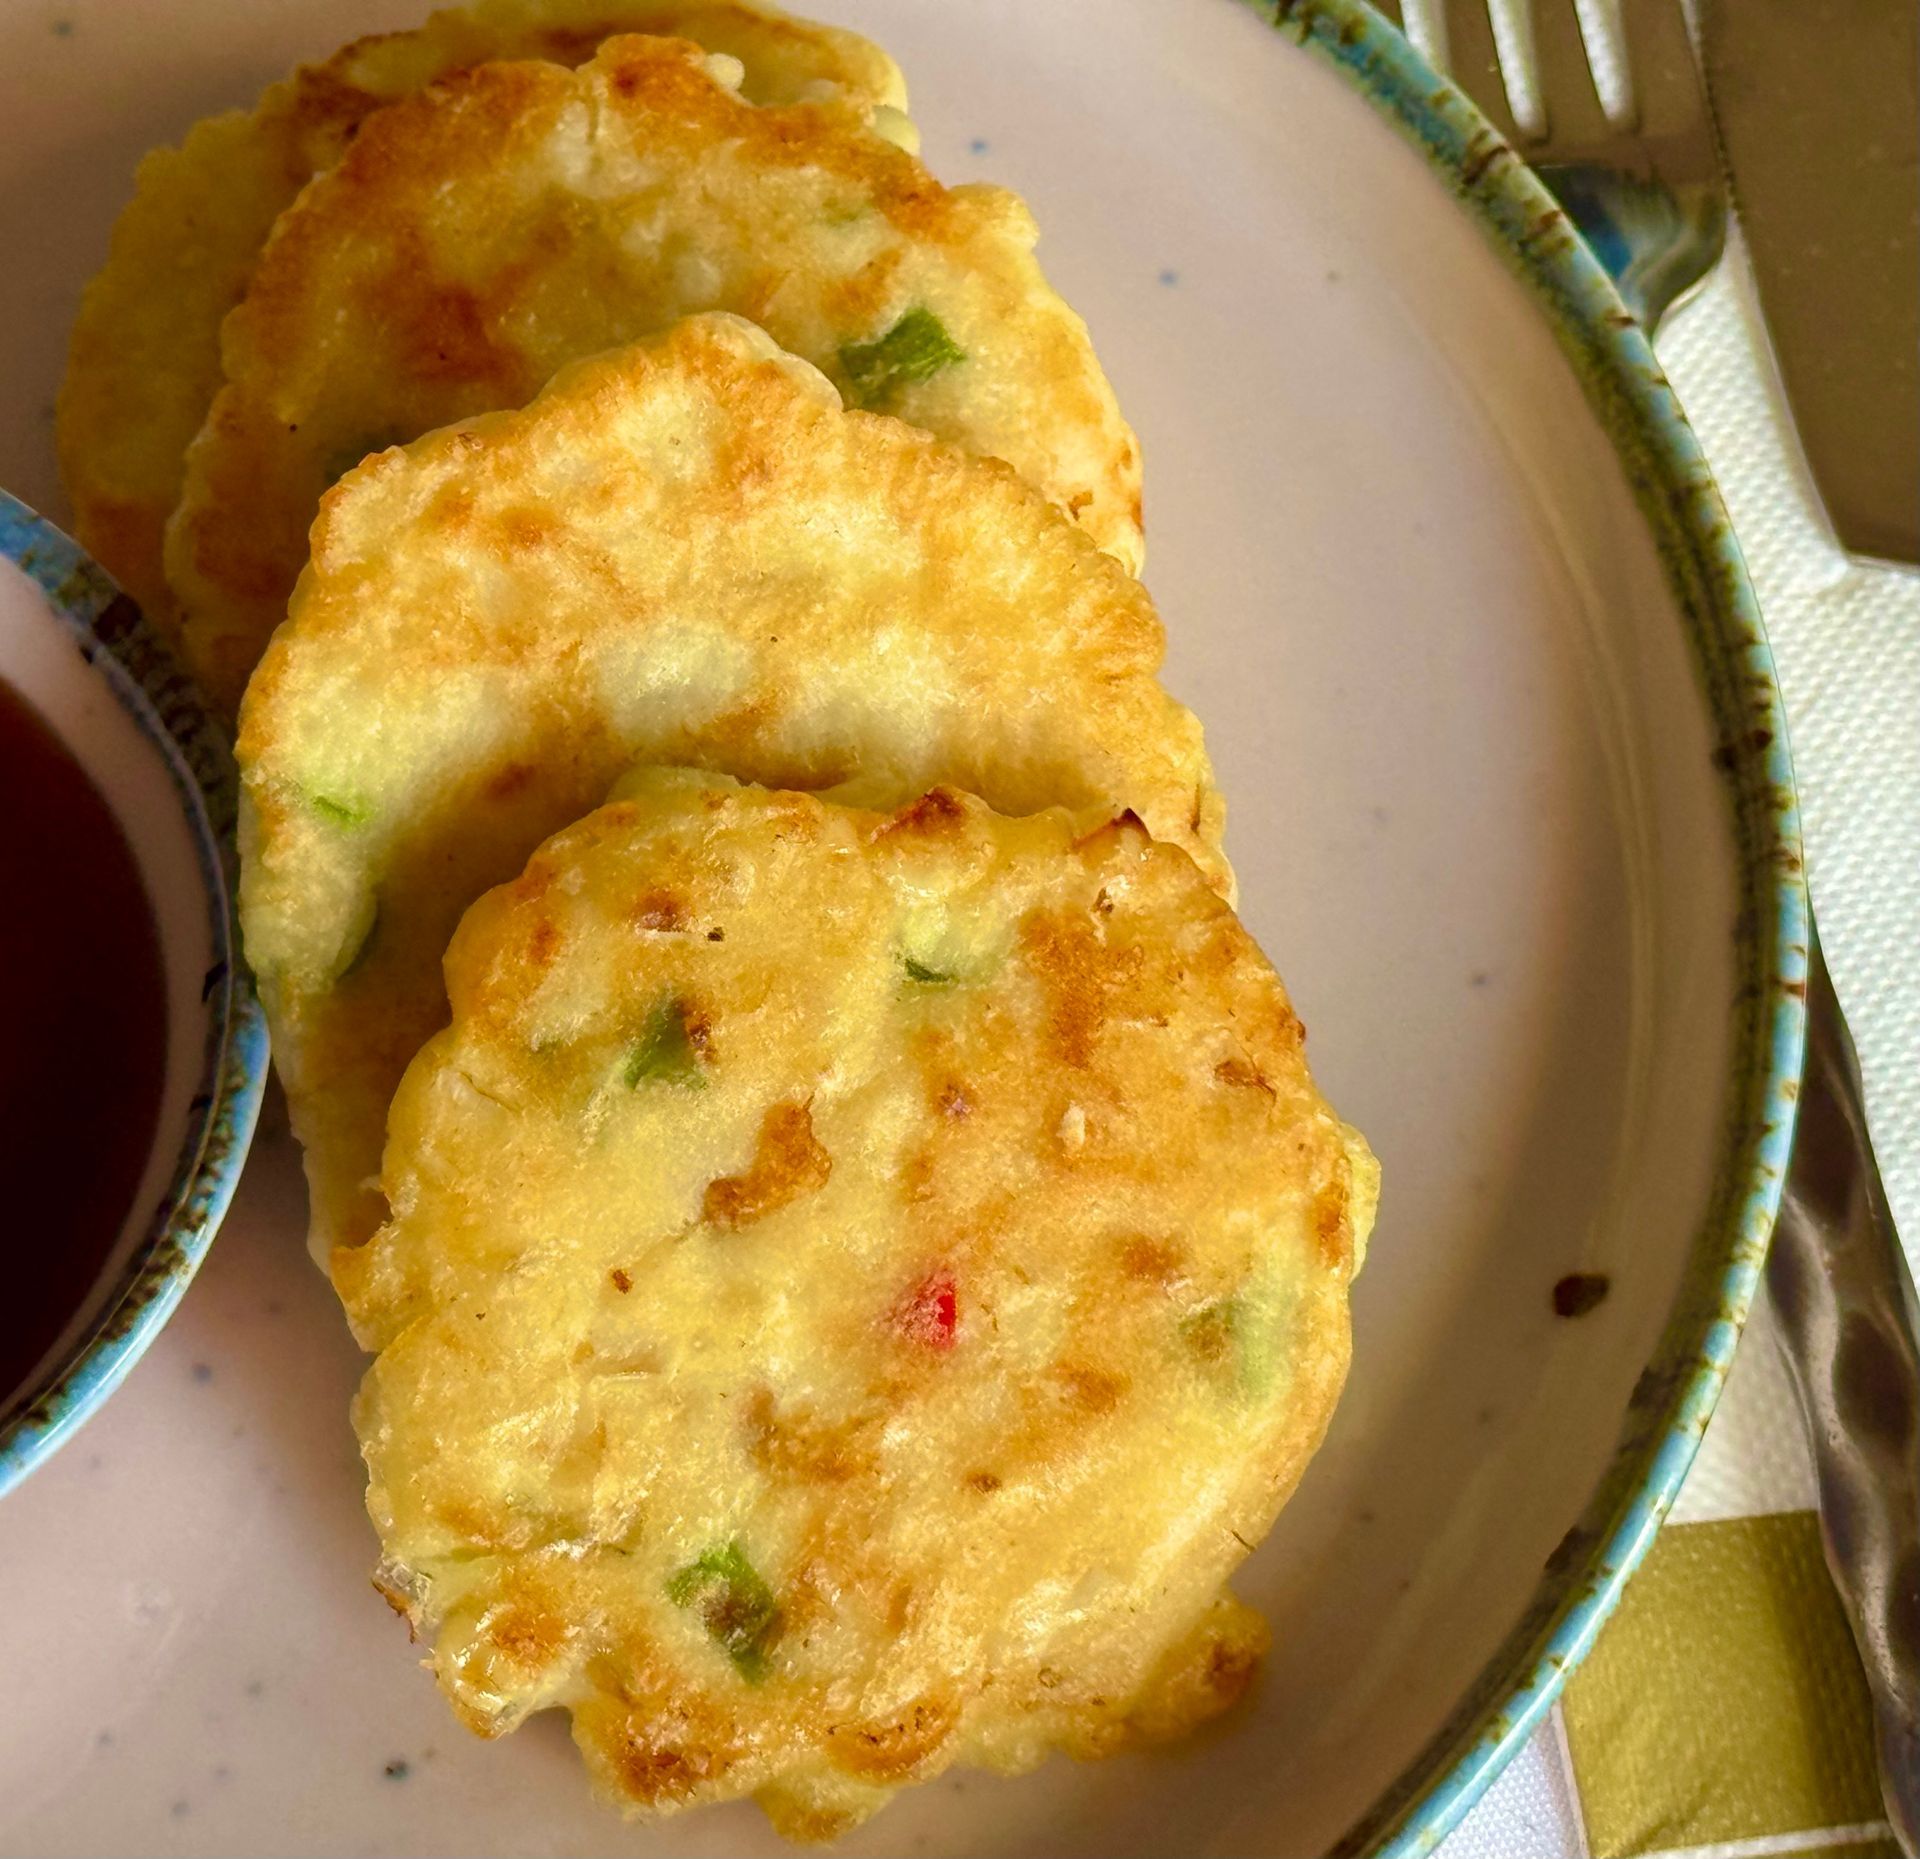
Chef Tom's Cooking Class Minute: Week 5 Summer Corn: Soup, Grill, Roast or Fritters? 
By Tom Griffiths • September 4, 2026
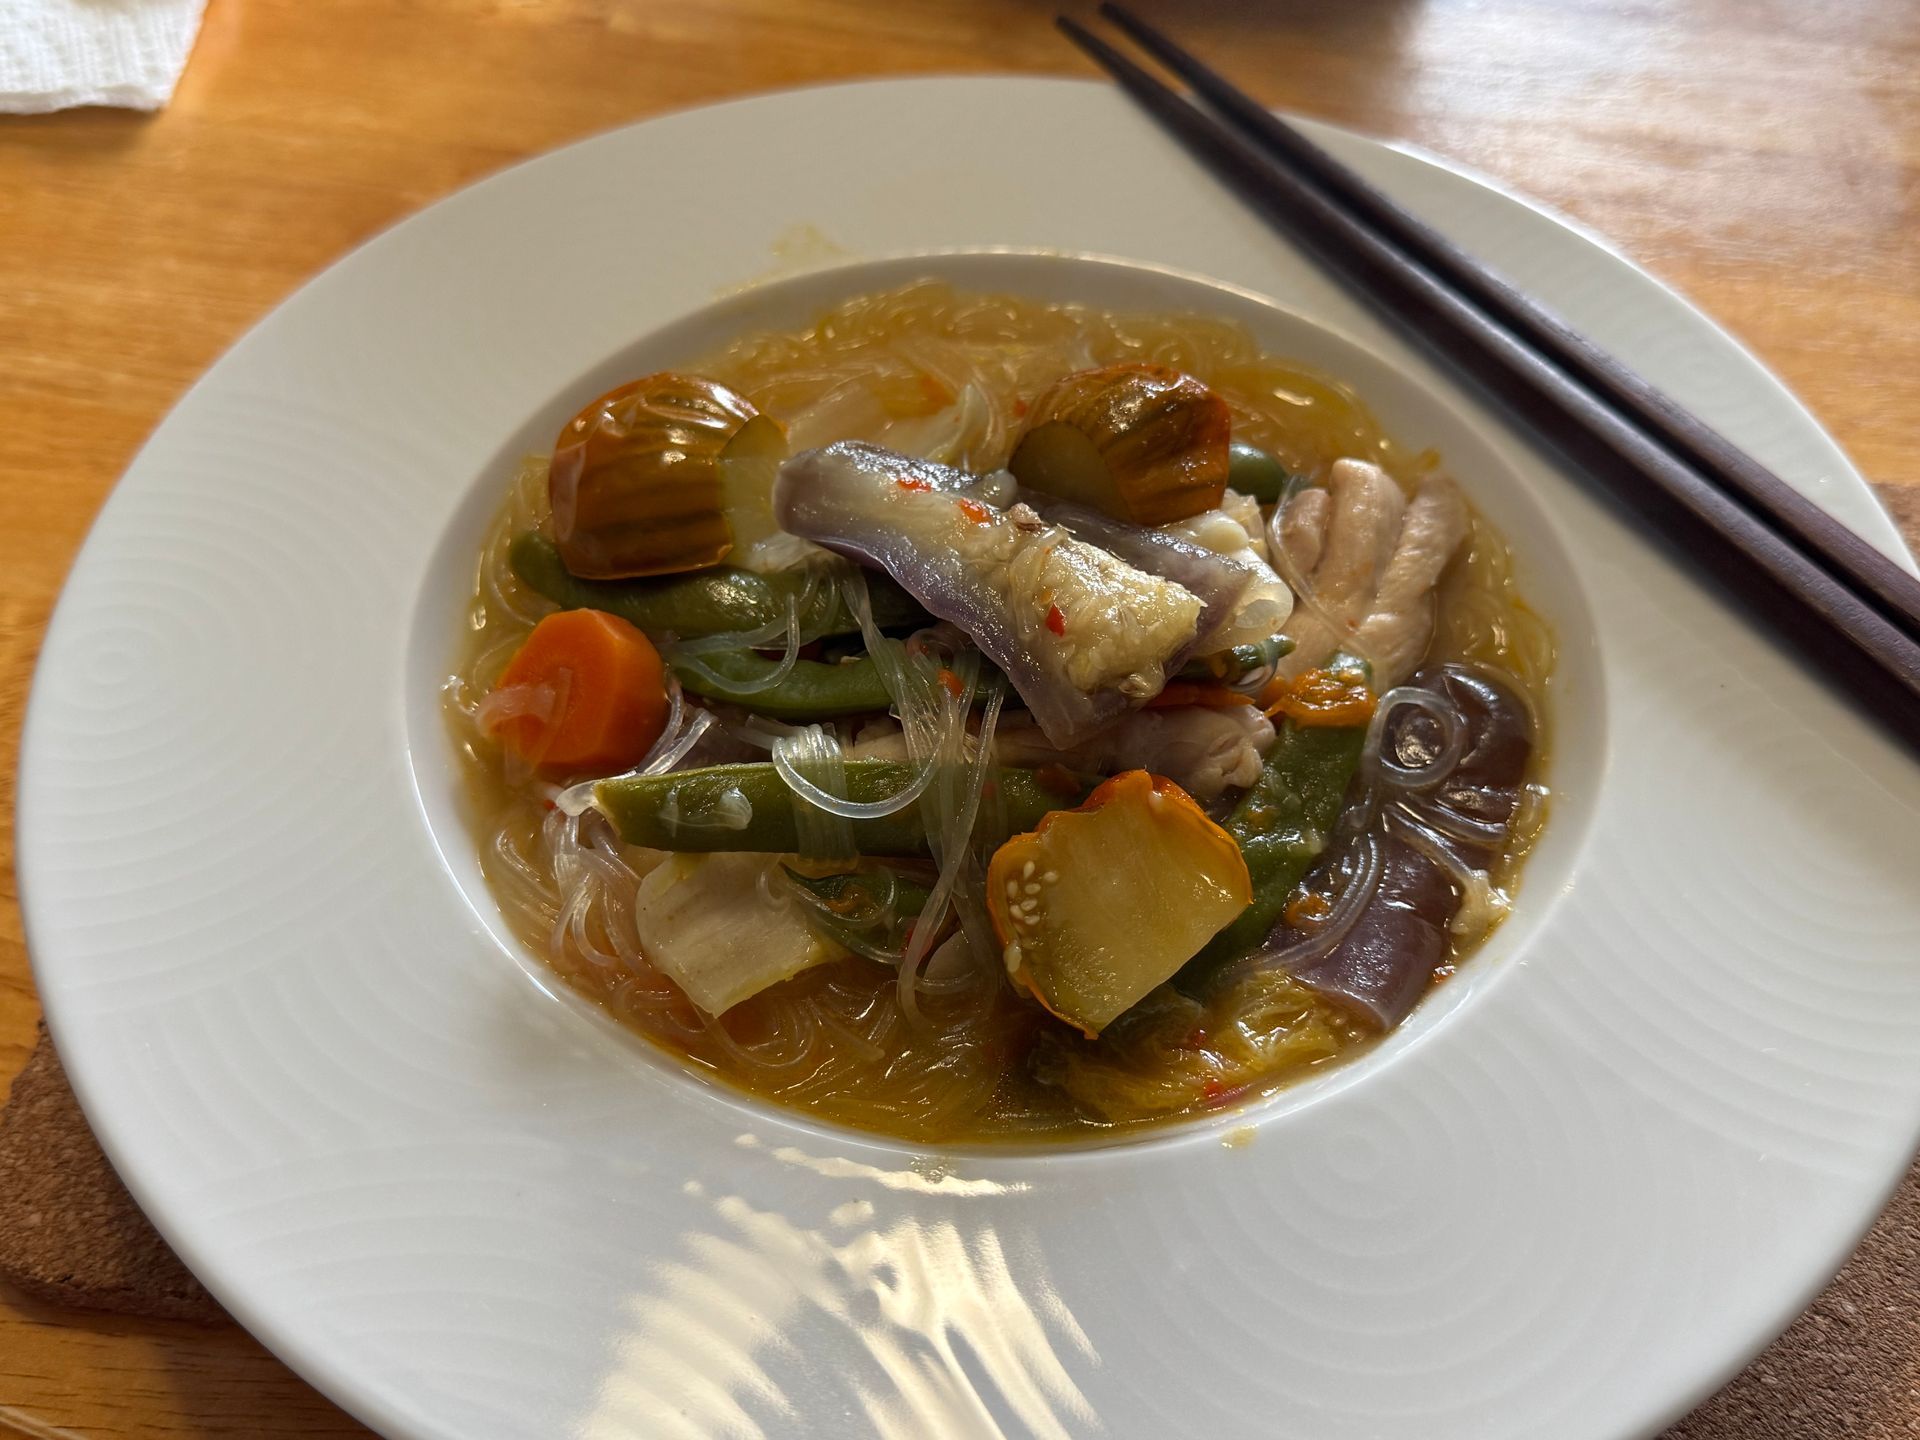
Chef Tom's Cooking Class Minute: Week 4 Cooking Summer Eggplant
By Tom Griffiths • August 11, 2026
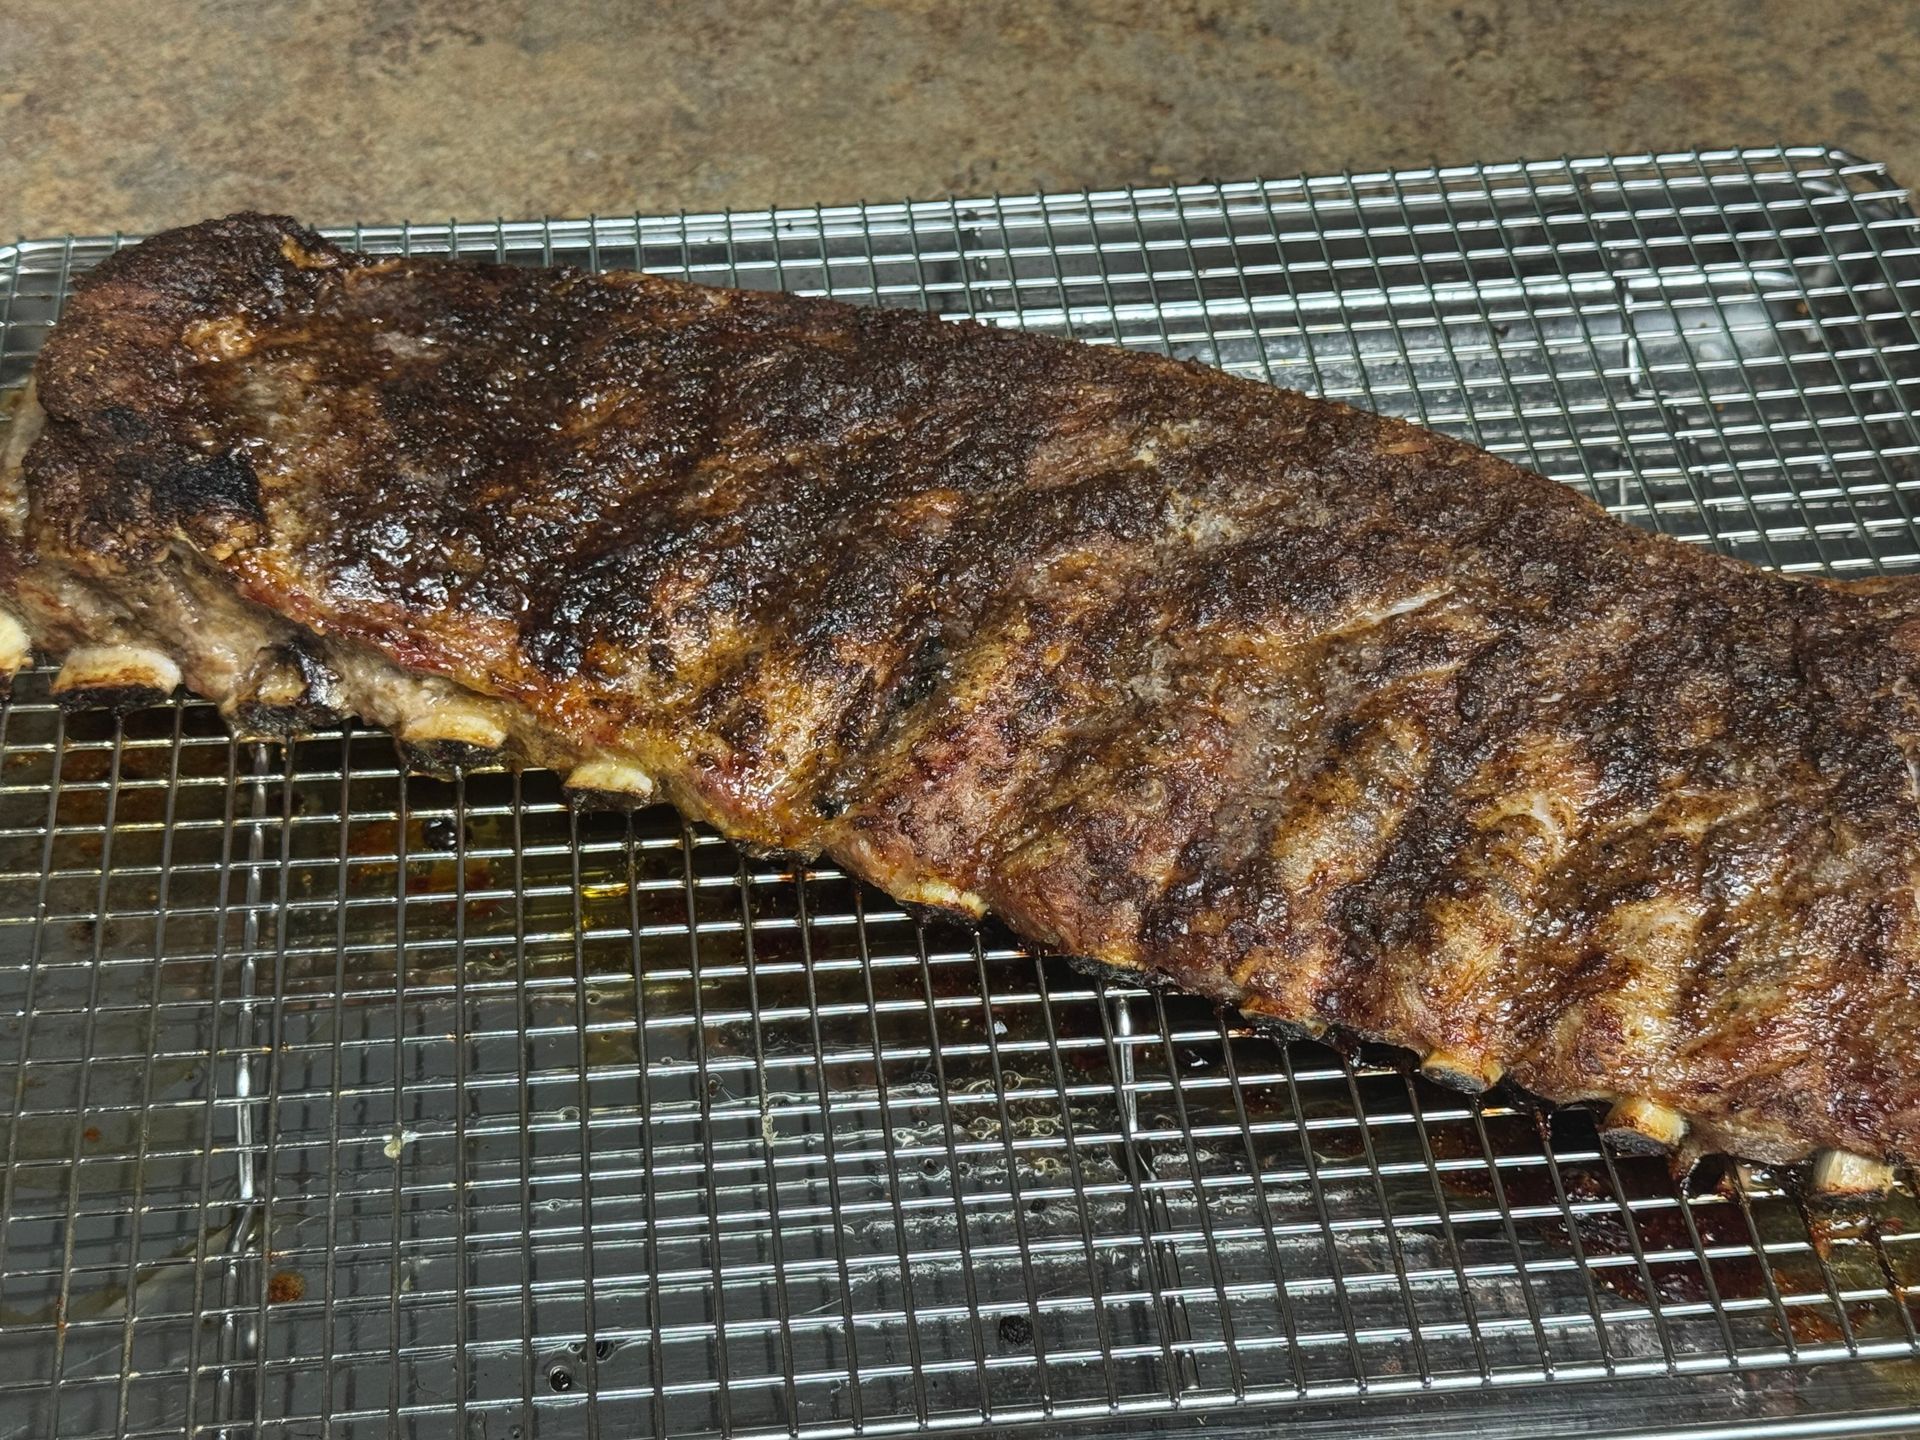
Chef Tom's Cooking Class Minute: Week 3 Cooking Pork Spare Ribs
By Tom Griffiths • August 8, 2026
Years ago I traveled around the south for a few weeks researching some of the amazing foods of each region. In Charleston, I was introduced to a local pig farmer, Tank Jackson who manages Holy City Hogs. Tank and his wife raise heritage breed pigs and distribute the pigs around the country. He offers on-site cooking whole pig roasts, primal cuts and sausages, and I believe he produces the best pork in the country.
By Tom Griffiths • August 8, 2026
Years ago, while working as a chef in a busy continental restaurant, we featured grilled, fresh swordfish on the menu—finished with a generous spoonful of herbed compound butter and capers. It was popular and delicious. One afternoon, a seafood purveyor stopped by with a sample of frozen swordfish steaks, fully thawed and ready for evaluation. Curious, we grilled it side by side with the “fresh” swordfish we had been serving—fish we believed to be of high quality. The result was surprising. The frozen swordfish was superior—firmer, cleaner in flavor, and more consistent in texture. In contrast, our “fresh” fish, likely several days out of the water, lacked the same integrity. It was a defining moment and an important reminder: in many cases, properly handled and quickly frozen seafood can offer better quality than fish labeled as fresh. For chefs, understanding sourcing and handling is just as critical as technique—especially with a product as prized as swordfish.