I agreed to be the Chef Advisor for the Gourmet Society at the CIA, an amazing honor to work with some of the best and brightest students.
We planned to demonstrate preparing pesto with a mortar and pestle and also with a food processor-then evaluate them both side by side.
We all suspected that the food processor would aerate the pesto, possibly the heat generated would be a problem-
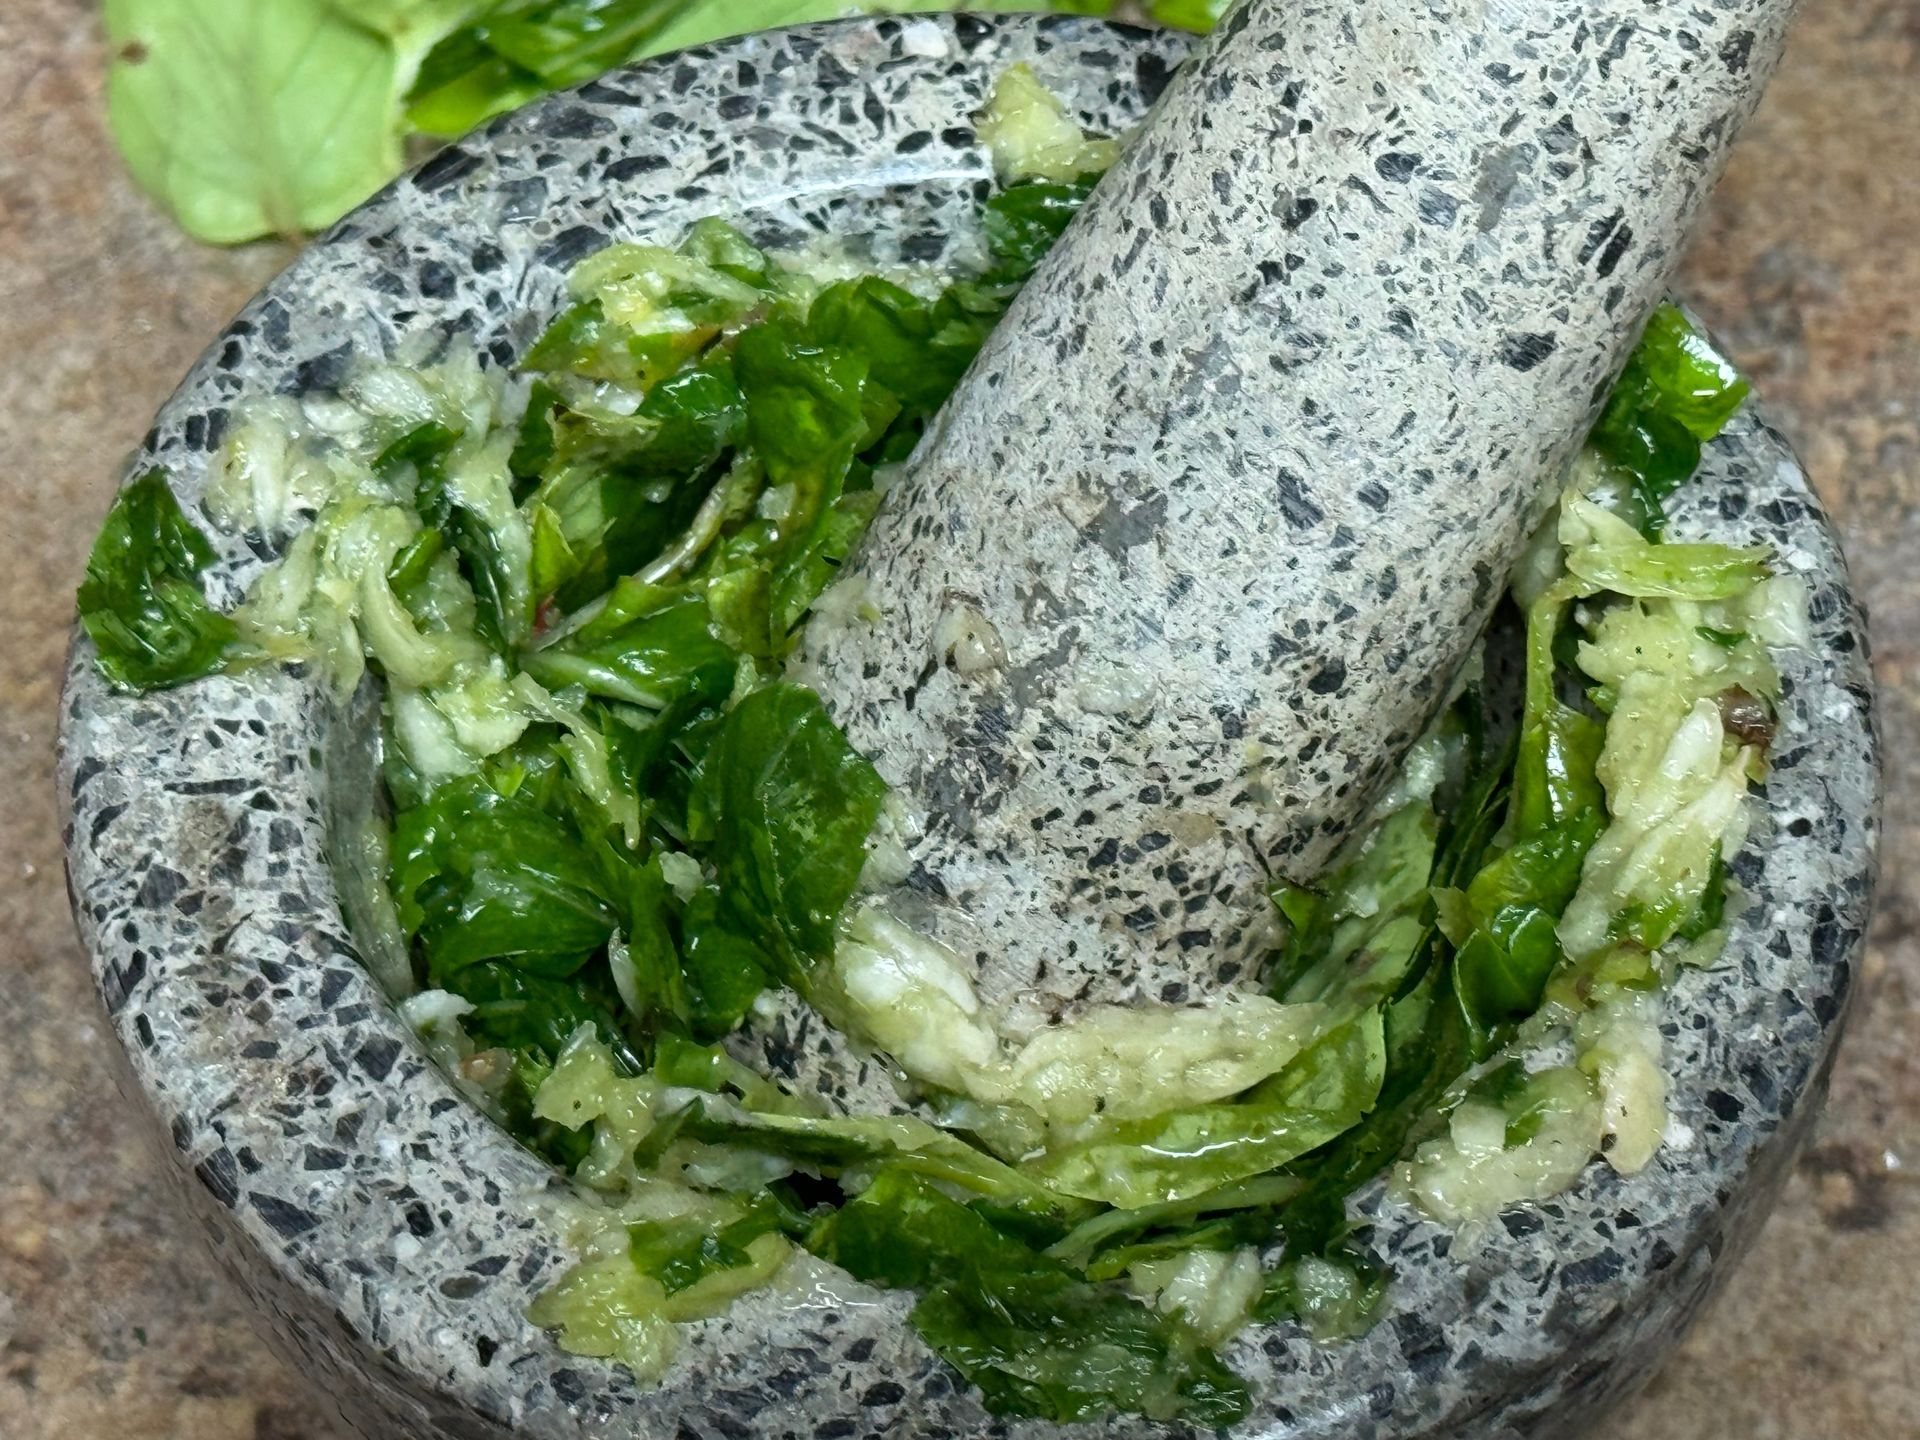
One student brought in a molcajete, the traditional mortar from Mexico, made from volcanic rock used for grinding spices, making salsas, moles, etc... I'm not sure this was the preferred mortar and pestle to use, these days I often use a marble mortar and pestle and make small batches.
The 'mortar and pestle' pesto was much more delicious than the food processor version at the CIA that day.
Pesto
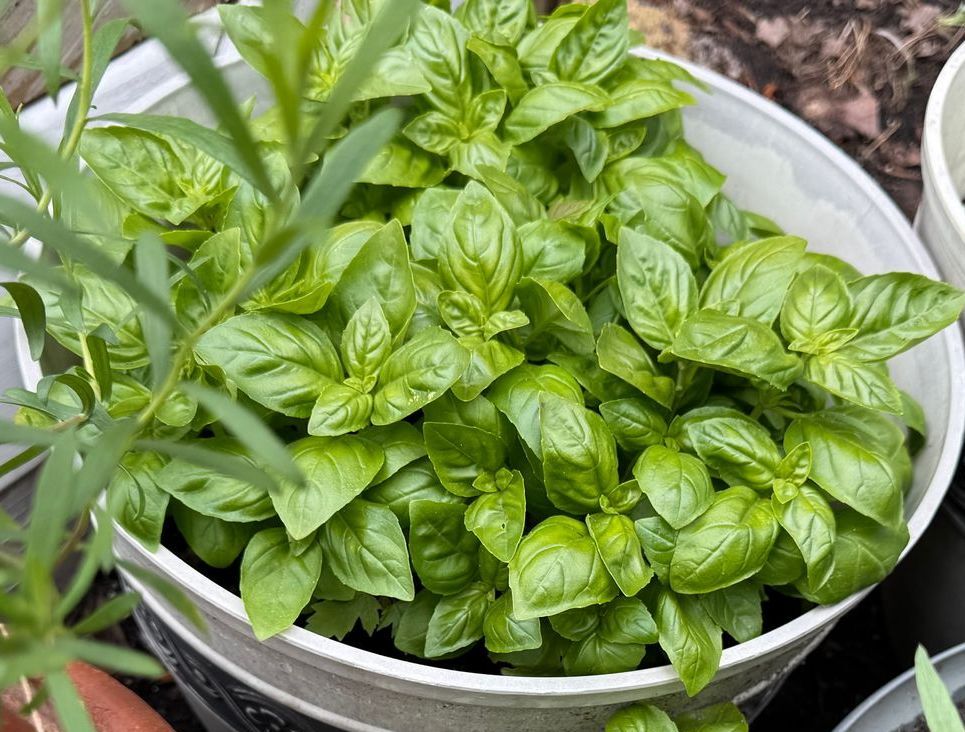
There are many varieties of basil throughout the world. I like to grow Genovese basil for pesto and San Marzano tomatoes for sauce. I prefer the flavors.
In my garden we grow Thai basil, sweet basil, dark opal as well as smaller leaf varieties. I like basil in salads and of course with warm, fresh mozzarella and EVOO.
I've had great success growing basil plants for several years, wintering them in my greenhouse.
I have to be careful of the aphids and of course watch the temperature but in the late spring I place the plants in a sunny spot in my garden and they quickly produce delicious basil leaves.
I'm beginning research on environmental issues which cause my basil to become bitter. I believe the hot sun and heat is the cause... more to come in future updates on this blog.
This is the pesto recipe we made at the CIA so many years ago.
Pesto
Prep Time: 30 min
Yield: 1 Cup
Ingredients
4 Cups Basil leaves, rinsed in cool water (I like Genovese basil)
3 Tbsp Garlic, freshly peeled (rough chop)
4 Tbsp. Pine nuts, toasted (toasted, peeled walnuts are a good substitution)
6-8 oz Extra Virgin Olive Oil
4 Tbsp Parmesan Cheese, freshly grated (or to taste)
t.t. Kosher Salt and Freshly Milled Black Pepper
How to Prepare Pesto
Step 1
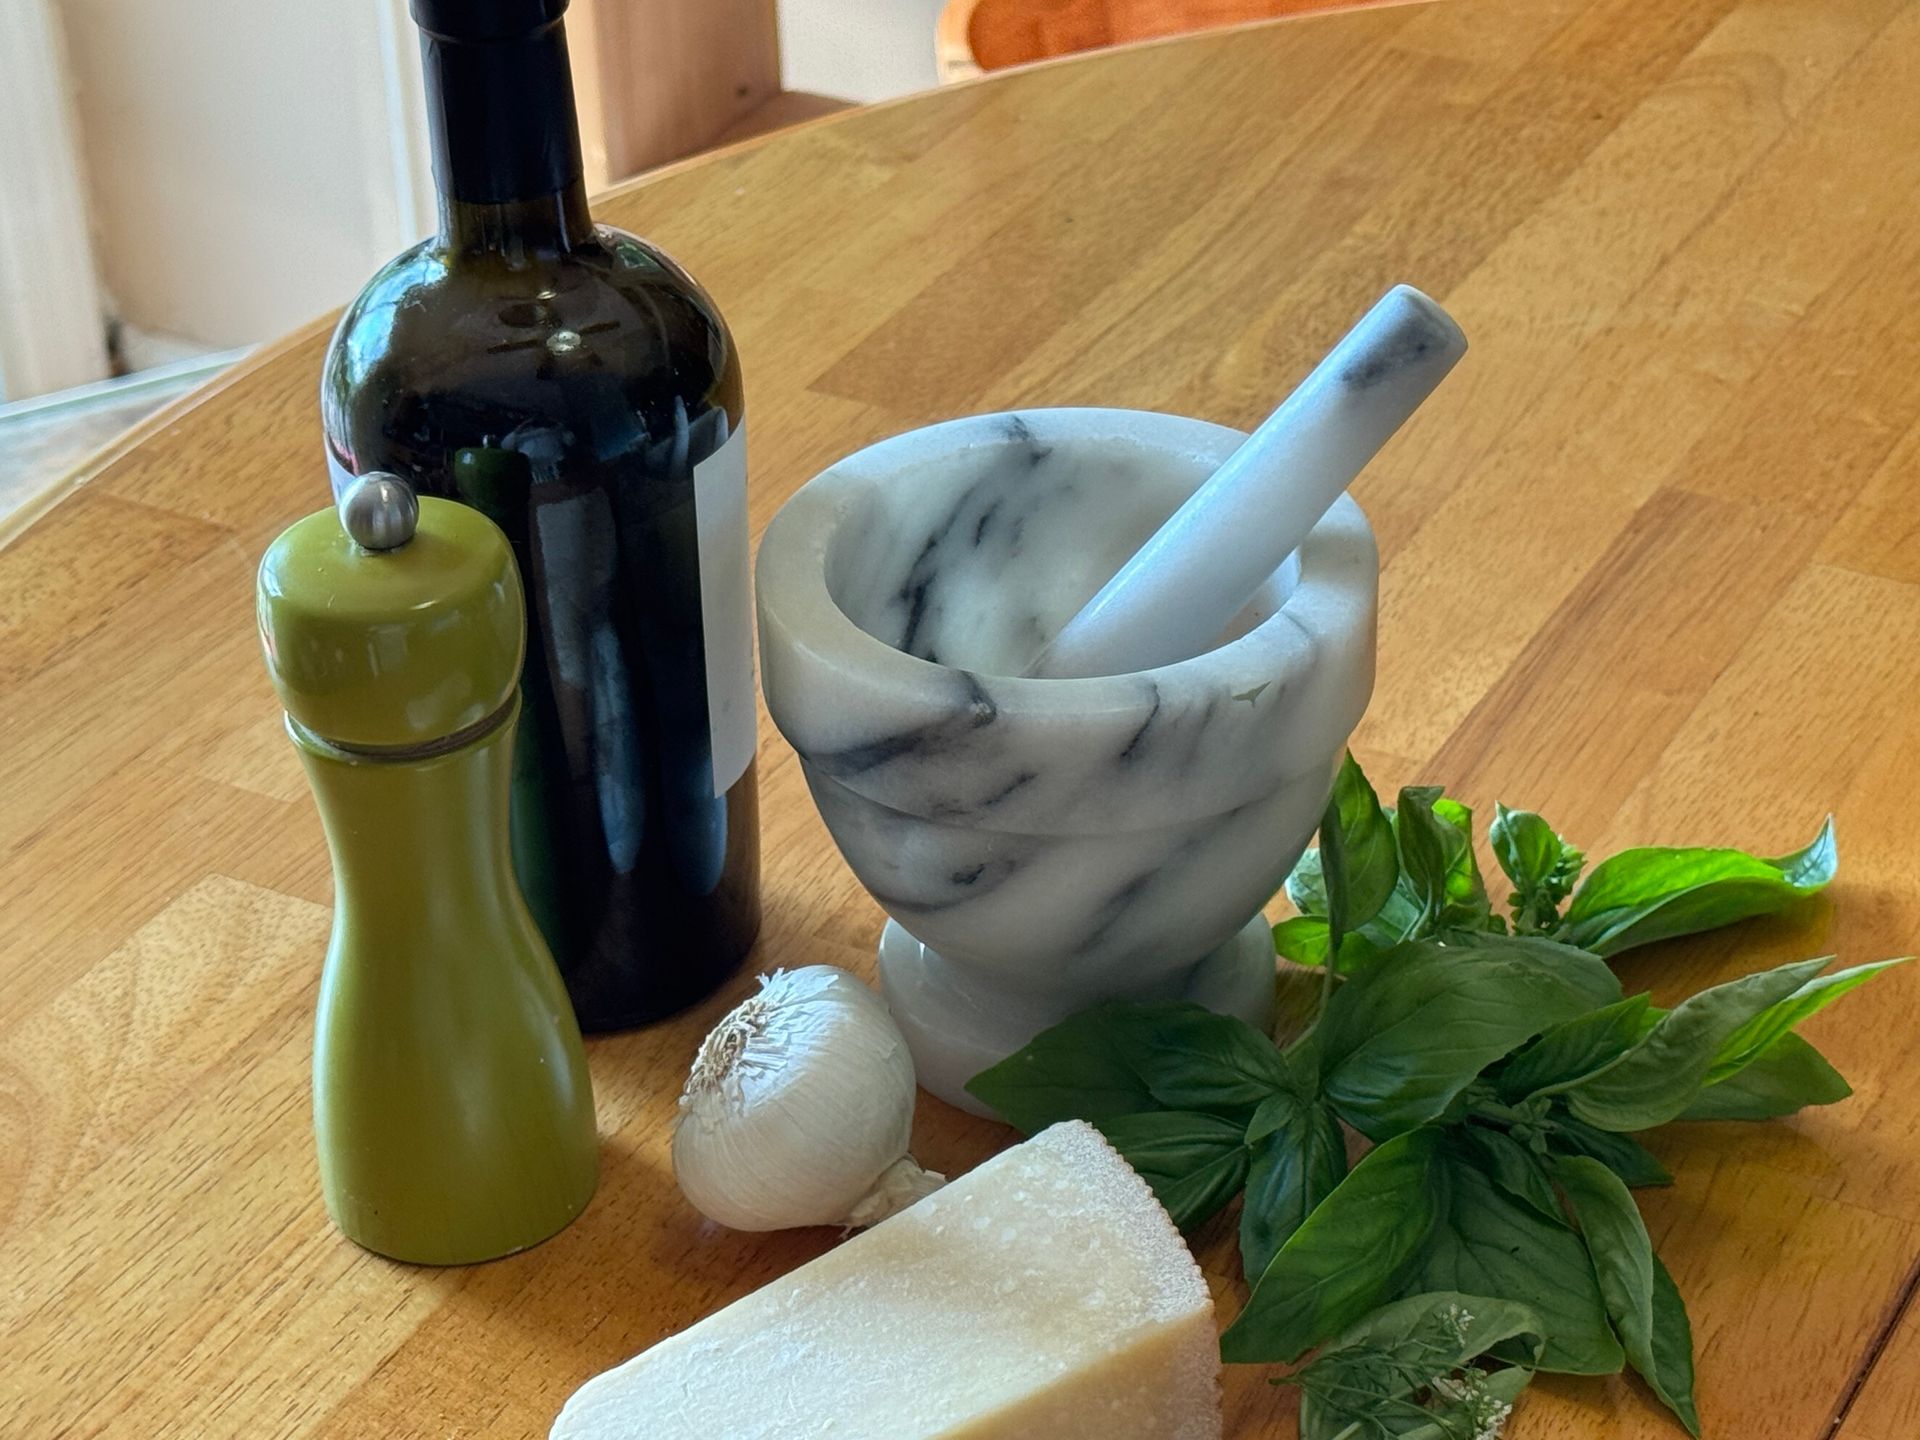
Assemble all of the ingredients; I like to pick the smaller, tender basil leaves and always cut off any extra stem.
If you are using a food processor, you can simply add all of the ingredients, pulse and wipe the sides with a rubber spatula-repeat until the ingredients are a smooth paste.
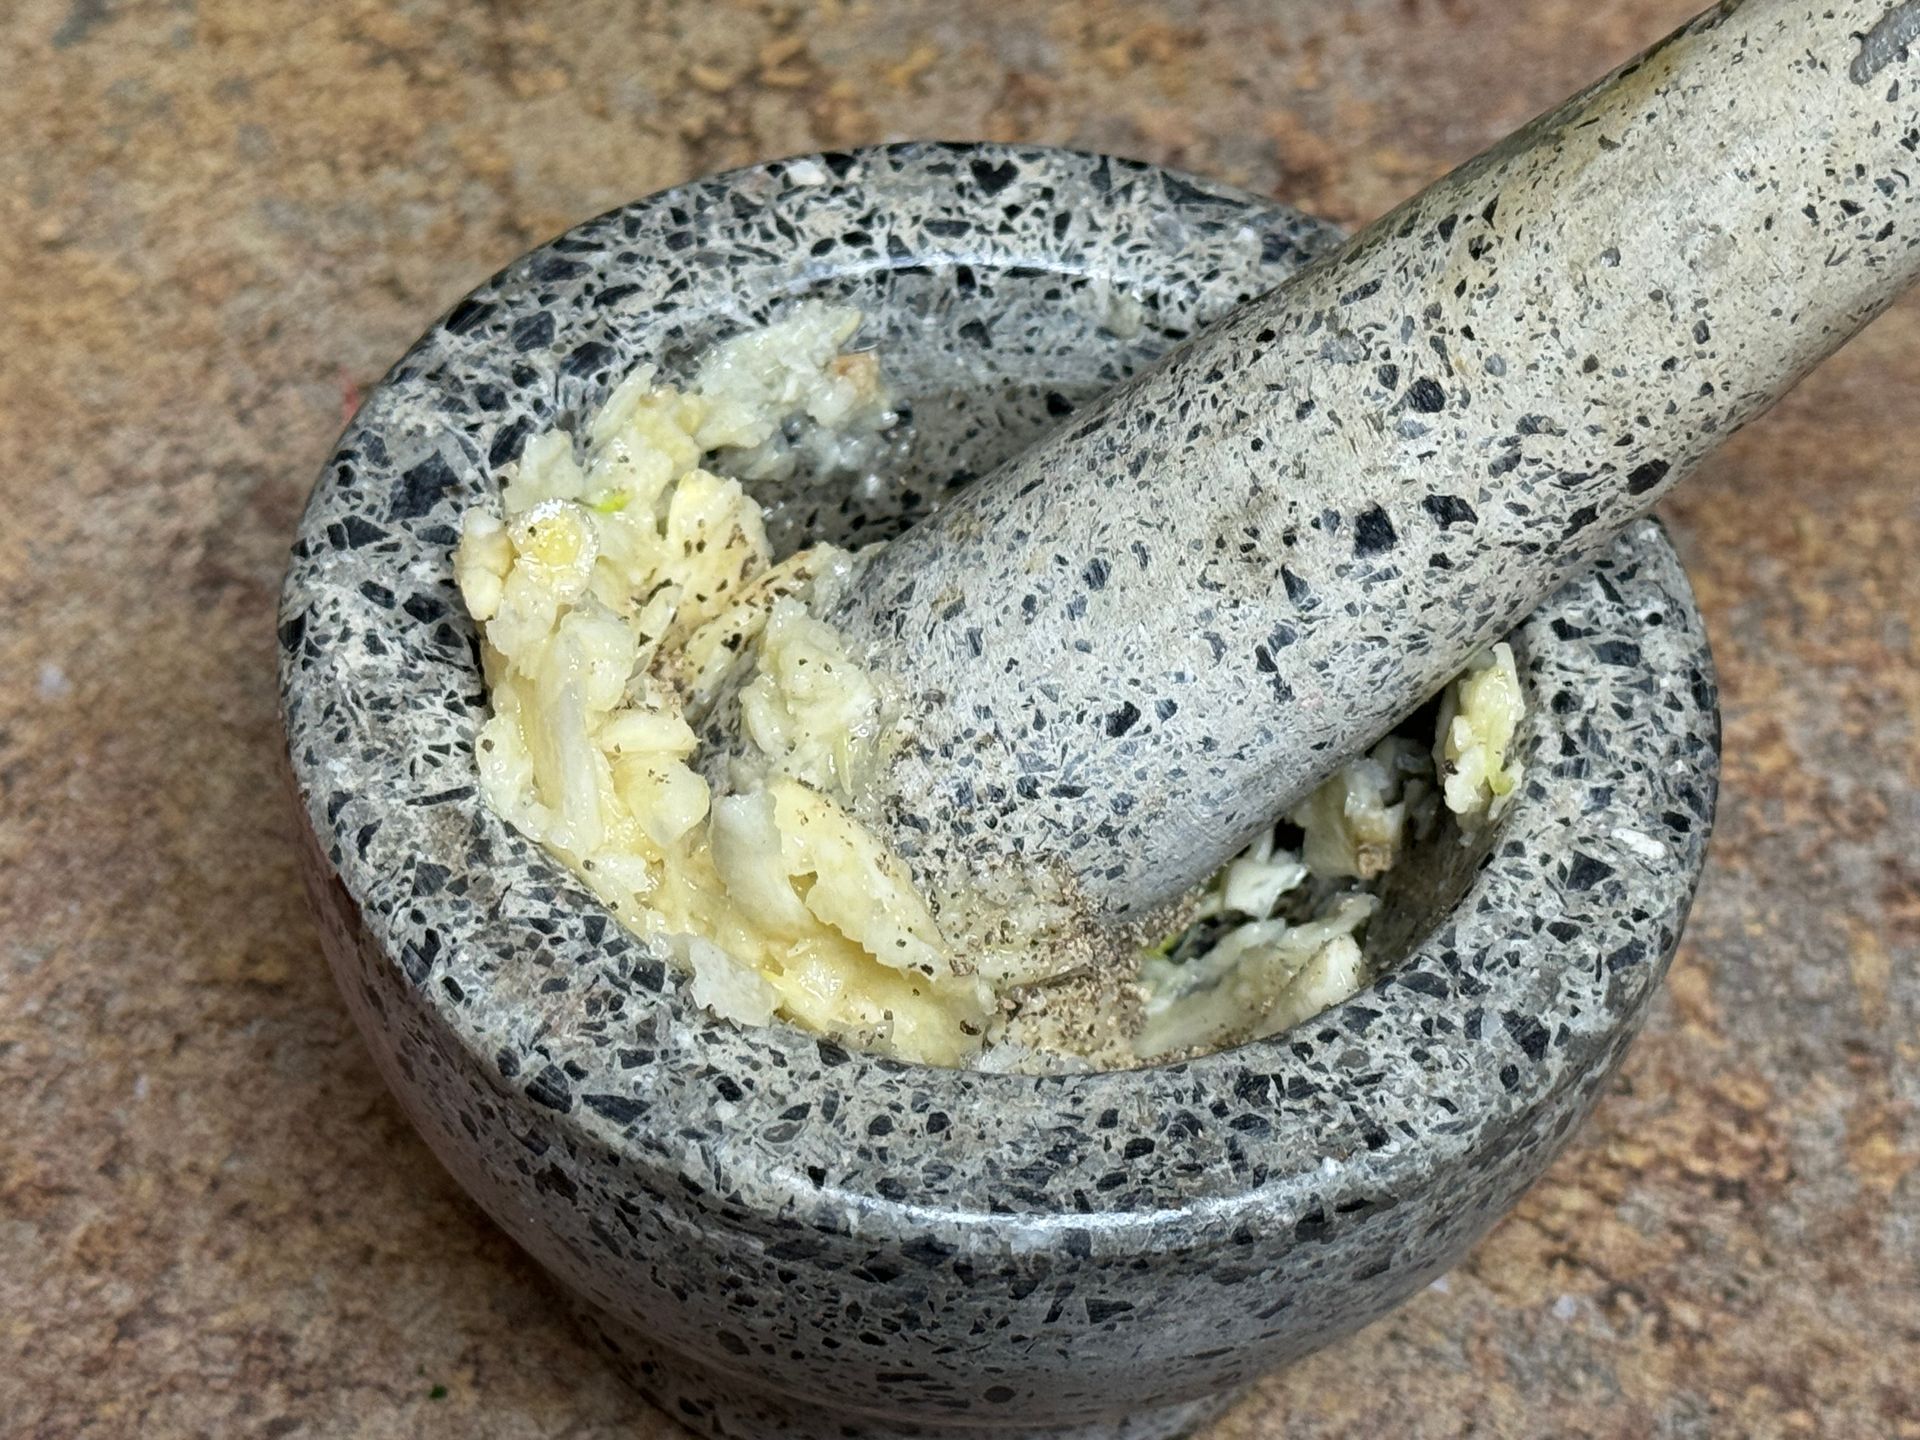
Begin by adding garlic to the mortar. Add a little salt and 1/3 of the basil; begin to slowly crush the basil with the pestle in a grinding method.
Add some of the pine nuts and parmesan cheese and a little more basil and continue to grind. The basil may spill out a little so simple add it back into the mortar.
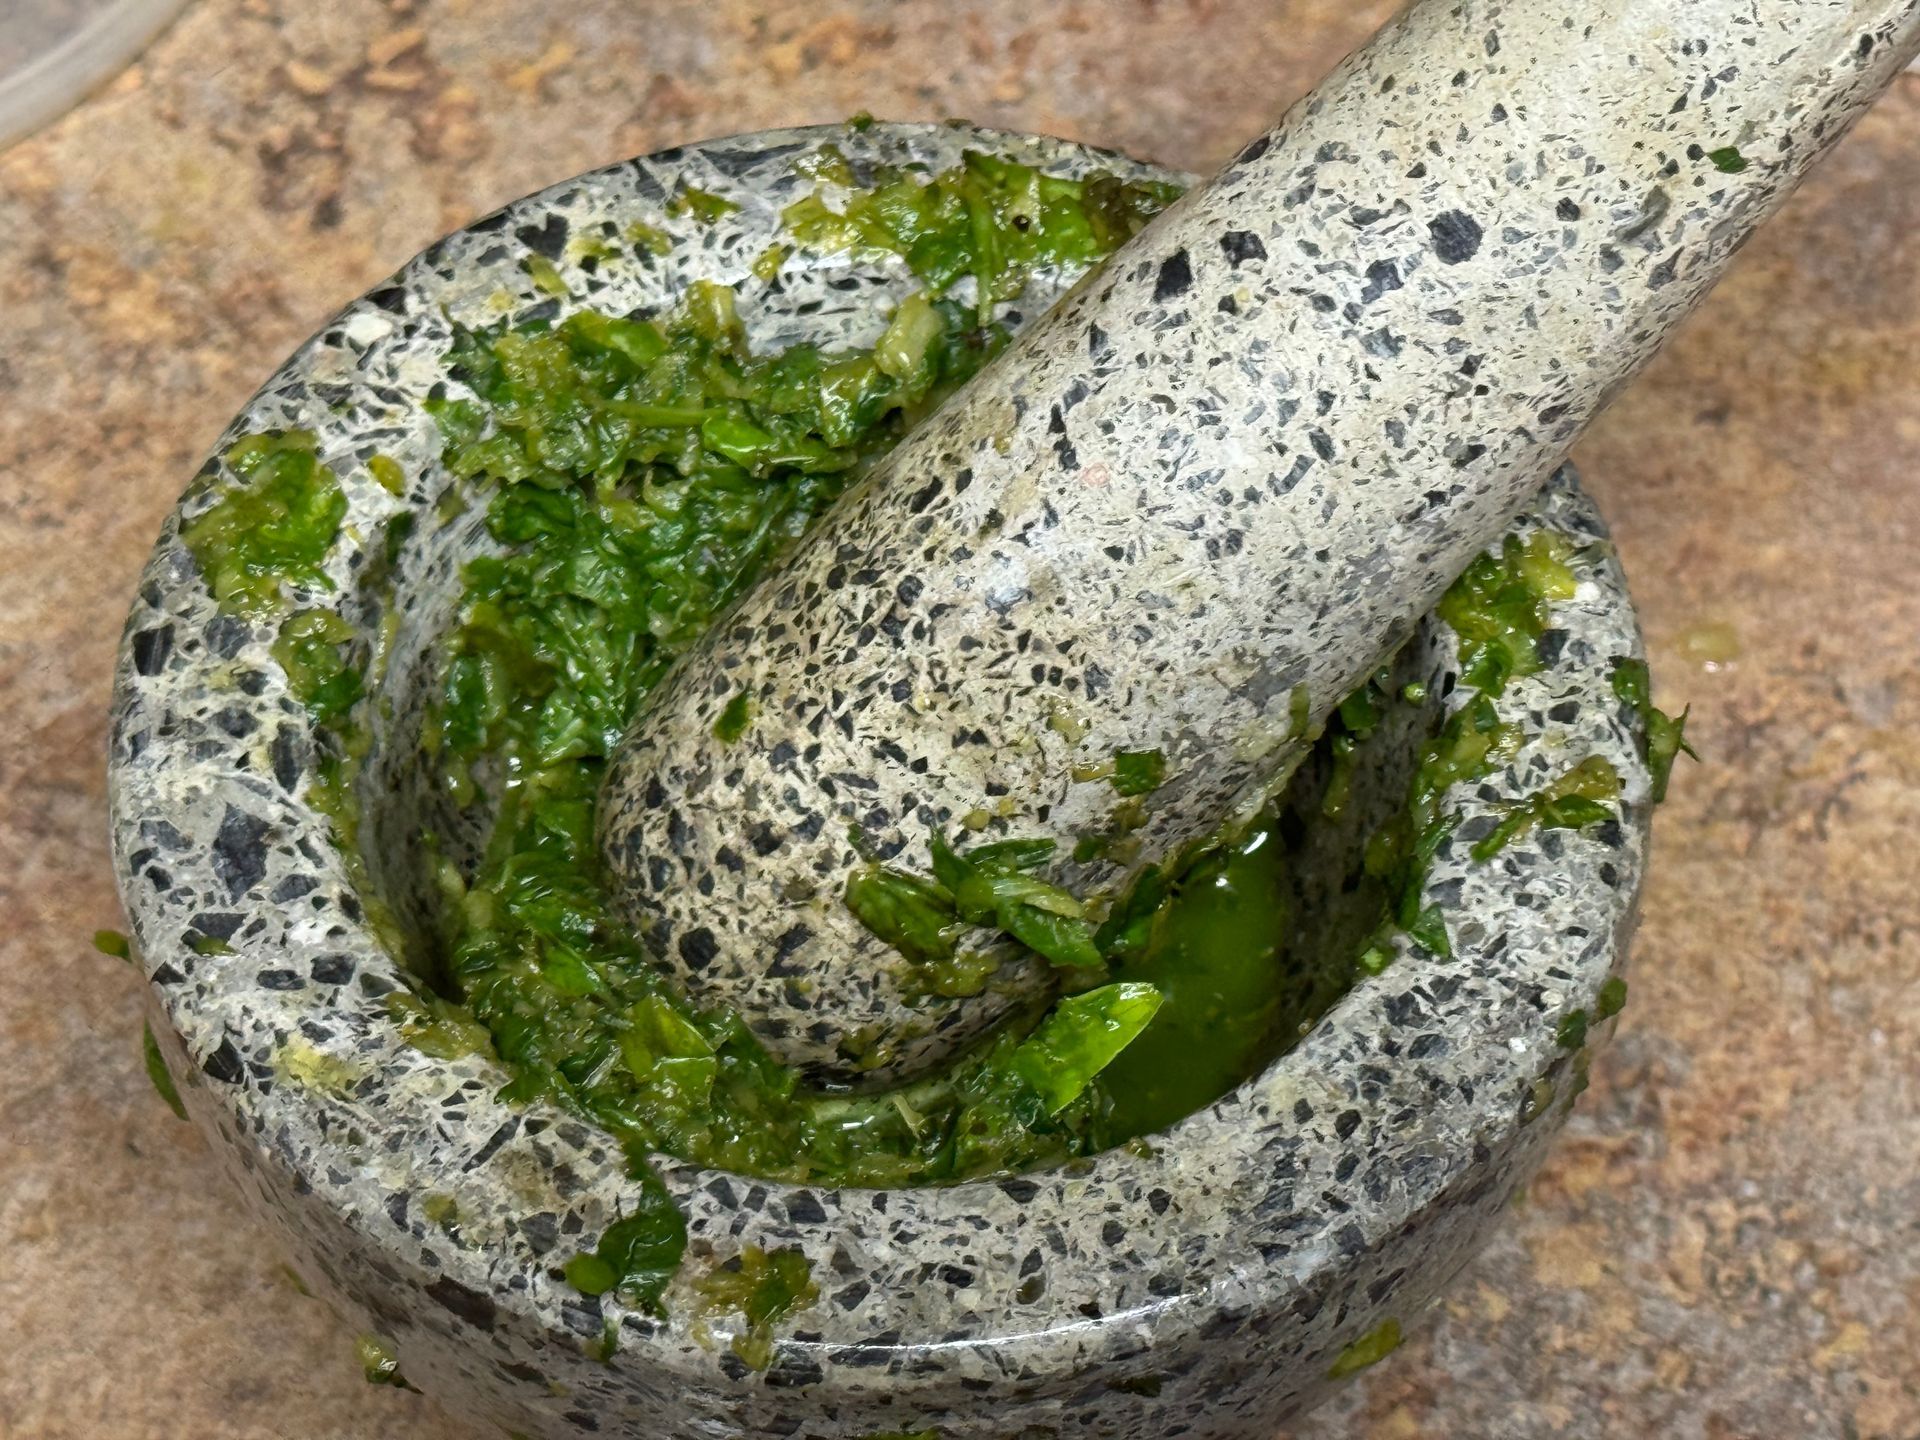
Continue adding pine nuts, parmesan cheese and basil, slowly drizzling in the EVOO as needed to help with the blending.
When all of ingredients have been ground to a beautiful, green, smooth paste, season to taste with salt and pepper.
It's best not to heat the pesto, just toss onto warm, freshly cooked macaroni or on tomatoes, mozzarella etc...
You can store pesto in the refrigerator or freezer in an air tight container with a little EVOO on the top to stop oxidation.
I sometimes add fresh herbs such as mint, tarragon or parsley, to add a different flavor to the pesto.
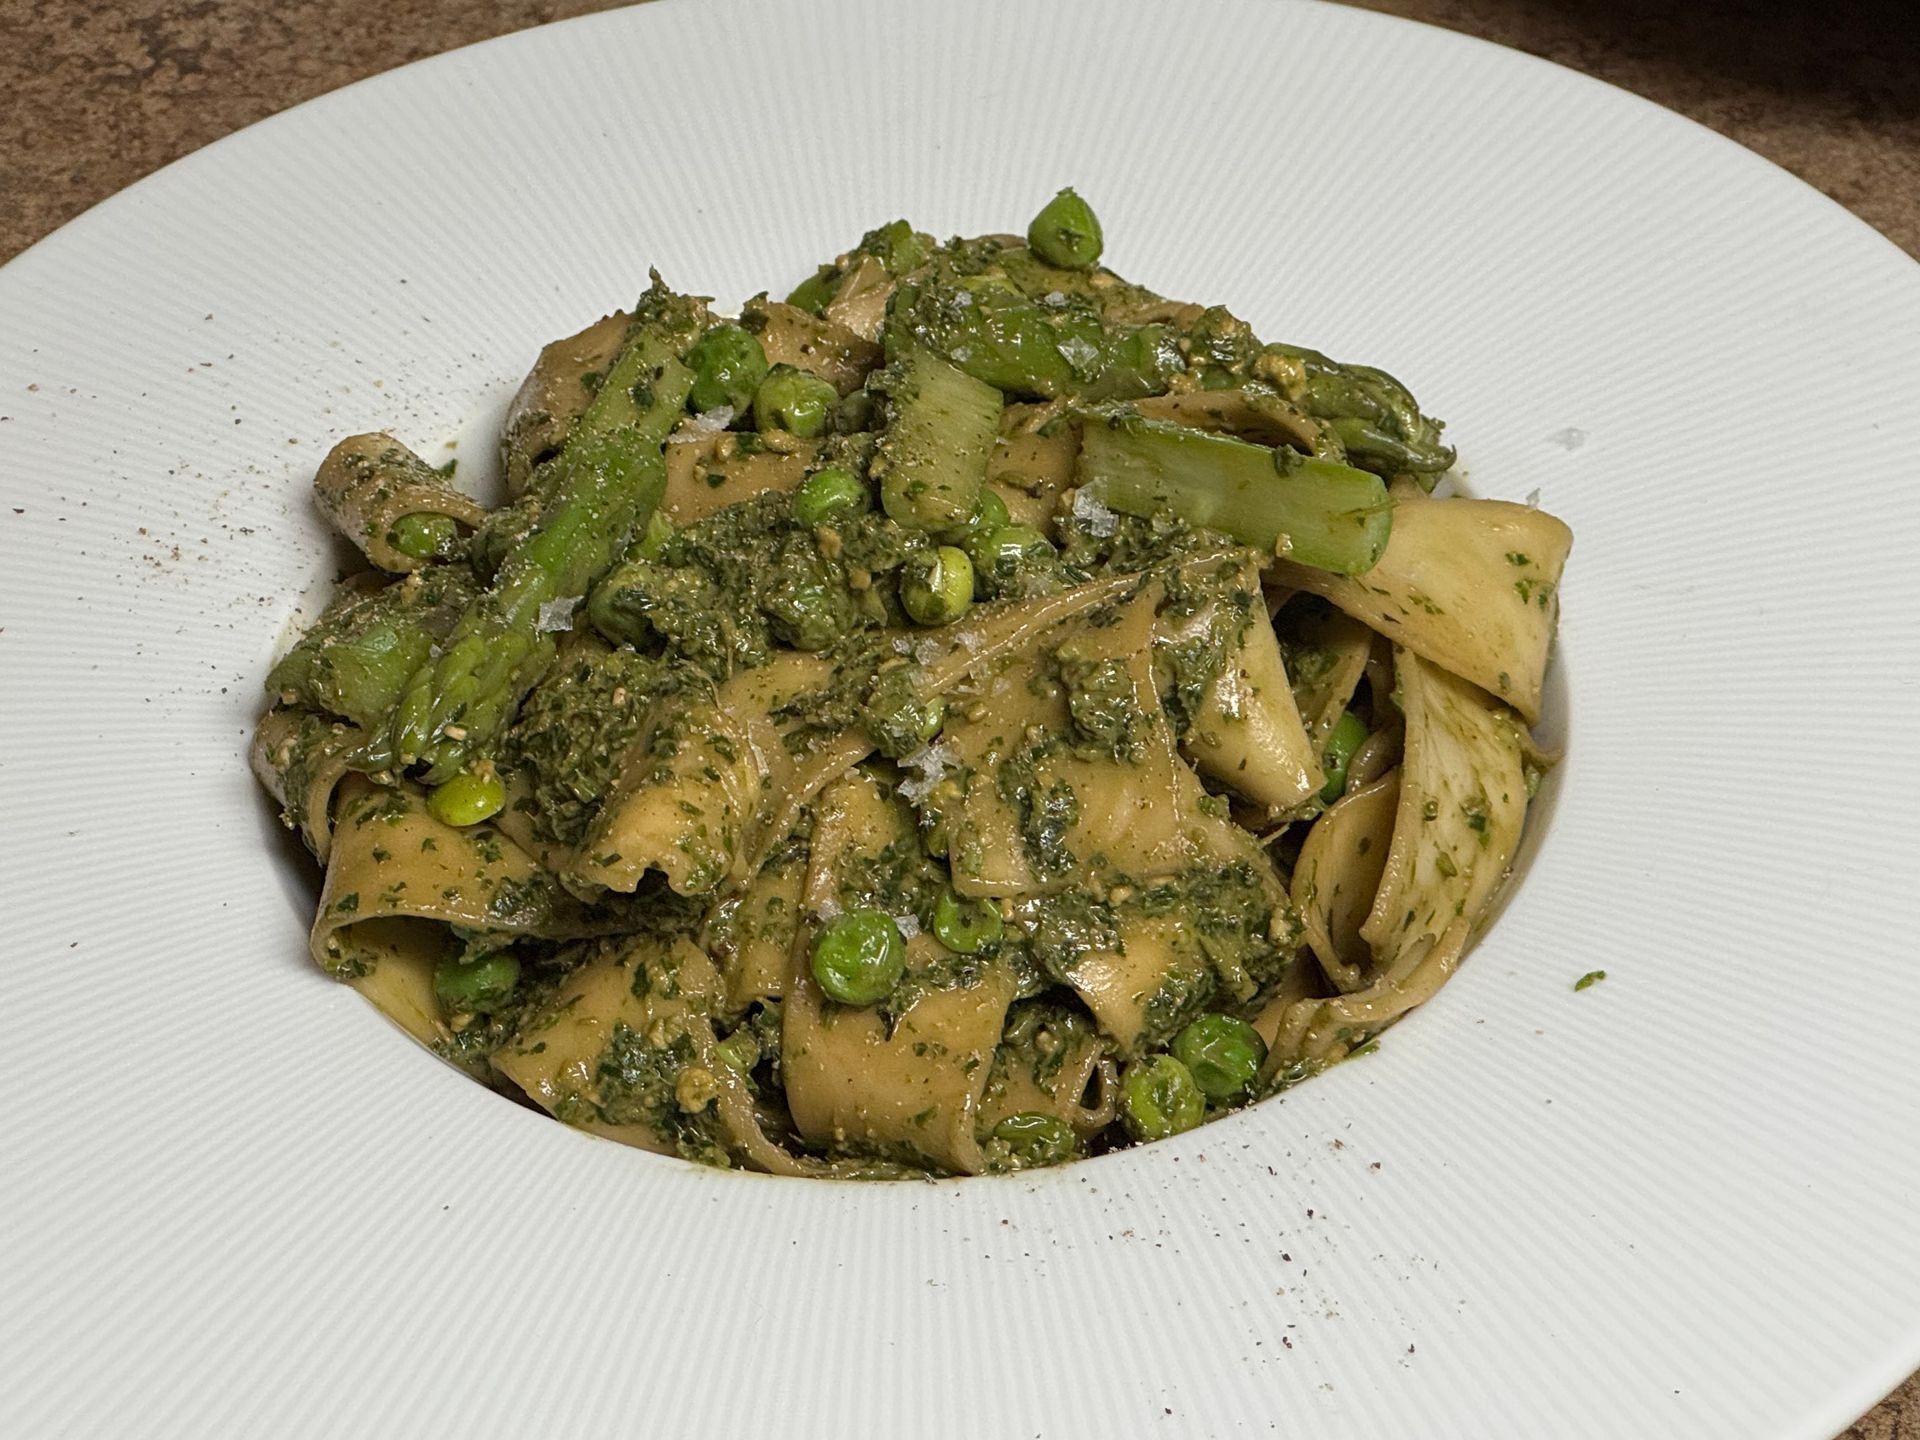
Rigatoni tossed with freshly prepared pesto-delicious!